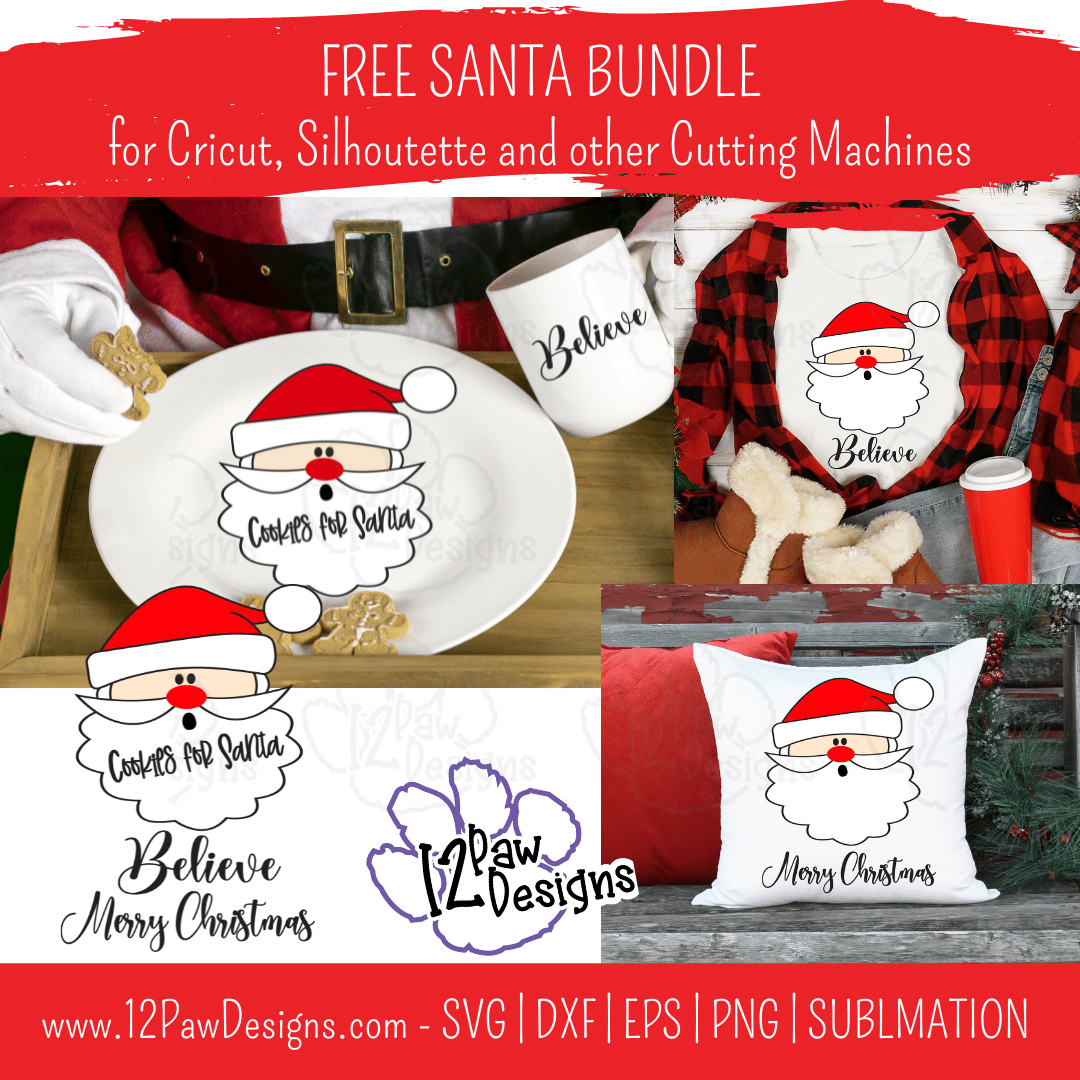
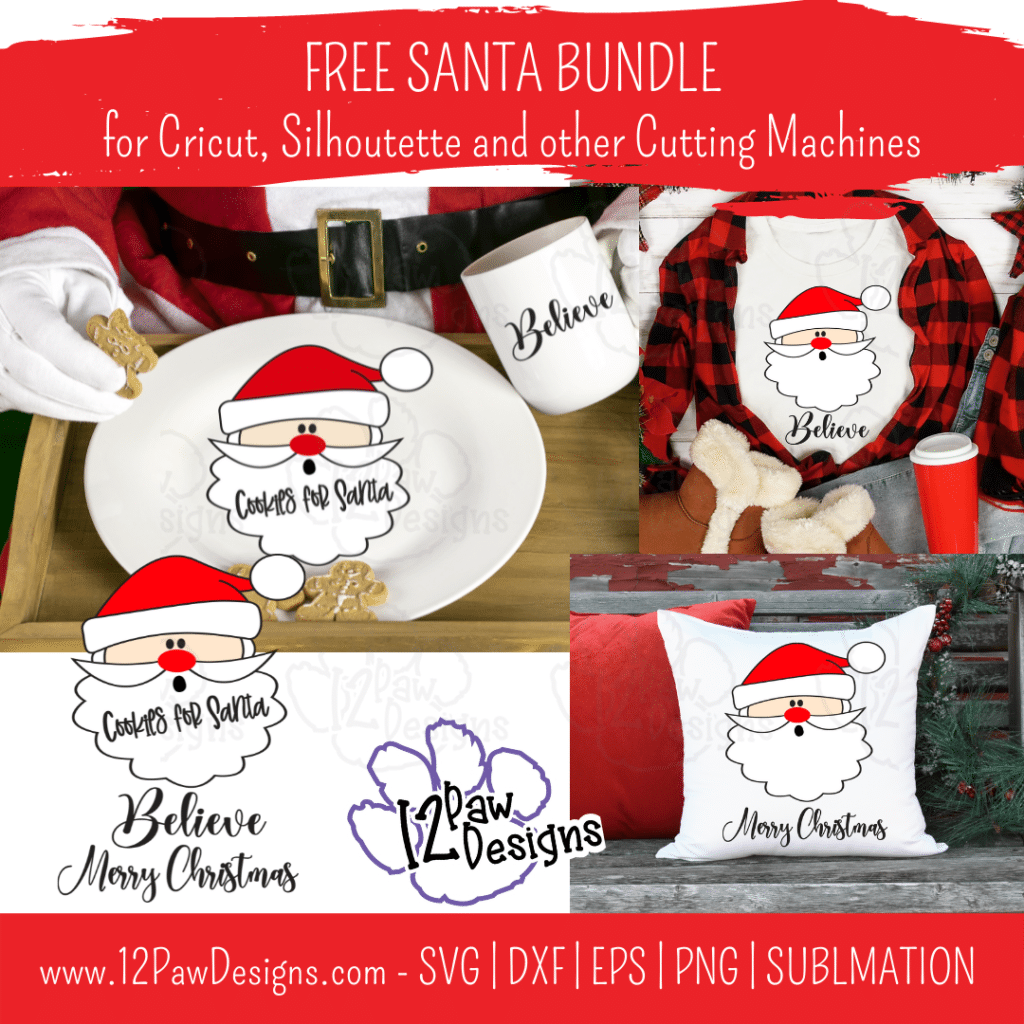
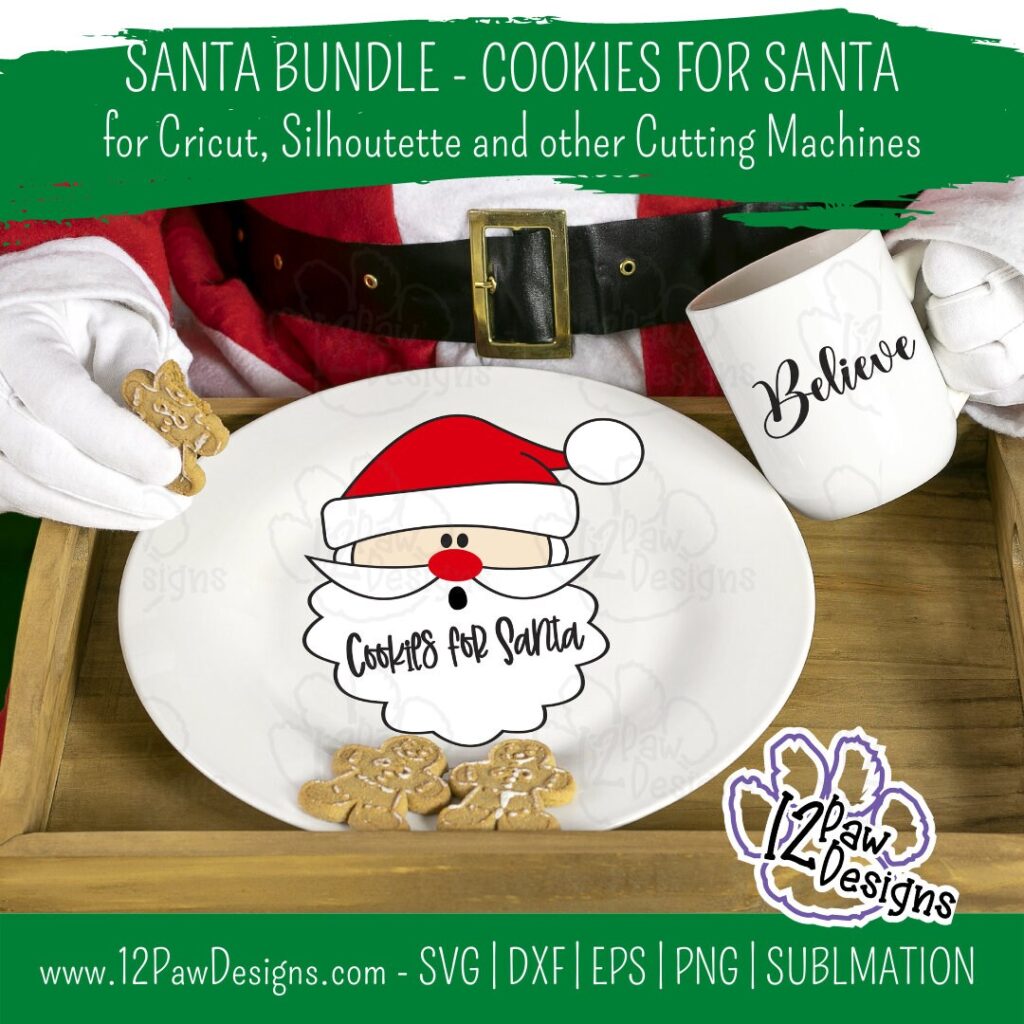
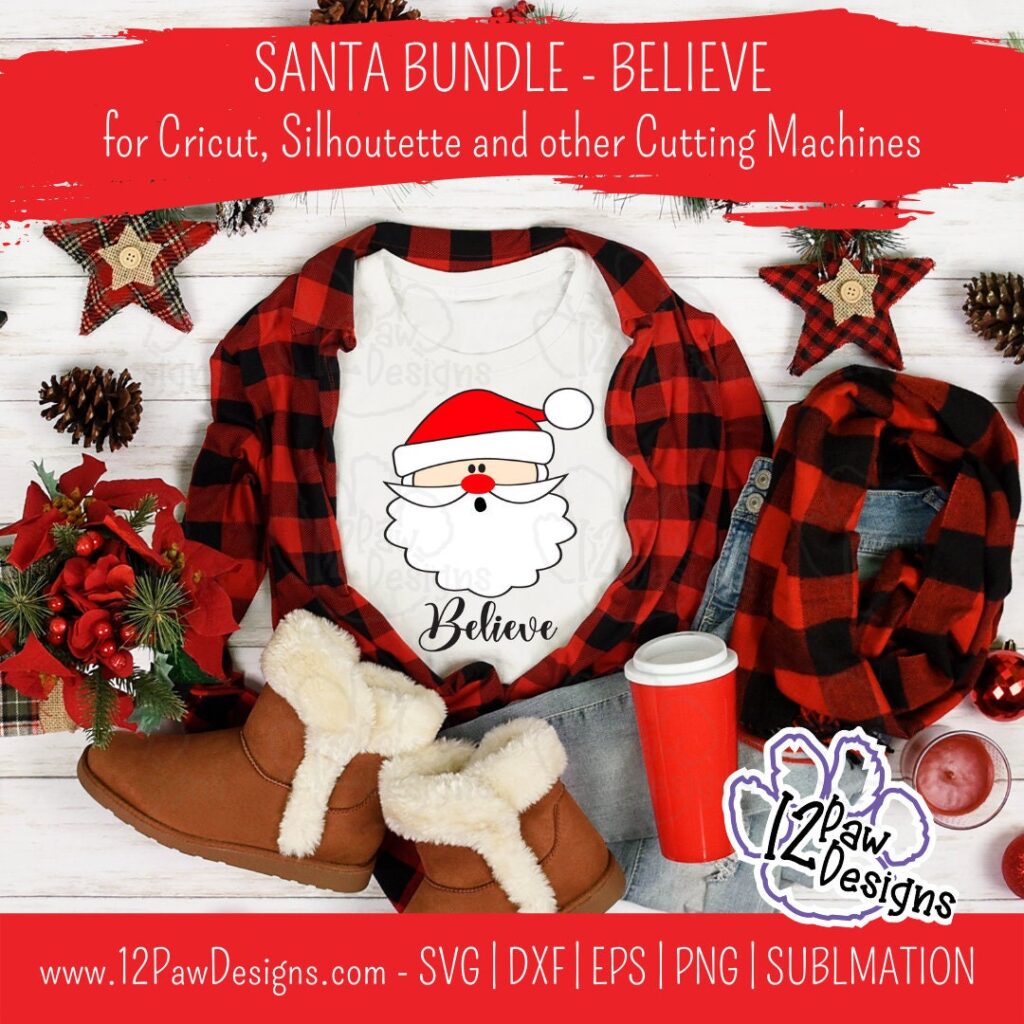
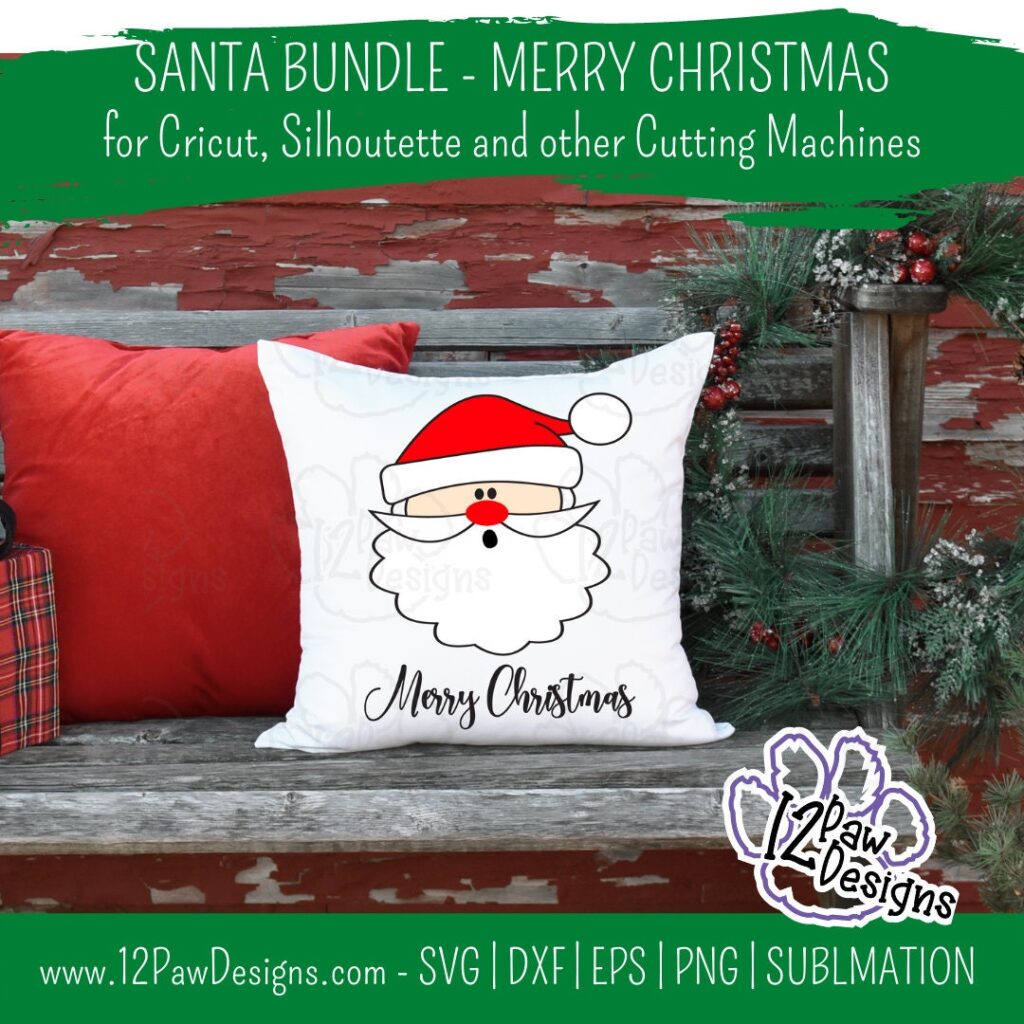
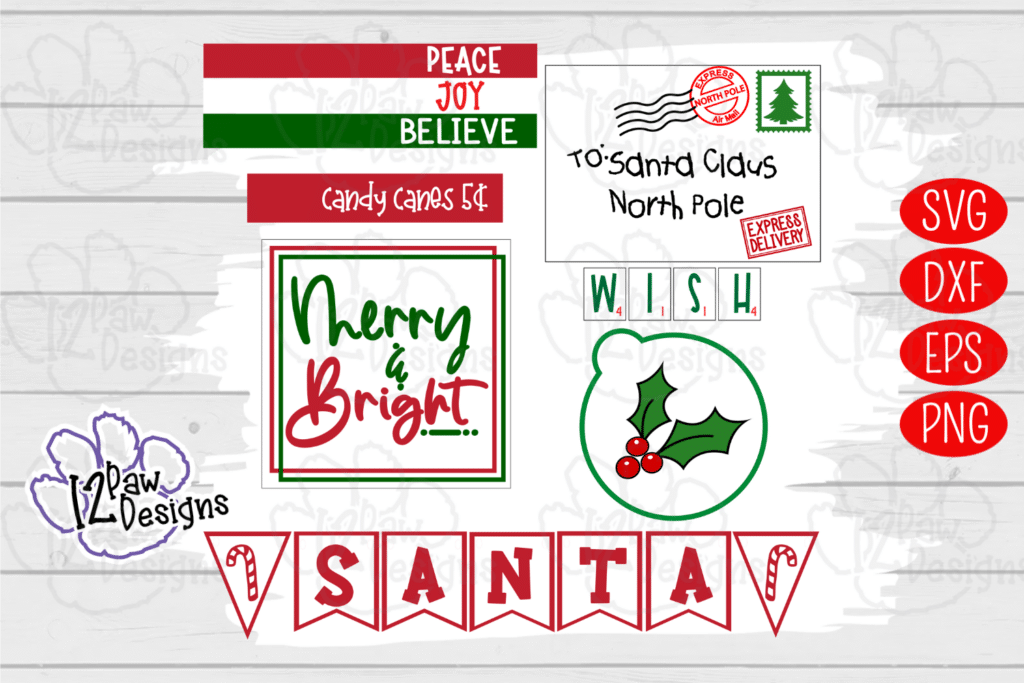
Christmas is not far away now. I designed this file for versatility. So make a Cookies for Santa Plate. Then if you need a shirt for you or your little you can make a Santa Believe shirt. You need a gift for someone special?? How about Santa Merry Christmas Pillow or sign. I have separate PNG files for sublimation as well. There are so many options1 I hope you enjoy!
ALSO….This week in the Crafty Paws Facebook group I will be sharing and additional free file, Santa Placemat. It will be perfect for Christmas eve!
This weeks FREE Santa Bundle PNG/SVG/Sublimation/cut file can be found in the Freebie Library. File number is 64 (remember the password is always in the bottom of your weekly email from me).
Remember to join our Facebook Craft Group!!!
You never know when I will pop in for a live or FREE Bonus files!!! The goal of the group is to welcome ALL crafters. I craft in different mediums, styles and type. Wood, vinyl, paint, sublimation, tumblers, etc. No matter what you do this group is for you. Come and join us!!! Click the link! Crafty Paws for All Cricut Silhouette Glowforge Sublimation and More
To get your FREE file please go to my Freebie Library, sign in (don’t worry if you are not a member yet, sign up and the password will be emailed to you!!! Also, remember I include it in the bottom of the weekly email too! 😉 ) and download Number 64 – Santa Bundle. The downloaded file will have multiple file options SVG, PNG, DXF (If you have the free version of Silhouette Studio you will need this file) and EPS.
I really hope you enjoy my Joy Round Design. Remember a ? Pinterest pin would be so appreciated! I can’t wait to see what you create. Please share with me. You can come back here and add a comment or add one to Facebook too!
Cookies For Santa Bundle
Cookies For Santa, Santa Believe, Santa Merry Christmas, Cricut Silhouette, Svg/Dxf/Png/Eps, Digital Download, Cut FileCookies For Santa, Santa Believe, Santa Merry Christmas, Cricut Silhouette, Svg/Dxf/Png/Eps, Digital Download, Cut FileCookies For Santa, Santa Believe, Santa Merry Christmas, Cricut Silhouette, Svg/Dxf/Png/Eps, Digital Download, Cut FileCookies For Santa, Santa Believe, Santa Merry Christmas, Cricut Silhouette, Svg/Dxf/Png/Eps, Digital Download, Cut File
DO NOT resell any of the files as digital download or any other form. DO NOT claim the files as your own. DO NOT modify and resell the files in any form.
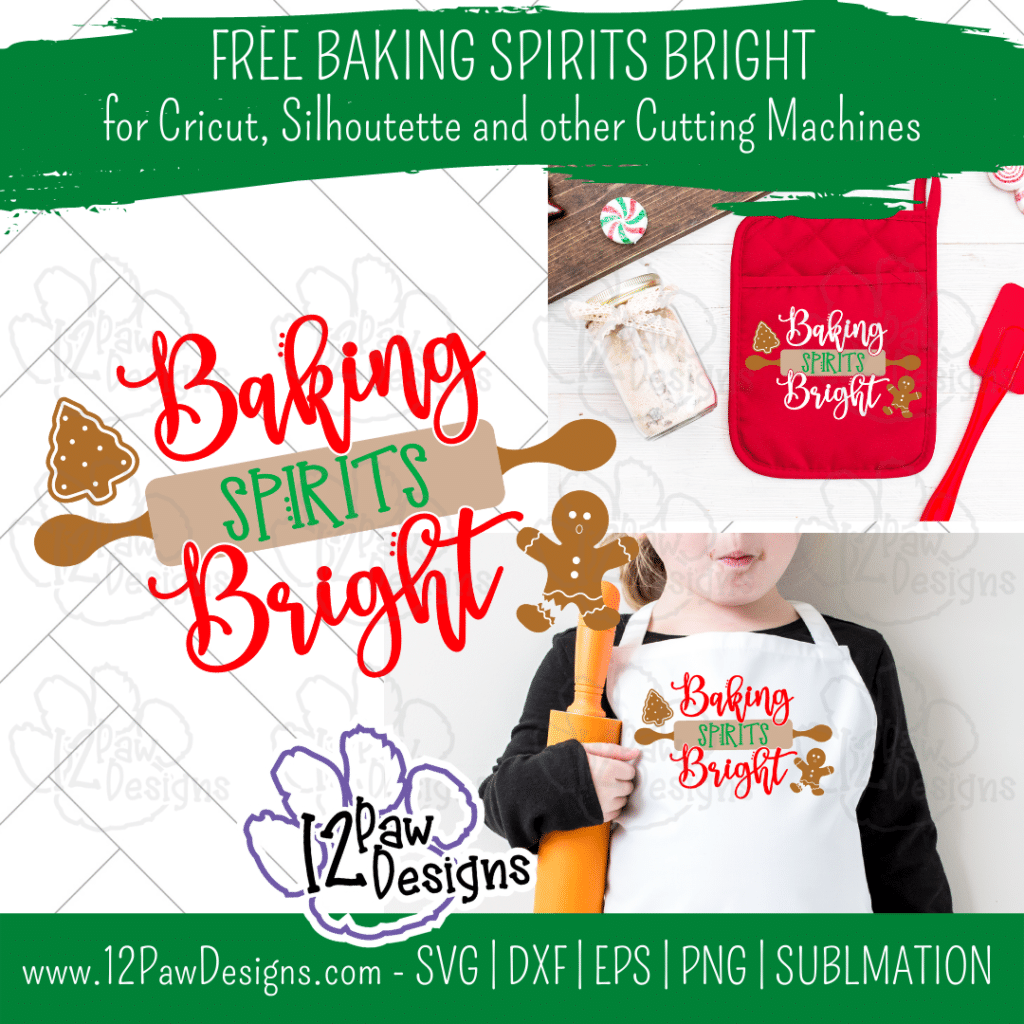
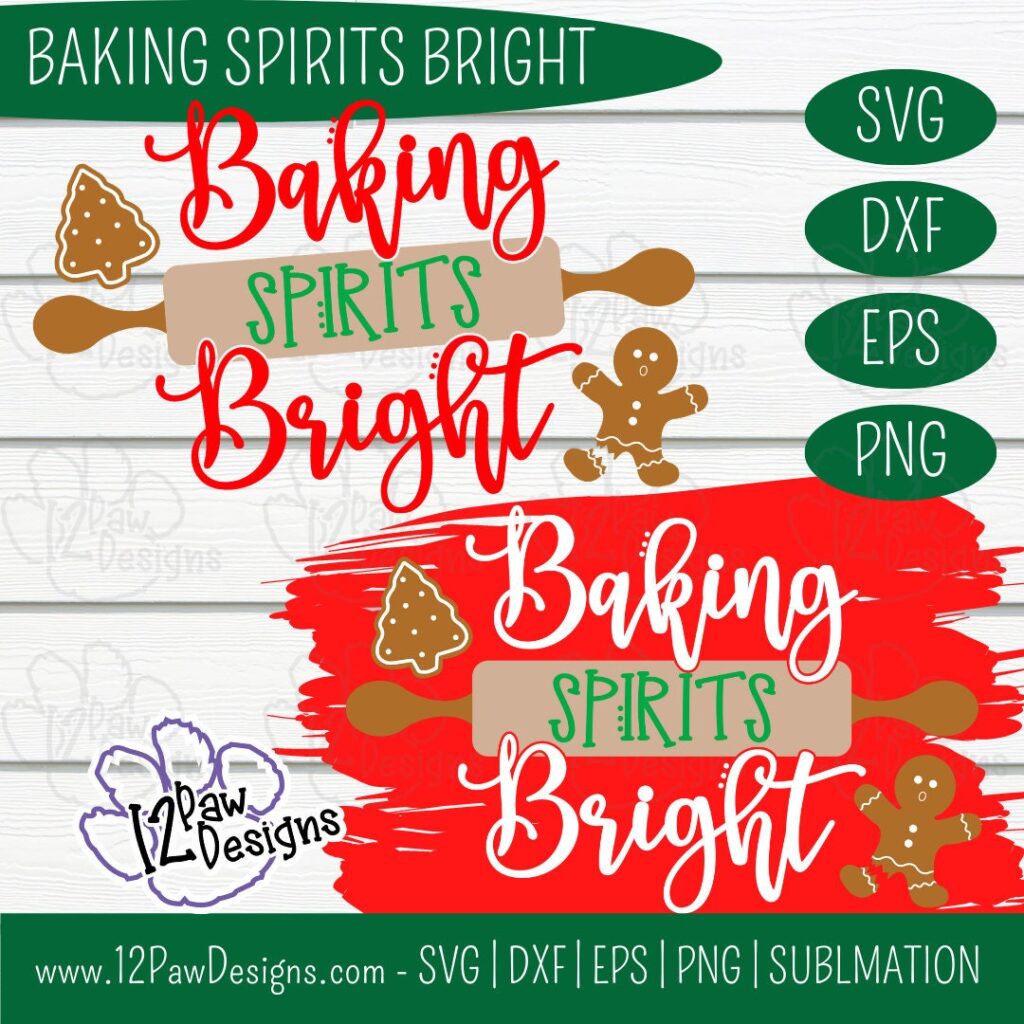
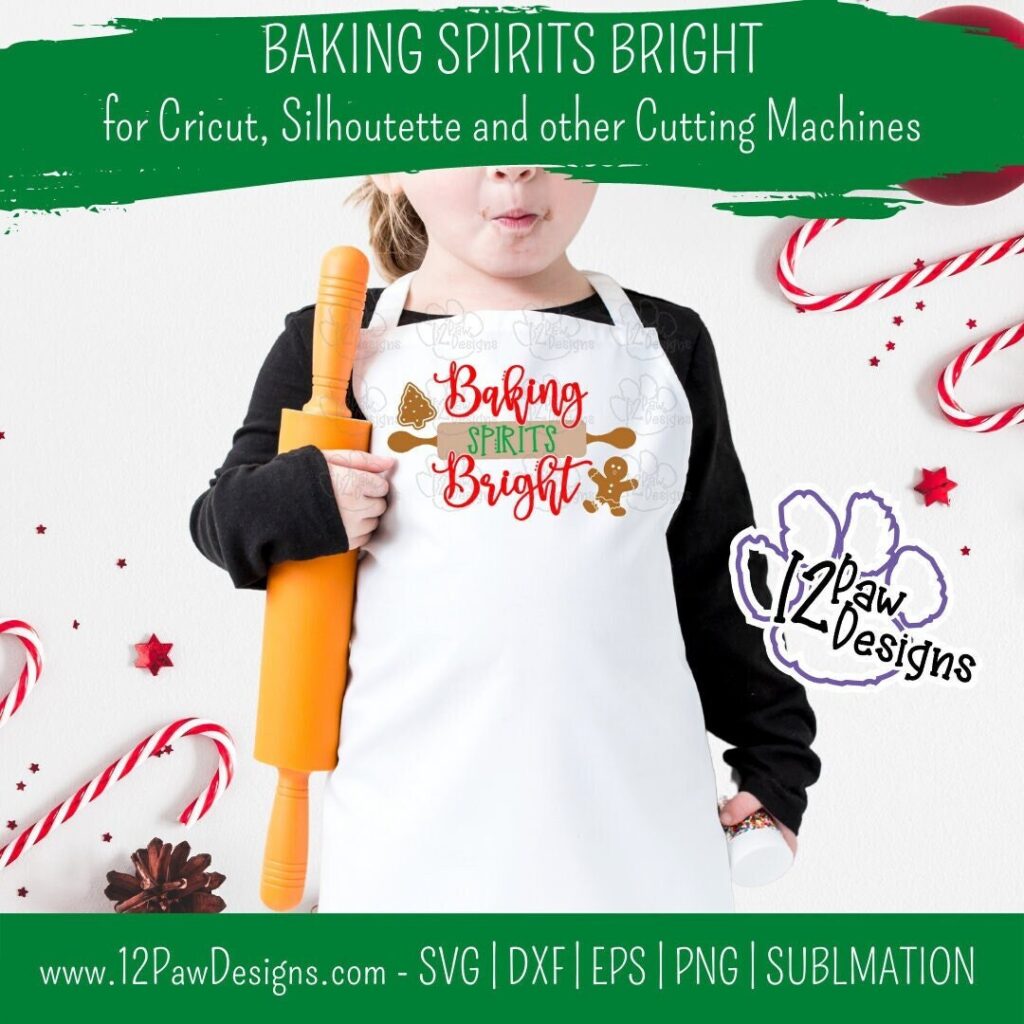
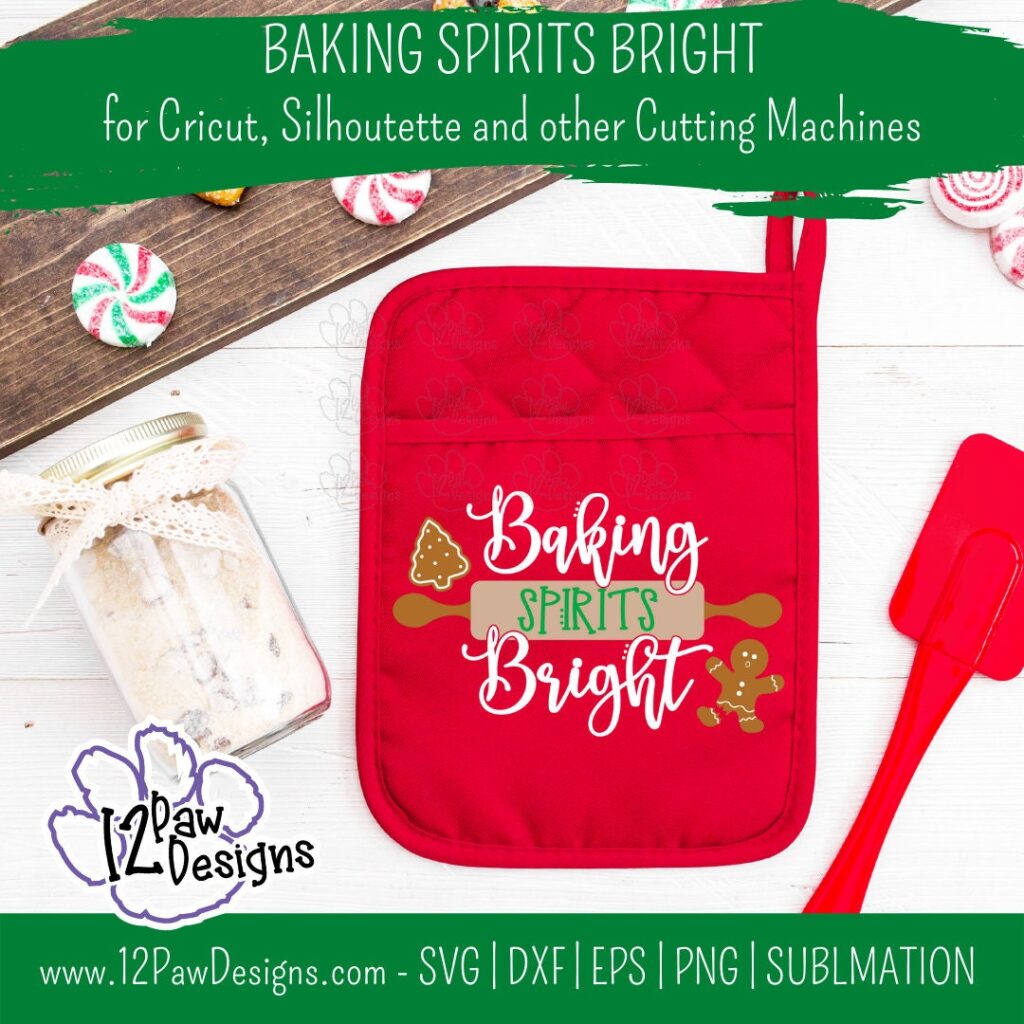
The next few weeks have all the hustle and Bustle of the Holiday Season. That includes the Christmas Baking. So I made a Baking SVG call Baking Spirits Bright. This would fun for baking aprons for your crew or on a pot holder with some baking items for a cute and quick gift! There are so many options!
This weeks FREE Baking Spirits Bright PNG/SVG/cut file can be found in the Freebie Library. File number is 62 (remember the password is always in the bottom of your weekly email from me).
Remember to join our Facebook Craft Group!!!
You never know when I will pop in for a live or FREE Bonus files!!! The goal of the group is to welcome ALL crafters. I craft in different mediums, styles and type. Wood, vinyl, paint, sublimation, tumblers, etc. No matter what you do this group is for you. Come and join us!!! Click the link! Crafty Paws for All Cricut Silhouette Glowforge Sublimation and More
To get your FREE file please go to my Freebie Library, sign in (don’t worry if you are not a member yet, sign up and the password will be emailed to you!!! Also, remember I include it in the bottom of the weekly email too! 😉 ) and download Number 62 – Baking Spirits Bright. The downloaded file will have multiple file options SVG, PNG, DXF (If you have the free version of Silhouette Studio you will need this file) and EPS.
I really hope you enjoy my Joy Round Design. Remember a ? Pinterest pin would be so appreciated! I can’t wait to see what you create. Please share with me. You can come back here and add a comment or add one to Facebook too!
DO NOT resell any of the files as digital download or any other form. DO NOT claim the files as your own. DO NOT modify and resell the files in any form.
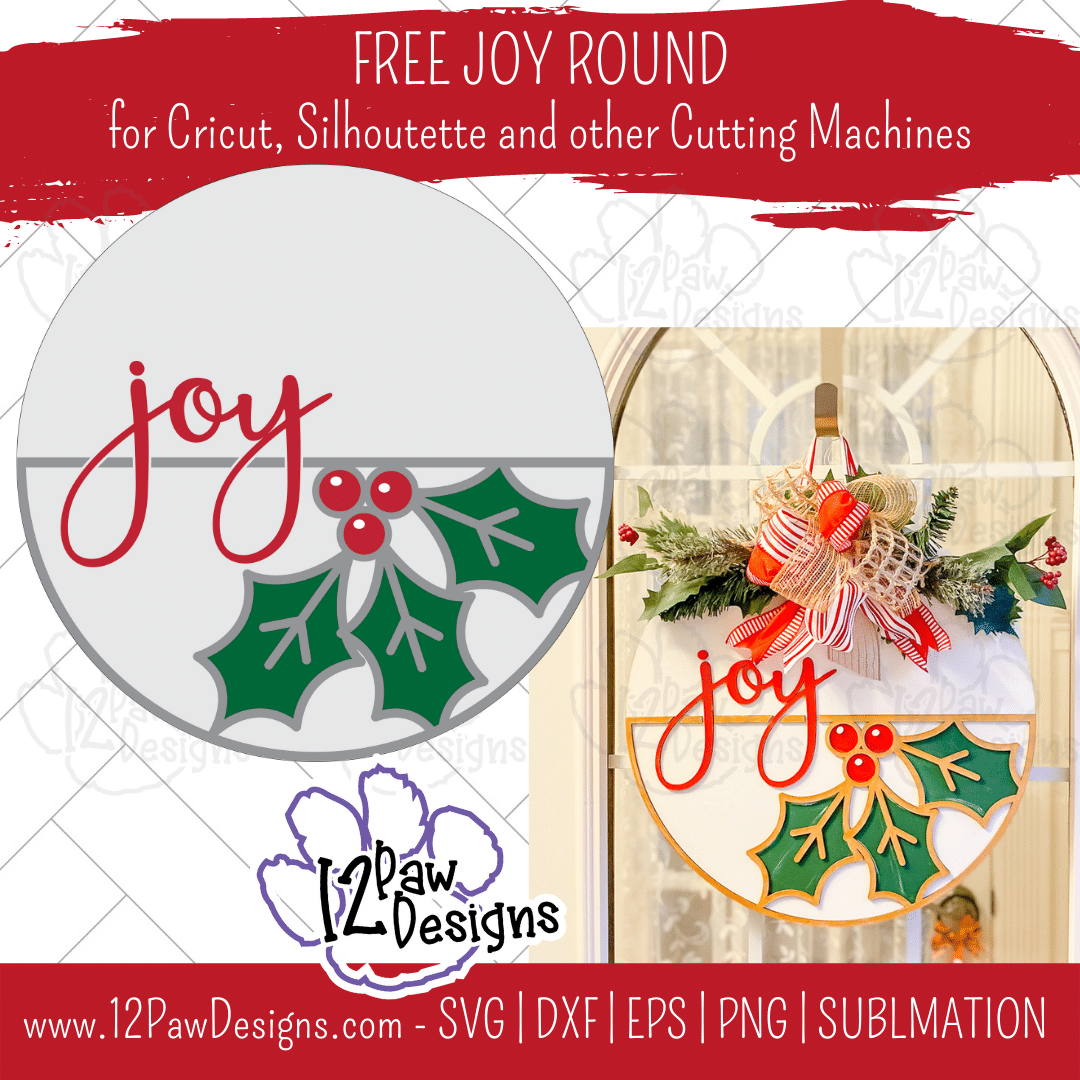
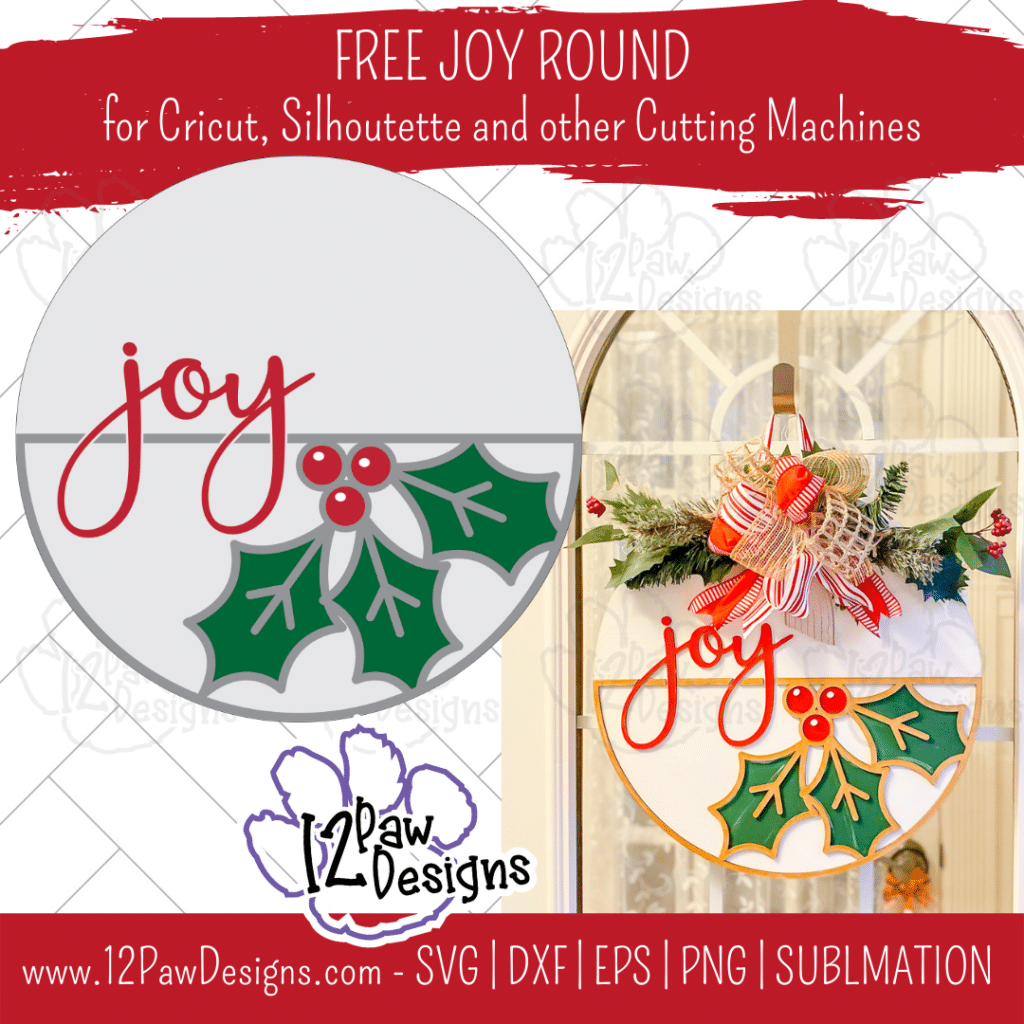
With Christmas only a few short weeks away the next few weeks I will be release files to help you decorate, gifts, etc. This week is a Joy Round. This Joy Christmas Sign can be made with vinyl, stencil and paint, etc. You can even use the Joy Sign by itself on a wooden block, wine glass etc.
Also, with everything being so crazy for the next few months I am going to cut back on the tutorials in the blog. HOWEVER, I will focus on my Crafty Paws Facebook Group and doing lives in there. There will also be “surprise” freebies along the way! So if you have not joined us yet, please do!!!
This weeks FREE Joy Round PNG/SVG/cut file can be found in the Freebie Library. File number is 60 (remember the password is always in the bottom of your weekly email from me).
Remember to join our Facebook Craft Group!!!
You never know when I will pop in for a live or FREE Bonus files!!! The goal of the group is to welcome ALL crafters. I craft in different mediums, styles and type. Wood, vinyl, paint, sublimation, tumblers, etc. No matter what you do this group is for you. Come and join us!!! Click the link! Crafty Paws for All Cricut Silhouette Glowforge Sublimation and More
To get your FREE file please go to my Freebie Library, sign in (don’t worry if you are not a member yet, sign up and the password will be emailed to you!!! Also, remember I include it in the bottom of the weekly email too! 😉 ) and download Number 60 – Joy Round. The downloaded file will have multiple file options SVG, PNG, DXF (If you have the free version of Silhouette Studio you will need this file) and EPS.
I really hope you enjoy my Joy Round Design. Remember a ? Pinterest pin would be so appreciated! I can’t wait to see what you create. Please share with me. You can come back here and add a comment or add one to Facebook too!
Joy Round Images
Joy Round, Joy Sign, Joy Christmas Sign, Cricut Silhouette, Svg/Dxf/Png/Eps, Digital Download, Cut FileJoy Round, Joy Sign, Joy Christmas Sign, Cricut Silhouette, Svg/Dxf/Png/Eps, Digital Download, Cut File
DO NOT resell any of the files as digital download or any other form. DO NOT claim the files as your own. DO NOT modify and resell the files in any form.
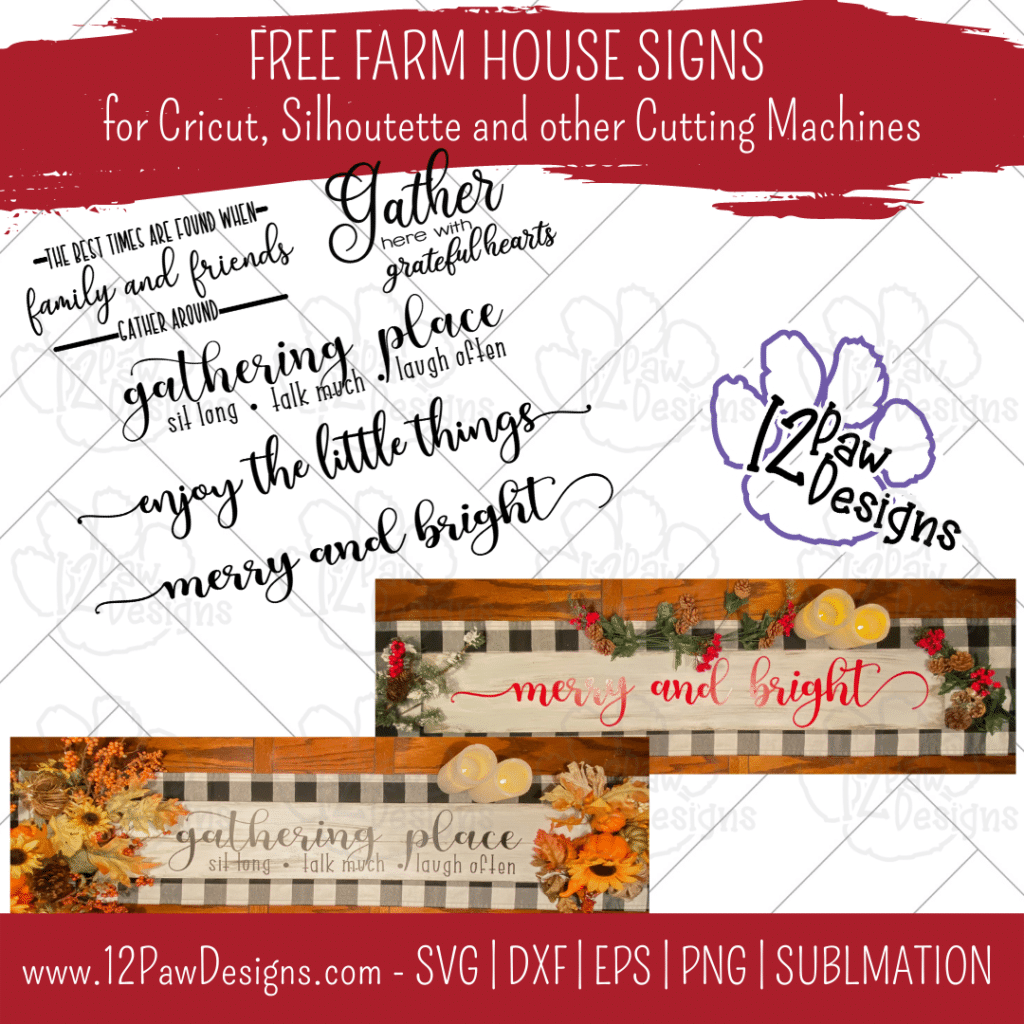
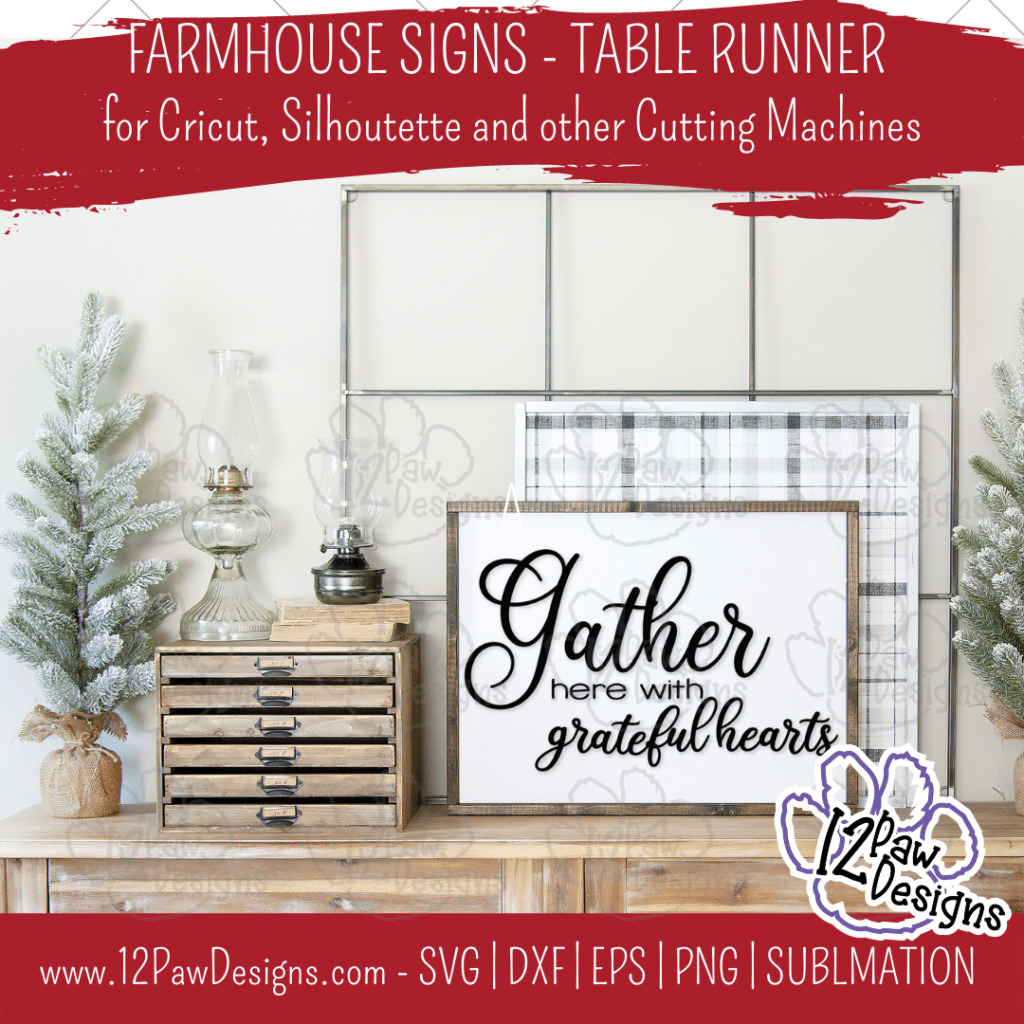
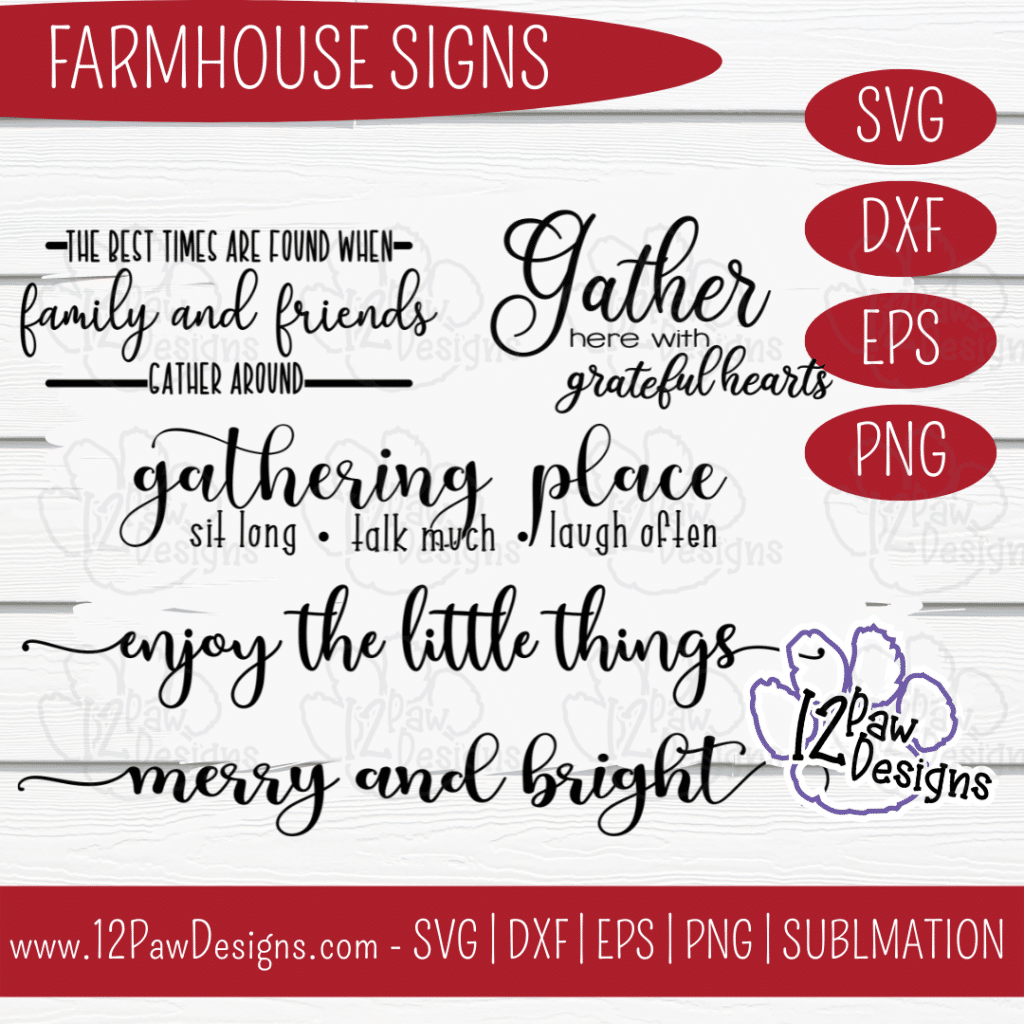
It’s that holiday season where we are coming up on Thanksgiving and decorating for Christmas. This week I have designed Farmhouse Signs that can be use all year long. I made the cool wooden table runner. One side is Farmhouse Sign and the other is Farmhouse Christmas. So you can easily flip back and forth.
In this weeks blog I am showing you how to create your own double sided wooden table runner. I used a board, paint and vinyl. So it was fairly quick and easy to do. This is a bundle of sayings from me to you. You can also just use a word, re-arrange the designs, etc. Many options. As you scroll through the blog you will see some other pictures of options! Enjoy!
This weeks FREE Farmhouse Sign PNG/SVG/cut file can be found in the Freebie Library. File number is 59 (remember the password is always in the bottom of your weekly email from me). I have also created a video tutorial along with some directions on how I made the double sided wooden table runner. I can’t wait to see your projects!!
Remember to join our Facebook Craft Group!!!
I am so excited to let you know that I started a Facebook Craft Group. The goal of the group is to welcome ALL crafters. I craft in different mediums, styles and type. Wood, vinyl, paint, sublimation, tumblers, etc. No matter what you do this group is for you. Come and join us!!! Click the link! Crafty Paws for All Cricut Silhouette Glowforge Sublimation and More
Here are the steps I took to make the Farmhouse Signs Wooden Table Runner
Step 1 – Open the file in your favorite cutting software. Cut vinyl to the size you need for your board. I was frugal and split the design so it fit on my vinyl 12″. I check my vinyl to make sure I have a good cut before ejecting it out of my machine.
Step 2 – Paint your board. I use a baby wipe and a dark grey. I used what I had and the dark grey was a chalk paint. When used the baby wipe I needed to add water so it “stain” the board. I love this technique. It is fast and dries quickly. Make sure you stain both sides.
Step 3 – Next, take your chip brush and your top color and paint over your stain. You want more of a long long streaks to give it a distressed look.
Step 4 – I then took the dark grey again and used chip brush (you could also use a piece of paper towel) and do the edges of the board. I then took a rag or paper towel to wipe it more to give it a distressed looked. I show this in the video. I also used a liner brush to draw a line down the middle of the board to make it look like 2 boards. Again, I used the rag to rub the line to give it a distressed look.
Step 5 – While the board is drying weed your vinyl.
Step 6 – Once you have it weeded use your transfer tape to apply the vinyl to the board. Make sure you burnish it well. If you watch the video i show how i used my squeegee to remove the transfer tape from the vinyl if it pulls up.
Step 7 – Repeat the process for the other side.
Step 8 – Enjoy your table runner. I placed it on tope of another runner to give it that extra look.
To get your FREE file please go to my Freebie Library, sign in (don’t worry if you are not a member yet, sign up and the password will be emailed to you!!! Also, remember I include it in the bottom of the weekly email too! 😉 ) and download Number 59 – Farmhouse Sign. The downloaded file will have multiple file options SVG, PNG, DXF (If you have the free version of Silhouette Studio you will need this file) and EPS.
I really hope you enjoy my Cancer Survivor Design. Remember a ? Pinterest pin would be so appreciated! I can’t wait to see what you create. Please share with me. You can come back here and add a comment or add one to Facebook too!
DO NOT resell any of the files as digital download or any other form. DO NOT claim the files as your own. DO NOT modify and resell the files in any form.
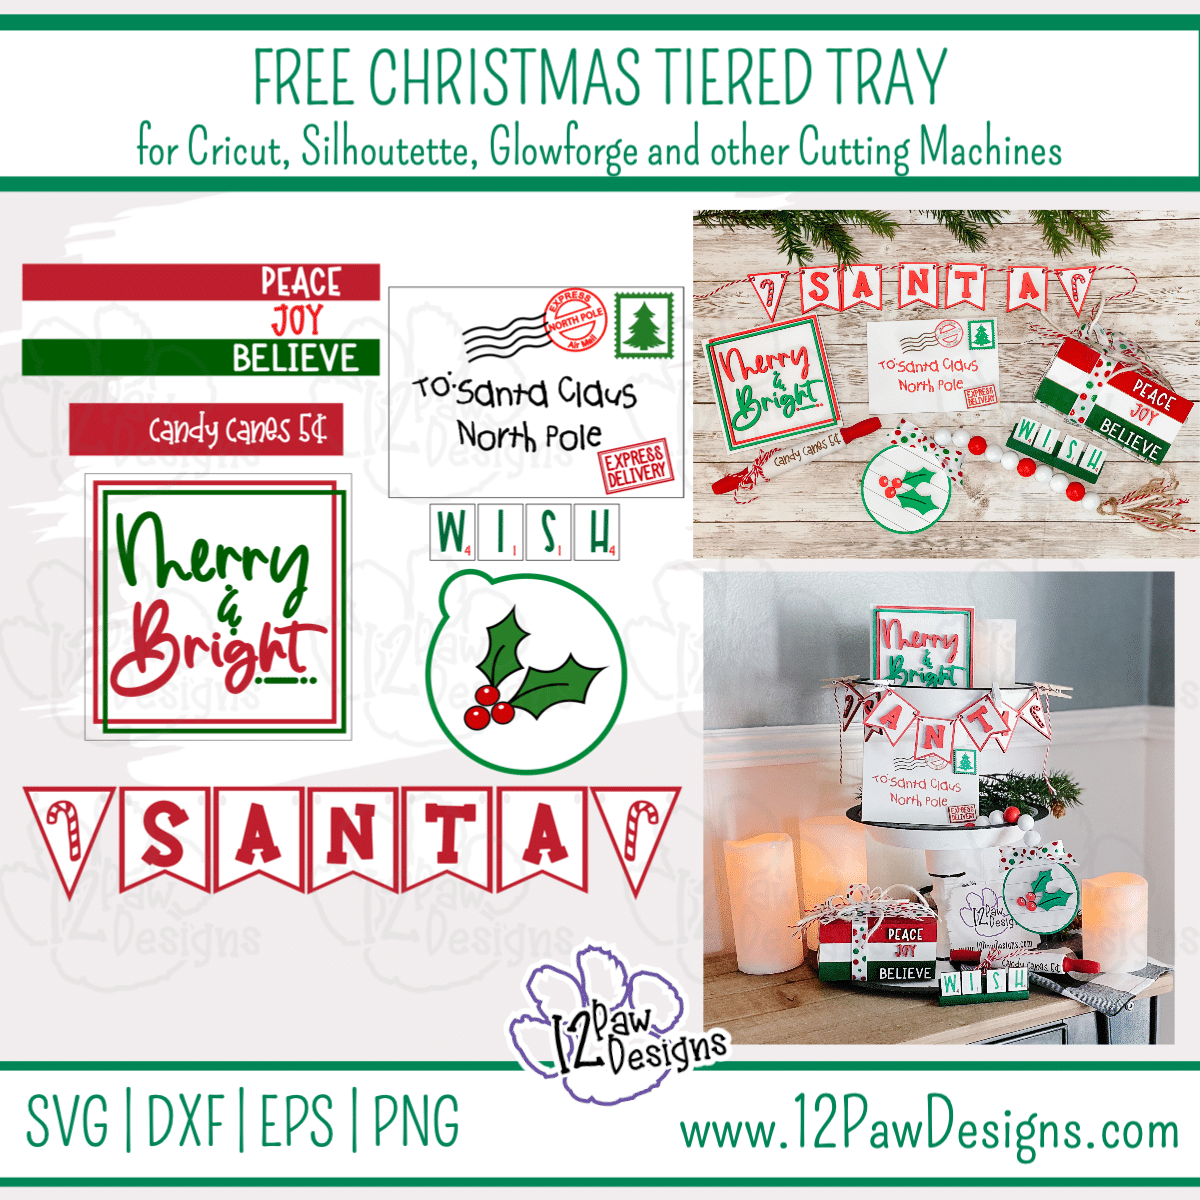
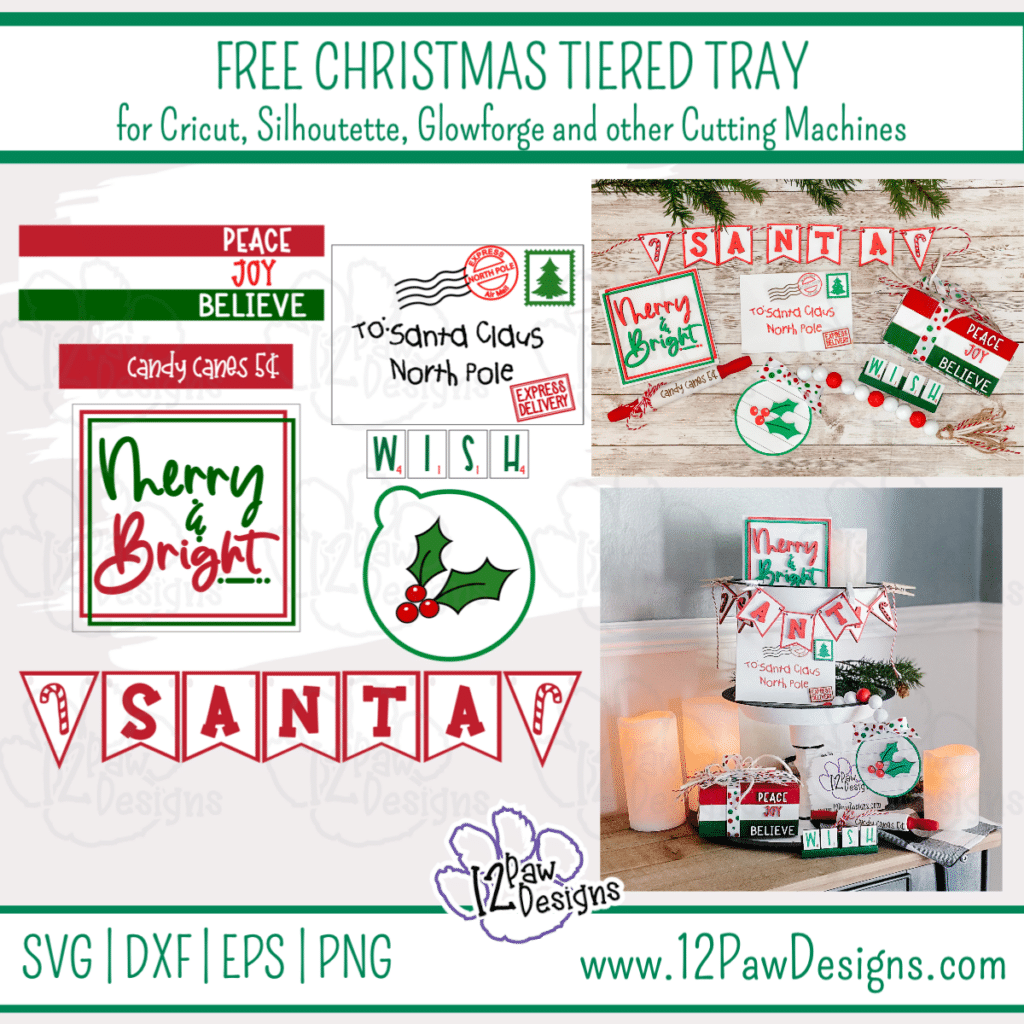
Happy Christmas in July with this cute Christmas Tiered Tray! Let’s finish our Christmas in July with some really cute items for our tiered trays. This week our Christmas Svg include items to make stacked books (I did “faux book”), rolling pin, Santa Banner, Letter to Santa, WISH Scrabble tiles, and a holly berry tag to add to your bead garland.
This weeks FREE Christmas Tiered Tray can be found in the Freebie Library. File number is 43. I have also created a video tutorial along with some directions on how I made my items and some pointers! Remember to please share what you created! Check me out on Facebook and Instagram and remember a pintrest pin is always appreciated!!
Wood or blanks. For blanks Dollar tree has some great options. Repurpose a 6×6 sign, wood blanks, etc. For the Banner you could use chipboard, cardstock, etc
4 Tumble Tower block from the Dollar Tree (Scrabble Tile tray)
4 Scrabble Tiles – You can use the Dollar Tree 3 in 1 game or purchase tiles from Walmart
Mini Rolling Pin – I purchased from Amazon
Wood for the Glowforge that is prepped (masked) if you are using a Glowforge
Adhesive Vinyl in your color choice if you are doing vinyl
Gorilla Super Glue Gel
Hot Glue Gun and Glue
Paint and brush – I used White, Red and Green
Paint Pens – I used Posca and/or Arteza
Ribbon
Beads – I found mine painted at Hobby Lobby during a sale. You can also buy some from Amaozon
Twine\Jute
Weeding tools, scissors, cutting knife, transfer tape etc
Video Tutorial – Christmas Tiered Tray – Christmas SVG
Here are the steps I took to make the Christmas Ornaments
Step 1 – Load the free cutting file into your favorite cutting software. For Cricut and Silhouette I set mine to 12×12. I used the Glowforge, however, most cutters can cut thin birch or chipboard (check your cutting machine). In the video I show some options for blank ideas as well!!!
Step 2 – Cut your wood or vinyl. On the Glowforge you need to mask your wood with paper transfer tape to protect from scorching. Also, you can paint your board ahead of time to save on painting later!!!
Step 3 – Once you have your wood or vinyl cut do your weeding. For the Glowforge that means removing the mask from the wood. I found the Gorilla duct tape works amazing!!! You can also use weeding tools, pin pen, etc
Step 4 – Paint your items. I use the Posca paint pens for the small items. They are quick and easy!! Tweezer helps hold it as well while you paint. For the larger items I used acrylic paint. For the scrabble tray glue 2 tiles together end to end. Do this for the other 2 tiles also. Then glue them together to form your tray. Then I painted mine green. For the stacked books, i made a box with a fake front to look like books. However, you can use a mini crate for the dollar tree or their mini bibles and wrap with cardstock or vinyl!
Step 5 – Time to glue our items together. I use Gel super glue. However, they make 3m tape that you can place on the back of the board to make it super easy to put on your wood. I followed the PNG file that is included in your file download for placement, etc. I also show all of this in the video.
Step 6 – Finishing touches….
Tag\beads – I used twine to thread my beads onto my tag. Then made a tassel to hang from the other end. Again, please check out the video for the demo. Then I glued a bow onto the front.
Scrabble tray – Glue your tiles onto your scrable tray
Letter to Santa – Attach your letters, stamp and sign. If the letters are to small for you to weed make a sticker!!! Or print on cardstock and glue on!!
Banner – I used red and white twine from hobby lobby and strung my little banners onto that.
Rolling pin – I wrapped that with a piece of twine to add that extra touch.
Step 9 – How cute did your pieces turn out!?!?! Please share on on my social media so I can see!!!
To get your FREE file please go to my Freebie Library, sign in (don’t worry if you are not a member yet, sign up and the password will be emailed to you!!! Also, remember I include it in the bottom of the weekly email too! 😉 ) and download Number 43 – Christmas Tiered Tray The downloaded file will have multiple file options SVG, PNG, DXF (If you have the free version of Silhouette Studio you will need this file) and EPS.
I hope you enjoy the FREE files. Thank you again for stopping by and being part of my dream and 12 Paw Designs! Have an absolutely amazing day!!!
DO NOT resell any of the files as digital download or any other form. DO NOT claim the files as your own. DO NOT modify and resell the files in any form.