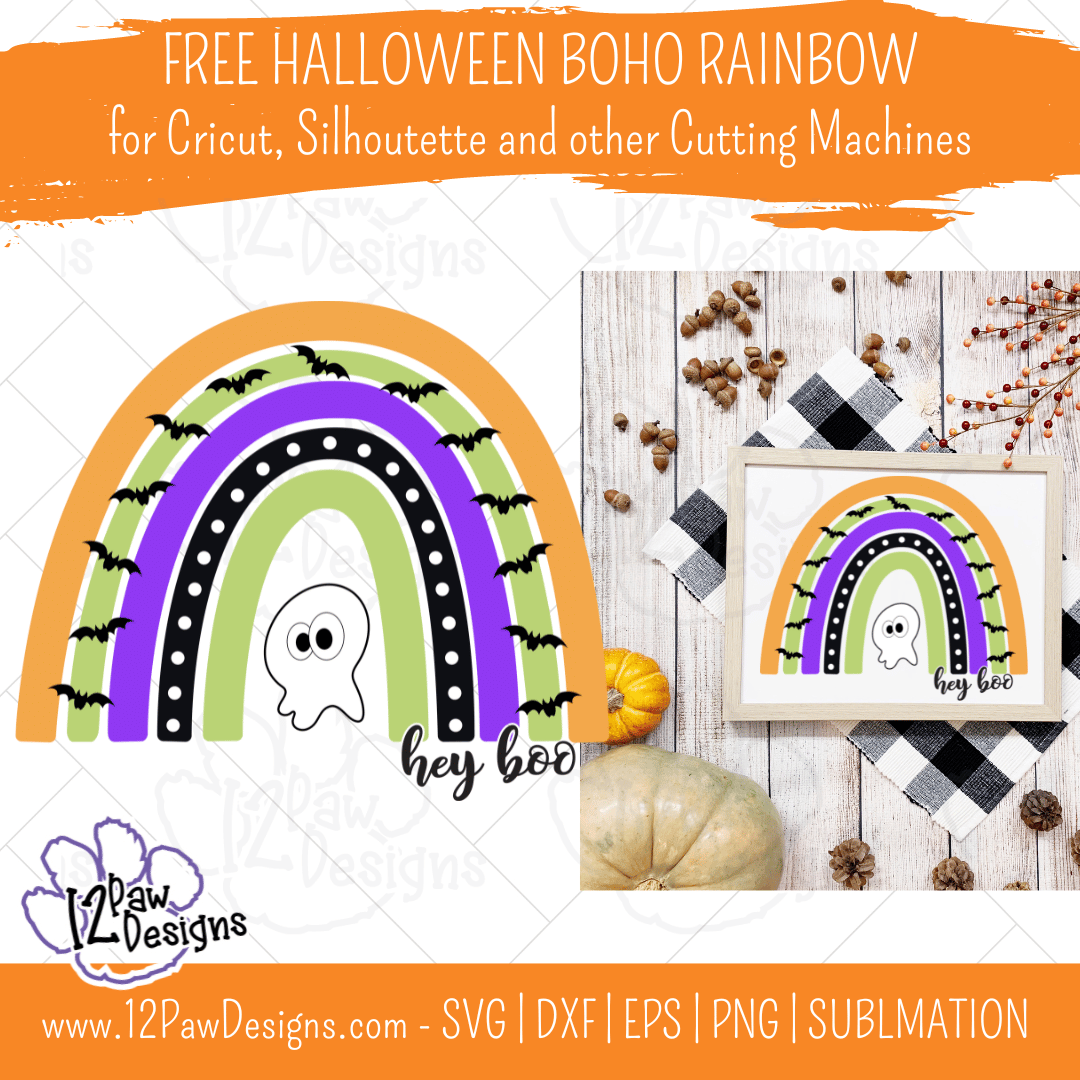
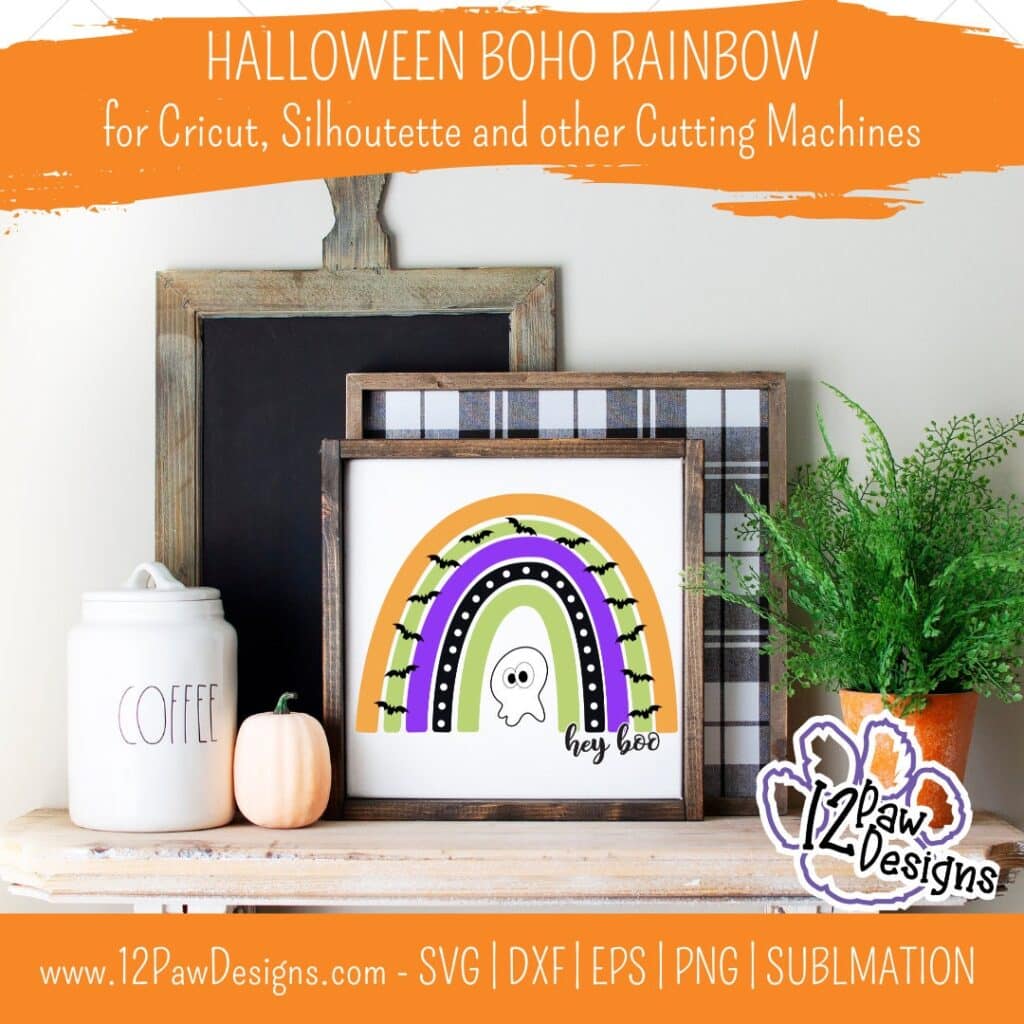
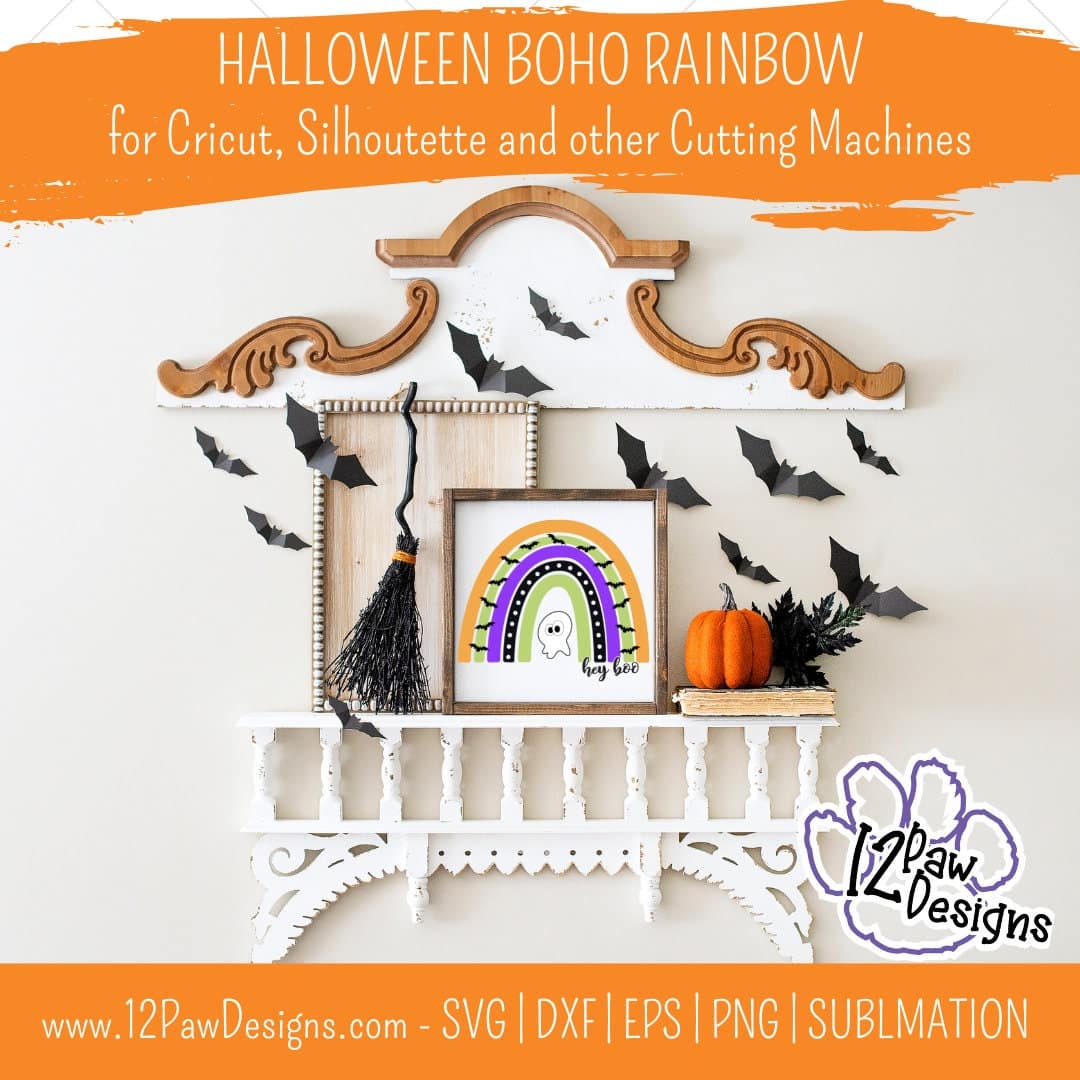
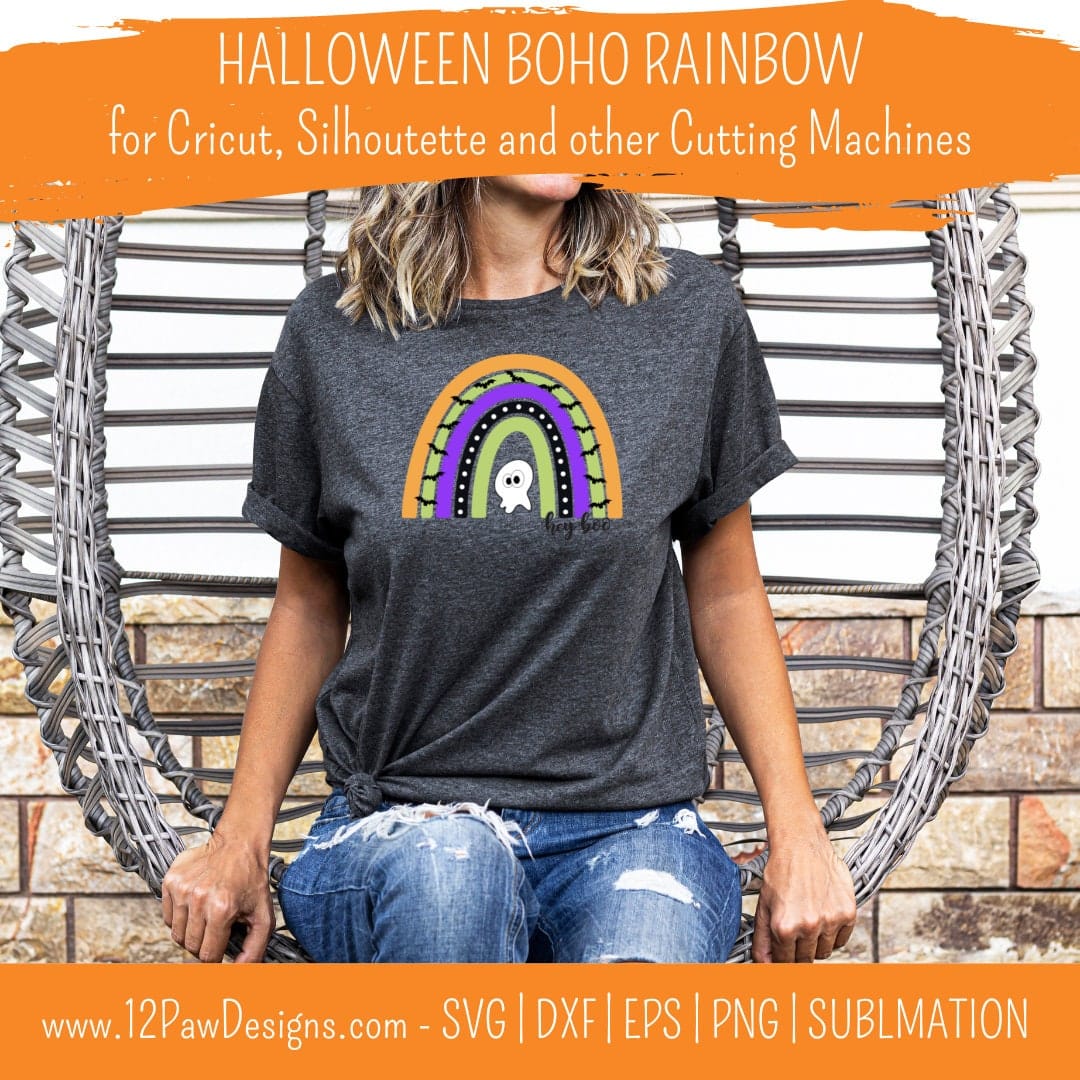
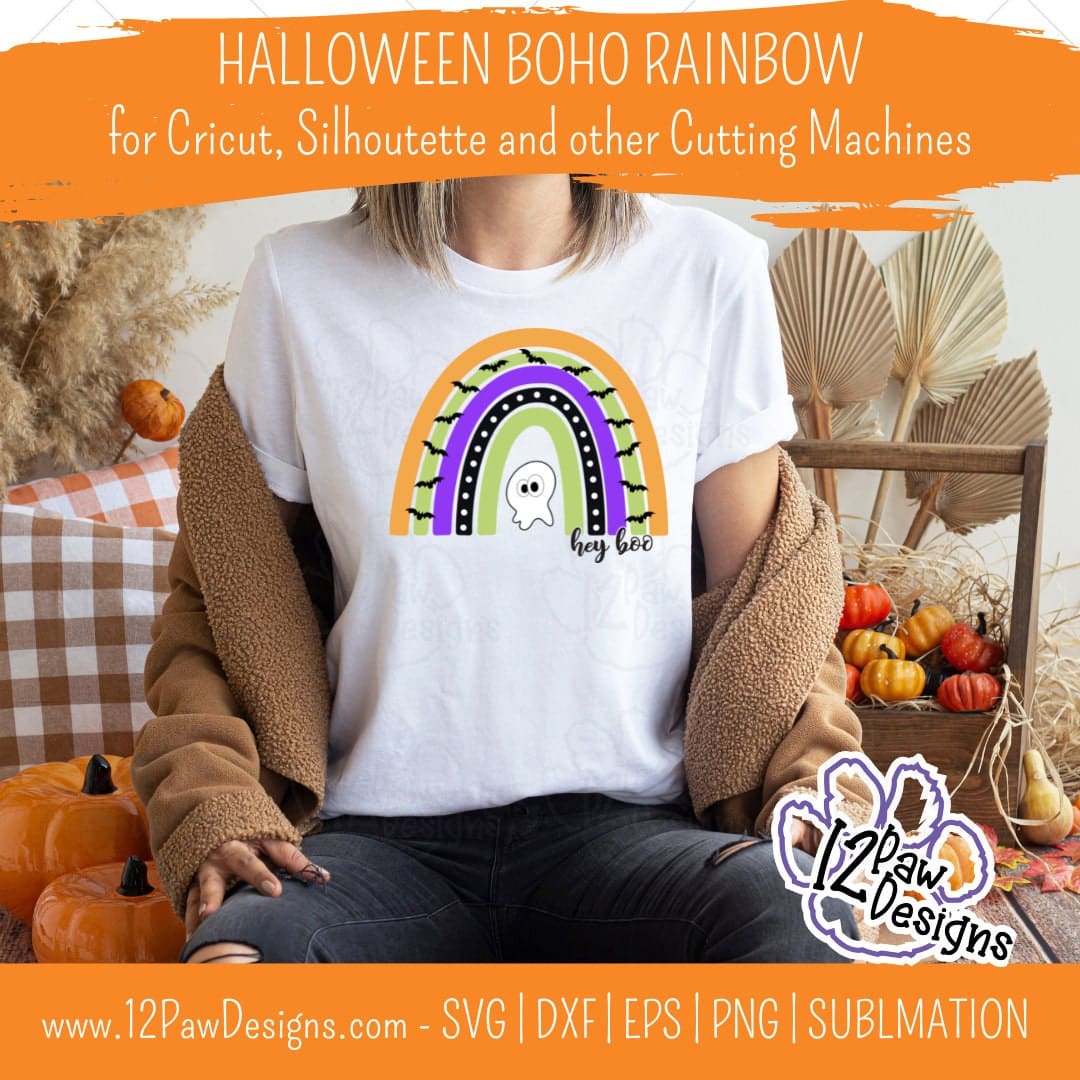
Hey Boo! It is a spooktacular time of the year! Halloween is next month and that means a Halloween Boho Rainbow is what we need. This design has bats and a cute little ghost!
Do you decorate for Halloween? Dress up? If you don’t dress up this would be a fun option. You can leave the bats off as well if you are a fan of bats. You could also use the ghost by itself as well! So many options.
Crafting time! Head over to the freebie library and download your files. You will find it at number 102. Have fun creating!
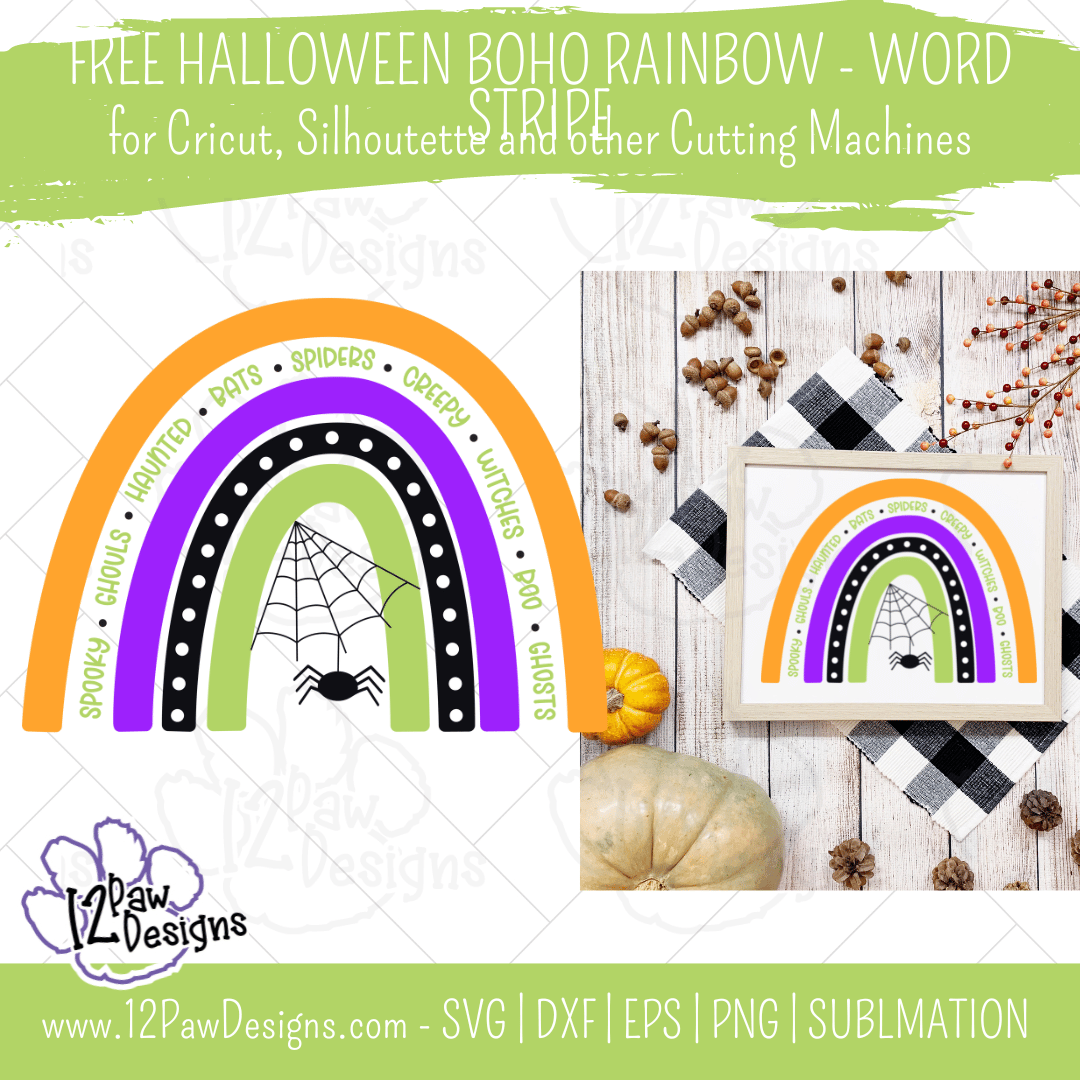
This week I also have a bonus file for your. The link will be in the Crafty Paws Facebook group. This bonus design has Halloween words as a stipe and I put a spider web and spider in the center. I hope you enjoy this bonus design!
BONUS FILE in the Crafty Paw Facebook Page
Halloween Rainbow, Halloween Boho Rainbow, Boho Rainbow, Word Stripe, Spider, Cricut Silhouette, Svg/Png/Eps/Sublimation, Digital Download, Cut File
How to get your FREE Halloween Boho Rainbow design…
To get your FREE file please go to my Freebie Library, sign in (don’t worry if you are not a member yet, sign up and the password will be emailed to you!!! Also, remember I include it in the bottom of the weekly email too!) and download Number 102 – Halloween Boho Rainbow. The downloaded file will have multiple file options SVG, PNG, DXF (If you have the free version of Silhouette Studio you will need this file) and EPS.
I really hope you enjoy the Halloween Boho Rainbow SVG.. Remember a Pinterest pin would be so appreciated! I can’t wait to see what you create. Please share with me. You can come back here and add a comment or add one to Facebook too!
DO NOT resell any of the files as digital download or any other form. DO NOT claim the files as your own. DO NOT modify and resell the files in any form.
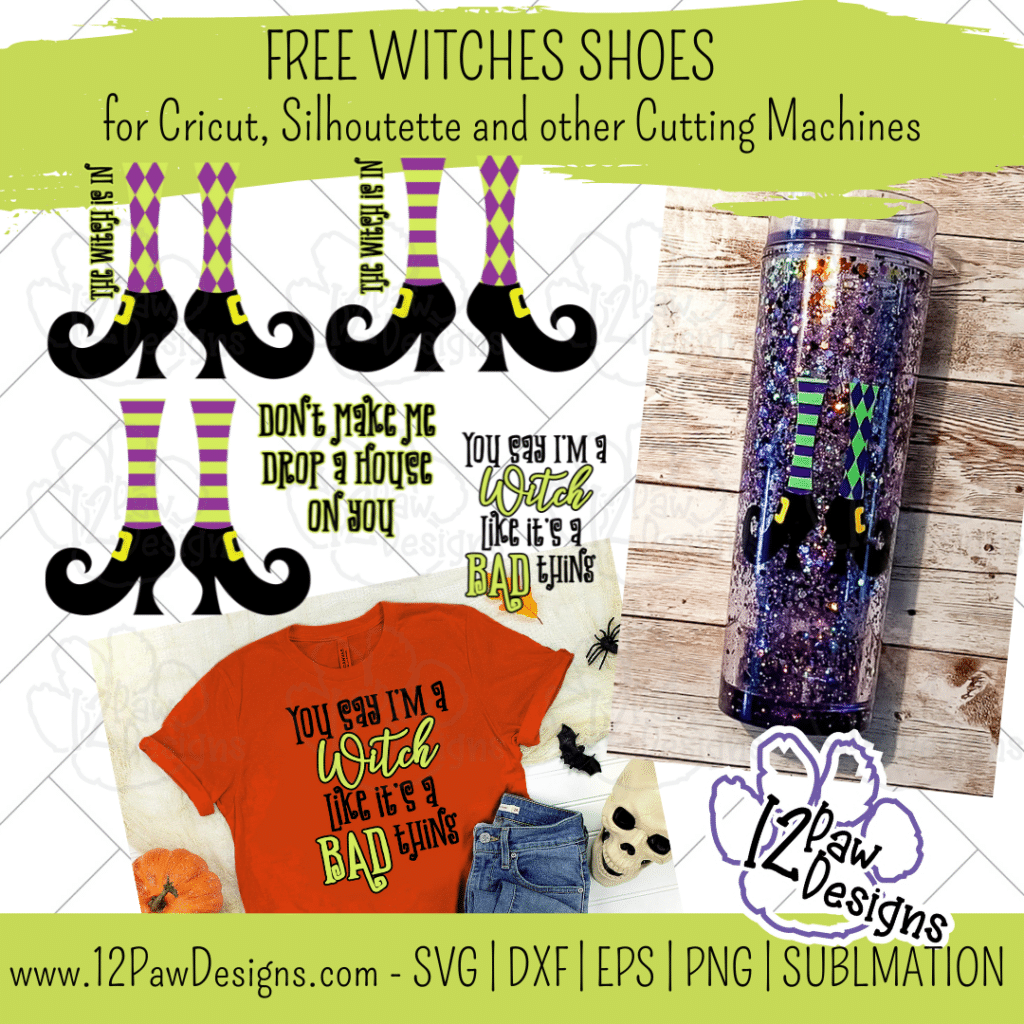
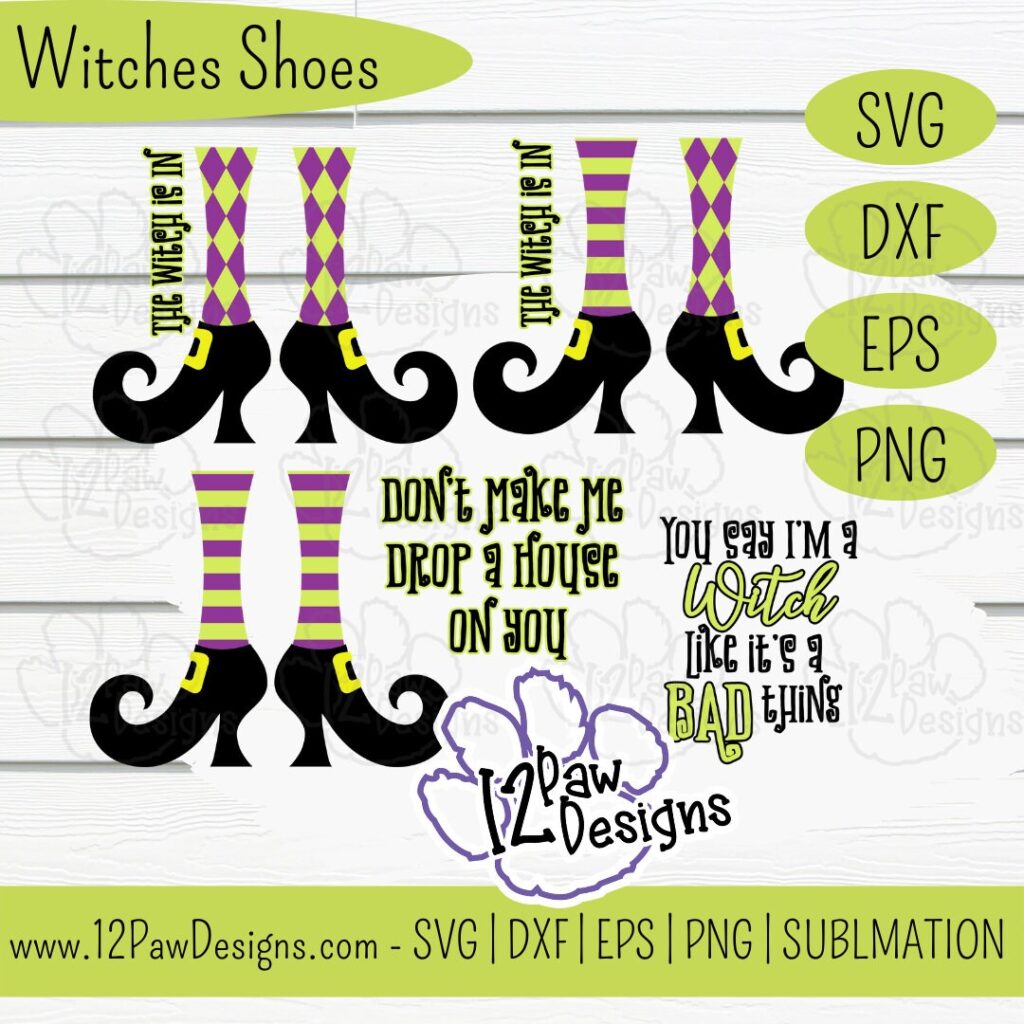
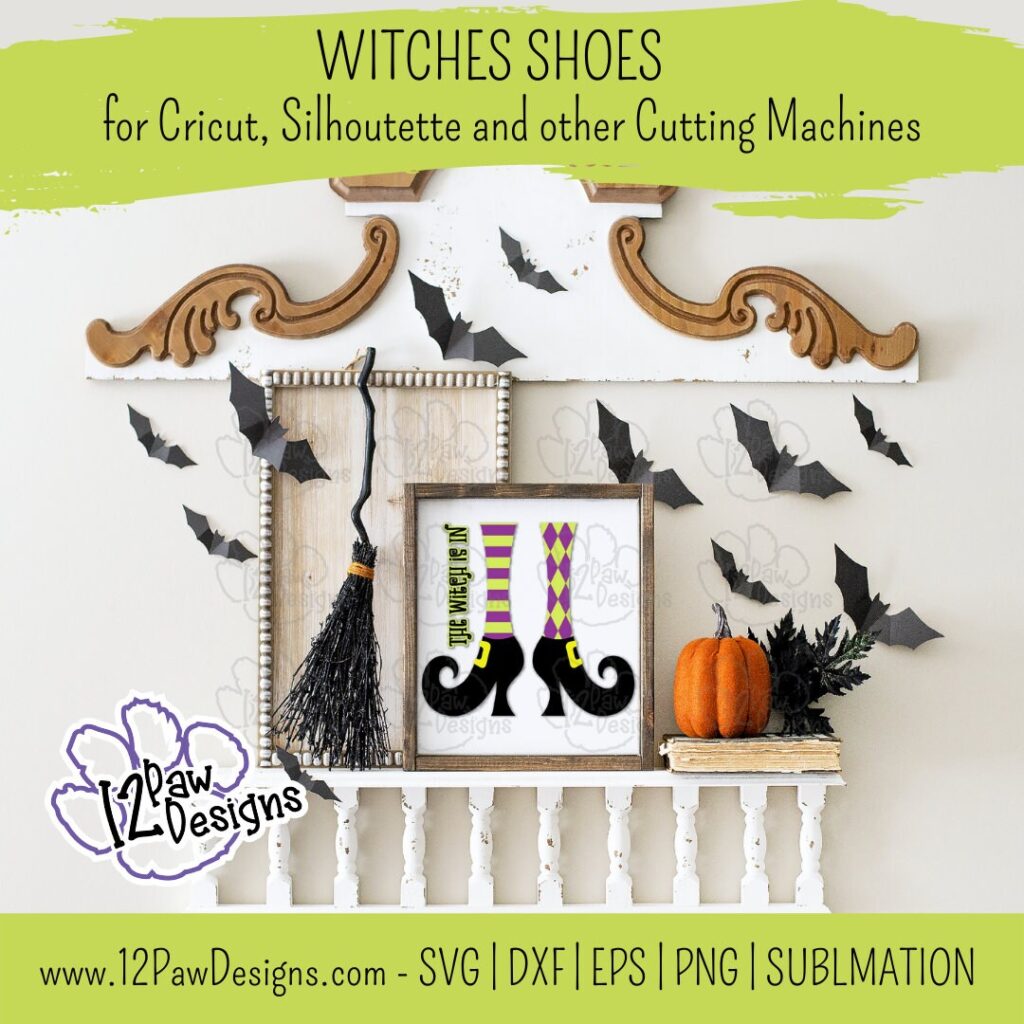
I love decorating with Witch legs and Witches Shoes during Halloween. It just reminds me that the Witch Is In! So I designed some fun shoes and leg patterns to help you decorate. Then add in some fun sayings: The witch is in, Don’t Make me Drop a House on you and You Say I’m a Witch like it’s a Bad Thing and you are sure to have some whimsical fun options to decorate with or wear!
Witches Shoes can be used on a shirt, a trick or treat bucket, sign, etc. I made an acrylic glitter tumbler with the files. There are so many possibilities.
This weeks FREE Witches Shoes PNG/SVG/cut file can be found in the Freebie Library. File number is 55 (remember the password is always in the bottom of your weekly email from me). I have also created a video tutorial along with some directions (a lot of don’t 😉 ) below on how I made this tumbler. I can’t wait to see your projects!!
Remember to join our Facebook Craft Group!!!
I am so excited to let you know that I started a Facebook Craft Group. The goal of the group is to welcome ALL crafters. I craft in different mediums, styles and type. Wood, vinyl, paint, sublimation, tumblers, etc. No matter what you do this group is for you. Come and join us!!! Click the link! Crafty Paws for All Cricut Silhouette Glowforge Sublimation and More
Baby Oil is an option – You do not need the water and Glycerin then
UV Resin and Light
Glitter – I used a mix of fine and chunky
Parchment Paper
Weeding tools, scissors, cutting knife, transfer tape, etc
Rubbing alcohol
Cotton pads
Scrapper
Plastic mix cup, popsicle stick, gloves
Syringe or condiment bottle from the dollar tree
Video Tutorial – Witches Shoes Tumbler
Here are the steps I took to make my tumbler
Step 1 – Open the file in your favorite cutting software. Cut vinyl to the size you need for your project.
Step 2 – Take your double wall tumbler and your drill and drill a hole into the bottom. NOTE: Care to only go through the first layer!! Reverse the drill to get it out and keep particles out. Also, make sure you are doing it to the edge of the tumbler to help get the glitter and liquid in,
Step 3 – Mix your glitter up. Now, there is such a thing as too much glitter. When I made my cup I put way to much in and had to work on getting some out. I save you from having to watch that part!
Step 4 – Now add the glitter to the tumbler. Couple of things I found that could be helpful is to tape a “glitter shield” around the cup. Just a piece of typing paper taped. It would help keep glitter spill to a minimum. Then a small funnel would help. I used paper. However, it was not working. So this is were the shield would help and then I did a taping motion to get the glitter in.
Step 5 – Now for the liquid mixture. I started with a vegetable glycerin and distilled water mix. However, because i had too much glitter it was not floating. I ended up working to get some out. I did grab another tumbler and added glitter and the glycerin\water mix and that seem totally fine. Back to my original tumbler…I ran out of vegetable glycerin and thought I would try baby oil. This works too, it is just a slower float. To add your liquid to the tumbler I used a large syringe. However, you could use condiment bottles from the Dollar Tree. Tilt your cup to get the air bubbles out and get as much liquid in as you can. Put your finger over the hole and shake it and tip it to make sure it is the way you like it.
I also added a mica powder to the glycerin\water mix. It tends to sink with the glitter so I don’t think I would do it again. However, it all is about what you like and what you want it to look like. I am sharing things i tried to help you along the way.
Step 6 – Once your tumbler is the way you would like clean off the bottom with alcohol and a pad. Next take your UV Resin and cover the hole. Then put the light over it. Repeat. Make sure the cup sits flat also. I ran my light a few times to make sure it was sealed.
Step 7 – This is something extra I did. Just to make sure the bottom was sealed good. I took and covered the bottom with UV and then added fine glitter. Chunky can cause you issues to get it smooth so stick too fine. Use your popsicle stick, silicone brush, etc and smooth it out. Then again use the light multiple times to make sure it is sealed.
Step 8 – Clean the area of the tumbler where you are going to place the vinyl with alcohol and a pad. Set aside.
Step 9 – Now to weed our vinyl. I then used parchment paper to help me layer my vinyl. I used the mixed leg pattern and did the pattern over the legs. Then layered the legs over the shoes.
Step 10 – Apply the vinyl to the tumbler. Make sure you rub it on well.
Step 11 – Shake and play with the tumbler!!! Enjoy!
To get your FREE file please go to my Freebie Library, sign in (don’t worry if you are not a member yet, sign up and the password will be emailed to you!!! Also, remember I include it in the bottom of the weekly email too! 😉 ) and download Number 55 – Witches Shoes. The downloaded file will have multiple file options SVG, PNG, DXF (If you have the free version of Silhouette Studio you will need this file) and EPS.
I really hope you enjoy Frankenstein. Remember a ? Pinterest pin would be so appreciated! I can’t wait to see what you create. Please share with me. You can come back here and add a comment or add one to Facebook too!
DO NOT resell any of the files as digital download or any other form. DO NOT claim the files as your own. DO NOT modify and resell the files in any form.
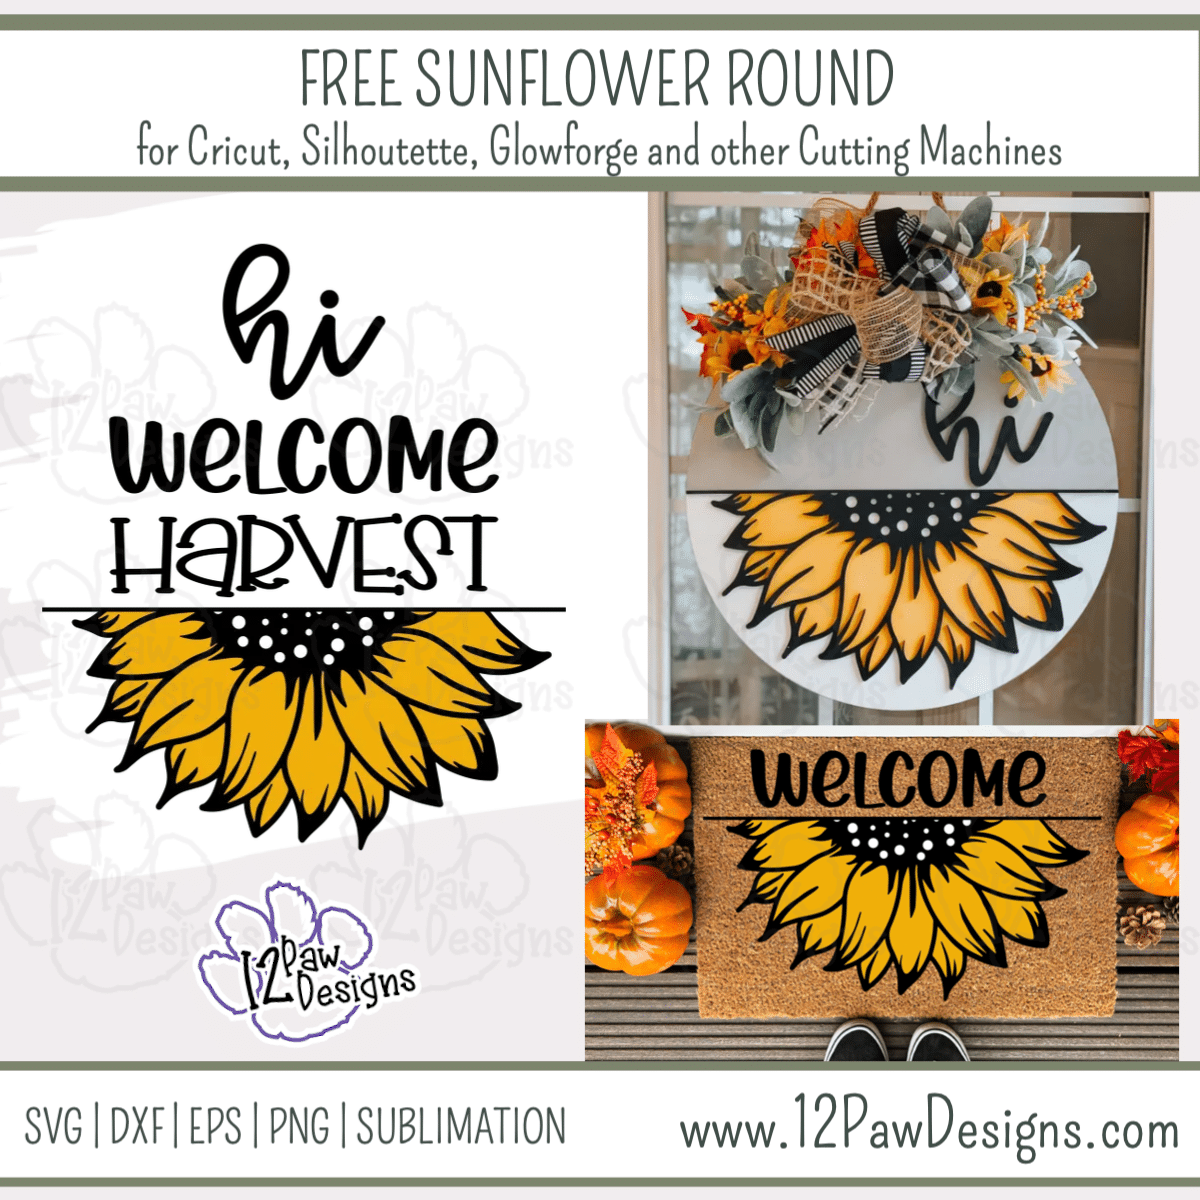
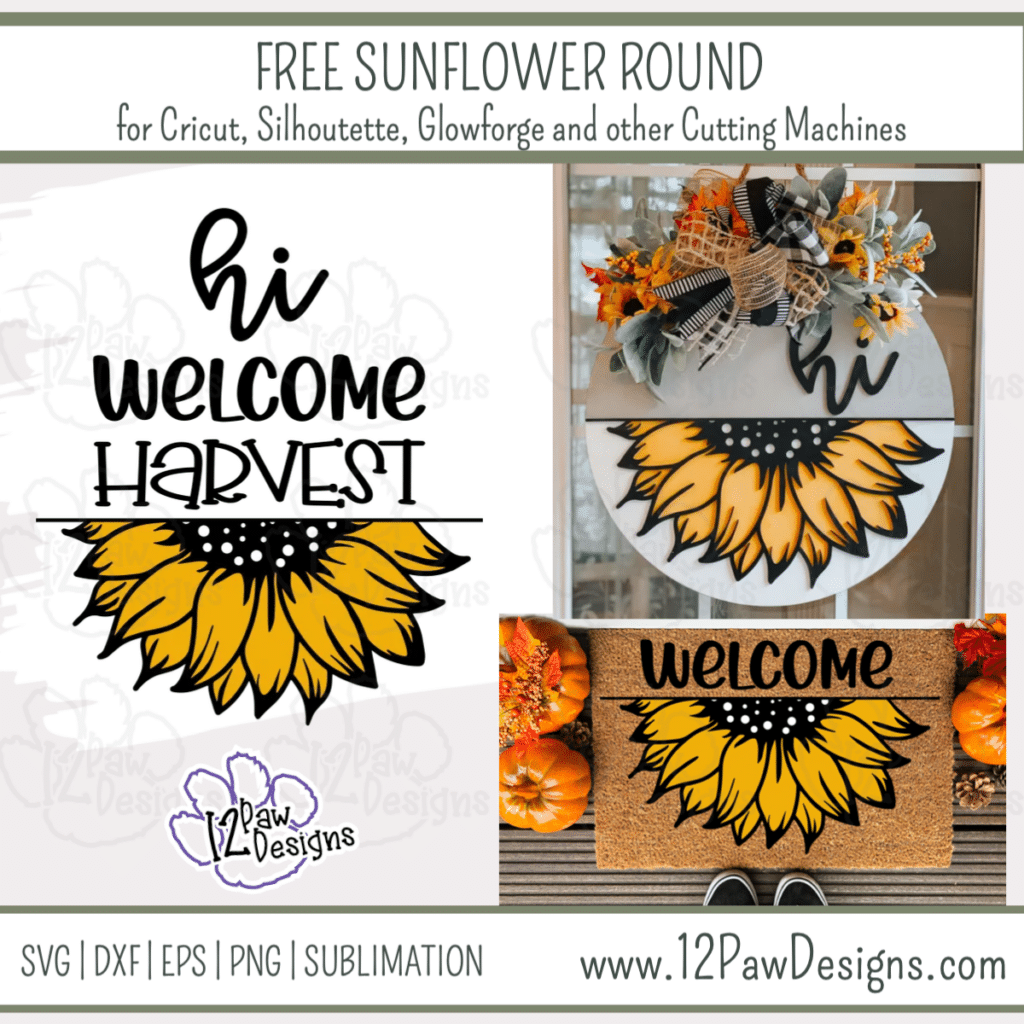
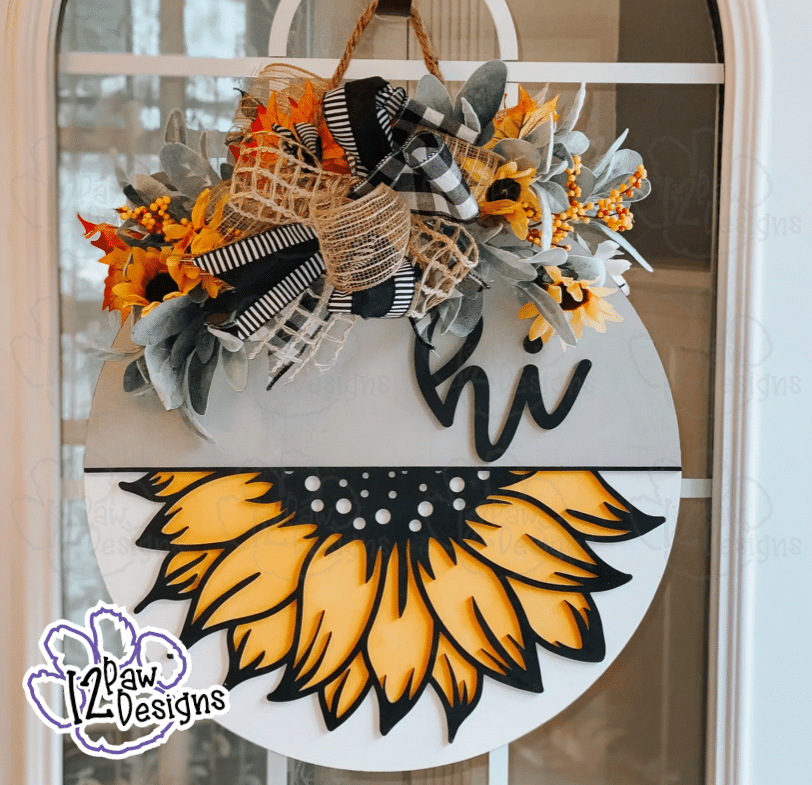
Fall is in the air so I design a pretty Sunflower Round. The Sunflower SVG has three different words you can use. You can also leave the words off and just use the Sunflower.
I made my round with a mix of paint and a wood overlay of the Sunflower outline. However, this can be done with all paint using a stencil or vinyl for the words and sunflower. This is such a versatile project. This would be pretty on a door mat, sign, tote bag, etc. So many options.
This weeks FREE Sunflower SVG/cut file can be found in the Freebie Library. File number is 51 (remember the password is always in the bottom of your weekly email from me). I have also created a video tutorial along with some quick directions below on how I made this beautiful Sunflower Round. I can’t wait to see your projects!!
Introducing my Facebook Craft Group!!!
I am so excited to let you know that I started a Facebook Craft Group. The goal of the group is to welcome ALL crafters. I craft in different mediums, styles and type. Wood, vinyl, paint, sublimation, tumblers, etc. No matter what you do this group is for you. Come and join us!!! Click the link! Crafty Paws for All Cricut Silhouette Glowforge Sublimation and More
Prepped MDF board – I cut the sunflower outline overlay on the Glowforge. However, vinyl works too!!!
Stain or paint of Choice – I painted the round grey and white. The sunflower I used black and then yellow for sunflower
Sand paper or sanding block – to prep your round
18″ Round or round to your size
Painters tape
Brushes and Make-up sponges – get my from the Dollar Tree
Ribbon and floral to finish your round
Staple gun
Weeding tools, scissors, cutting knife, transfer tape, etc
Video Tutorial – Sunflower Round
Here are the steps I took to make the Round
Step 1 – Prep your board by sanding it. Find your board center and then use painters tape to mark your line. I then painted the one half grey. I had to mix paint for my grey. I didn’t have anything light enough. I used a heat gun to speed of drying. Once the grey is dry, tape that side off and use white to do the bottom half.
Step 2 – While everything is drying(if needed). Open the SVG file in your cutting software (note: if you have the free version of Silhouette studio you will need the DFX files). Size the sign according to the board you will be working with. Use your masking vinyl or mylar to cut out the sunflower petals. Then cut your sunflower outline in either wood or vinyl.
Step 3 – Once your stencil or mylar is cut do your weeding. Remember you are weeding the parts you will be painting. Mylar is great for making reusable stencils. If you are using vinyl for your sunflower outline weed that now and use transfer tape on the vinyl.
Step 4 – Lay your stencil or mylar on your round. Since I was using a wood over lay I used it to help me line everything up. If used vinyl you can do the same thing, however, use a piece of parchment paper. Remove the backing to the vinyl and then lay it on the parchment so it doesn’t stick. Line everything up and apply the stencil mask or mylar. Note: you can paint outside your lines, I know…it’s ok on this one to go outside the lines. The vinyl or wood will cover it.
Step 5 – Now paint the sunflower leaves. I used a make up sponge. TIP: Light paint and light handed goes a long way. If you put too much paint on the sponge or are too heavy handed you will cause bleeding. I went over my leaves a couple of times. It did not take any extra time and it dries faster this way.
Step 6 – I set my round to the side and painted my Sunflower outline and Hi black.
Step 6 – I then applied the wood to the top of the round. If things don’t line totally back up?? It’s ok. You can always touch up with a little paint. Nobody will notice. I had to “touch” up a few spots myself.
Step 7 – Now to make a bow and add your floral. I used 4 kinds of ribbon for the bow. I cut 2 strips of each about 15″ long. You can watch the video for this portion. I also had a piece of floral wire read to tie off the bow. You could also use a zip tie. So take each piece of ribbon and fold two thirds of it into a loop. Leave a third hanging. Pinch where the loop meets. Then do the same with the next piece of ribbon. Do this until all 8 pieces are looped and pinched in your hand. It should look like a ribbon bouquet at this point. Now take your wire or zip tie and tie it off where you have it pinched. Now fluff. I pulled the tails out to the side and fluff the loops. NOTE: If you dont want to do a pow you could use a larger sunflower in its place and fill in the florals more.
Next take your florals and your staple gun and apply to the round. I used ¼” staples. You are probable wondering why staples vs glue, that is due to heat. I have had florals fall off and I am not a light handed gluer either. I have a North facing door so the heat can get crazy. You could do the glue and then add the staples. If just makes sure that if you are selling your round you dont have to worry about fall off. Once I had my florals I added the bow.
To get your FREE file please go to my Freebie Library, sign in (don’t worry if you are not a member yet, sign up and the password will be emailed to you!!! Also, remember I include it in the bottom of the weekly email too! 😉 ) and download Number 51 – Sunflower Round. The downloaded file will have multiple file options SVG, PNG, DXF (If you have the free version of Silhouette Studio you will need this file) and EPS.
I really hope you enjoyed the sunflower round. Remember a ? Pinterest pin would be so appreciated! I can’t wait to see what you create. Please share with me. You can come back here and add a comment or add one to Facebook too!
DO NOT resell any of the files as digital download or any other form. DO NOT claim the files as your own. DO NOT modify and resell the files in any form.
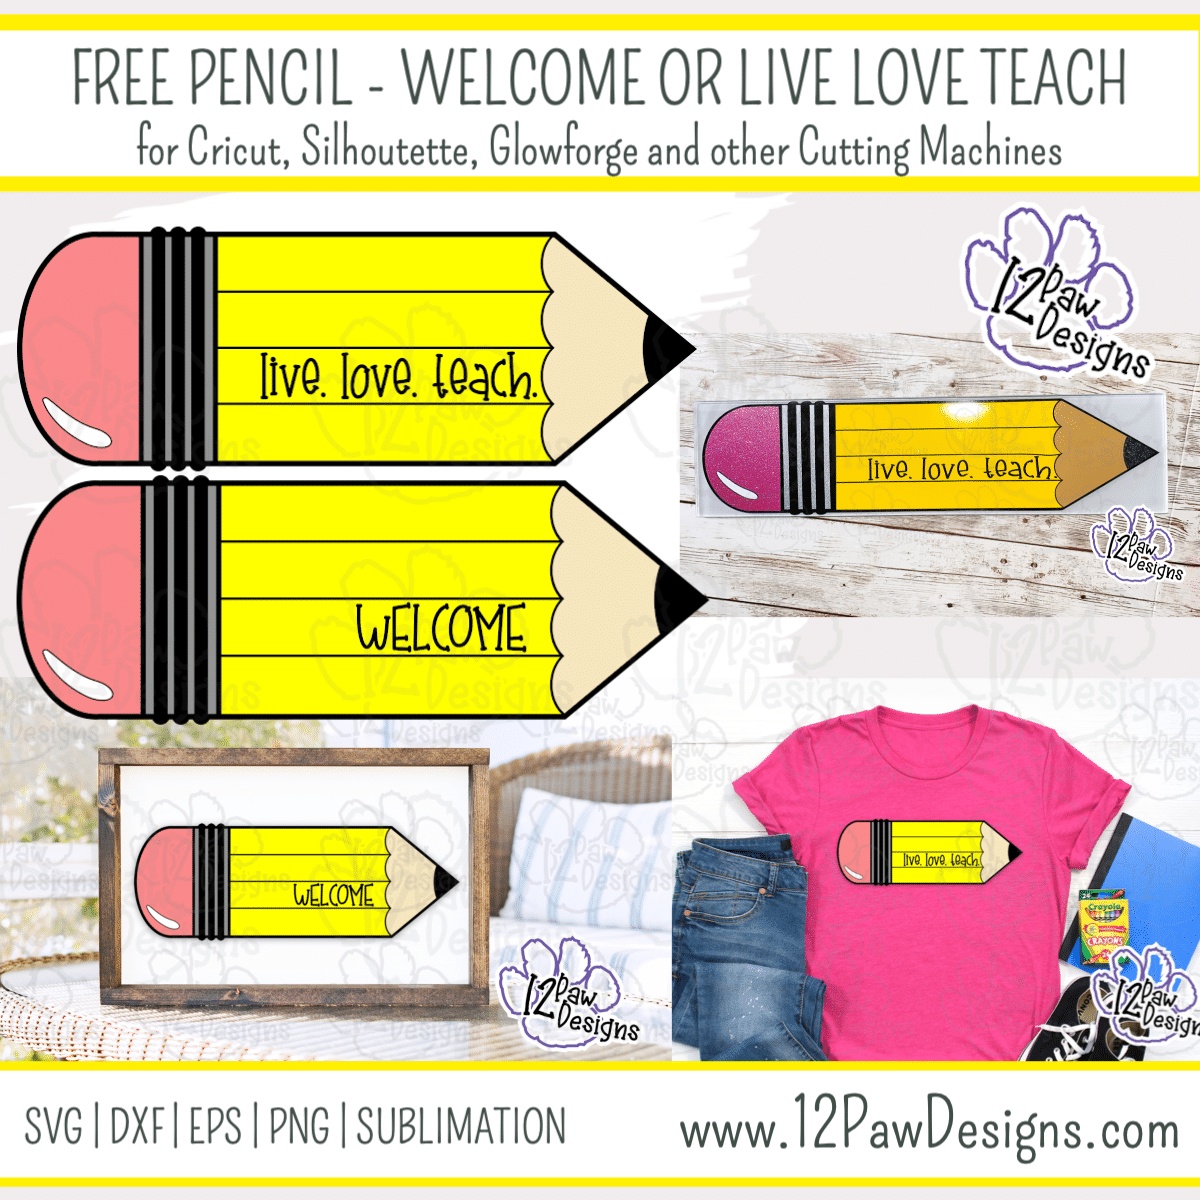
This week I am sharing a fun Free Teacher Pencil with either Live Love Teach or Welcome cut file! You can change colors, mix media, put it on a board, etc.
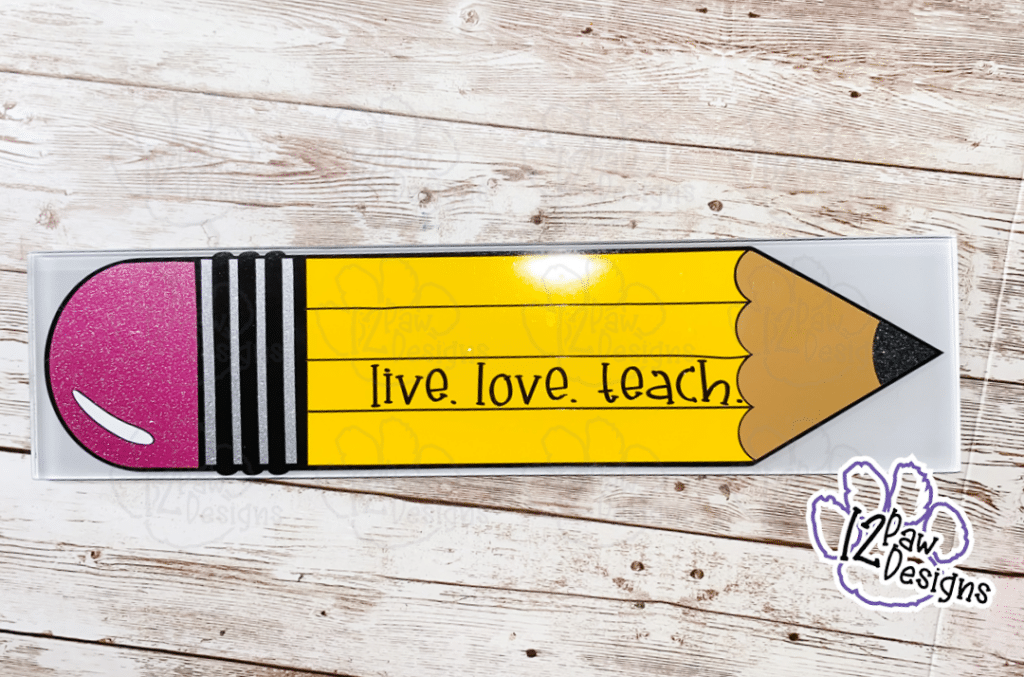
This weeks FREE SVG can be found in the Freebie Library as number 46 Teacher Pencil. I am going to use the file and make a fun subway tile!! The video and steps are too are below. This project is quick, fun and inexpensive and would be an awesome little gift. You could put it on a shirt or duplicate to make a trio and decorate a mug, shirt, etc.
Weeding tools, scissors, cutting knife and parchment paper
Alcoholand cotton pad
Teacher Pencil Video Tutorial
Let Your Creativity go…
Teacher Pencil DIY Steps….
Step 1 – Open the SVG file in your cutting software (note: if you have the free version of Silhouette studio you will need the DFX files). Size the file elements as need for the project you are making. I like to use weeding boxes to help me weed my vinyl. Cut your vinyl out. Make sure all your pieces are cut before ejecting from the cutting machine.
For my tile I mixed glossy vinyl with glitter vinyl.
Step 2 – Use the alcohol and cotton pad and clean the surface of your tile. You want all the oils from hands, etc off of the tile and then set aside to dry.
Step 3 – Time to weed your vinyl. This project is fairly easy to weed. The thin lines for the pencils with a little hard. I used a tweezers to hold down an edge and then weed. I also left the words in there and cut to make it easier to place.
Step 4 – Time to layer the vinyl. I did the layering on the tile due to the different parts and to make sure they lined up properly. You can use parchment paper to assist or eye ball and go!!!
I did lay my eraser down wrong, however, i pulled it off and trimmed it and it was just fine!
Step 5 – Add ice and your drink and watch the fun color change!
How to get your FREE Files
To get your FREE file please go to my Freebie Library, sign in (don’t worry if you are not a member yet, sign up and the password will be emailed to you!!! IT ALSO IS INCLUDED EVERY WEEK IN MY NEWSLETTER!!) and download Number 45 Teacher Pencil. The downloaded file will have multiple file options SVG, PNG, DXF (If you have the free version of Silhouette Studio you will need this file) and EPS.
PIN ME Please!!!!
I hope you enjoyed this tutorial and thank you again for stopping by and being part of my dream and 12 Paw Designs! Have an amazing week! Remember a ? Pintrest pin would be so appreciated! I can’t wait to see what you create. Please share with me. You can come back here and add a comment or add one to Facebook too!
Also, follow me, links below, to see fun stuff I make through out the week. Items will be going into the shop! https://12pawdesigns.com/shop/
If you have any questions or run into an issue please let me know!!!
DO NOT resell any of the files as digital download or any other form. DO NOT claim the files as your own. DO NOT modify and resell the files in any form.
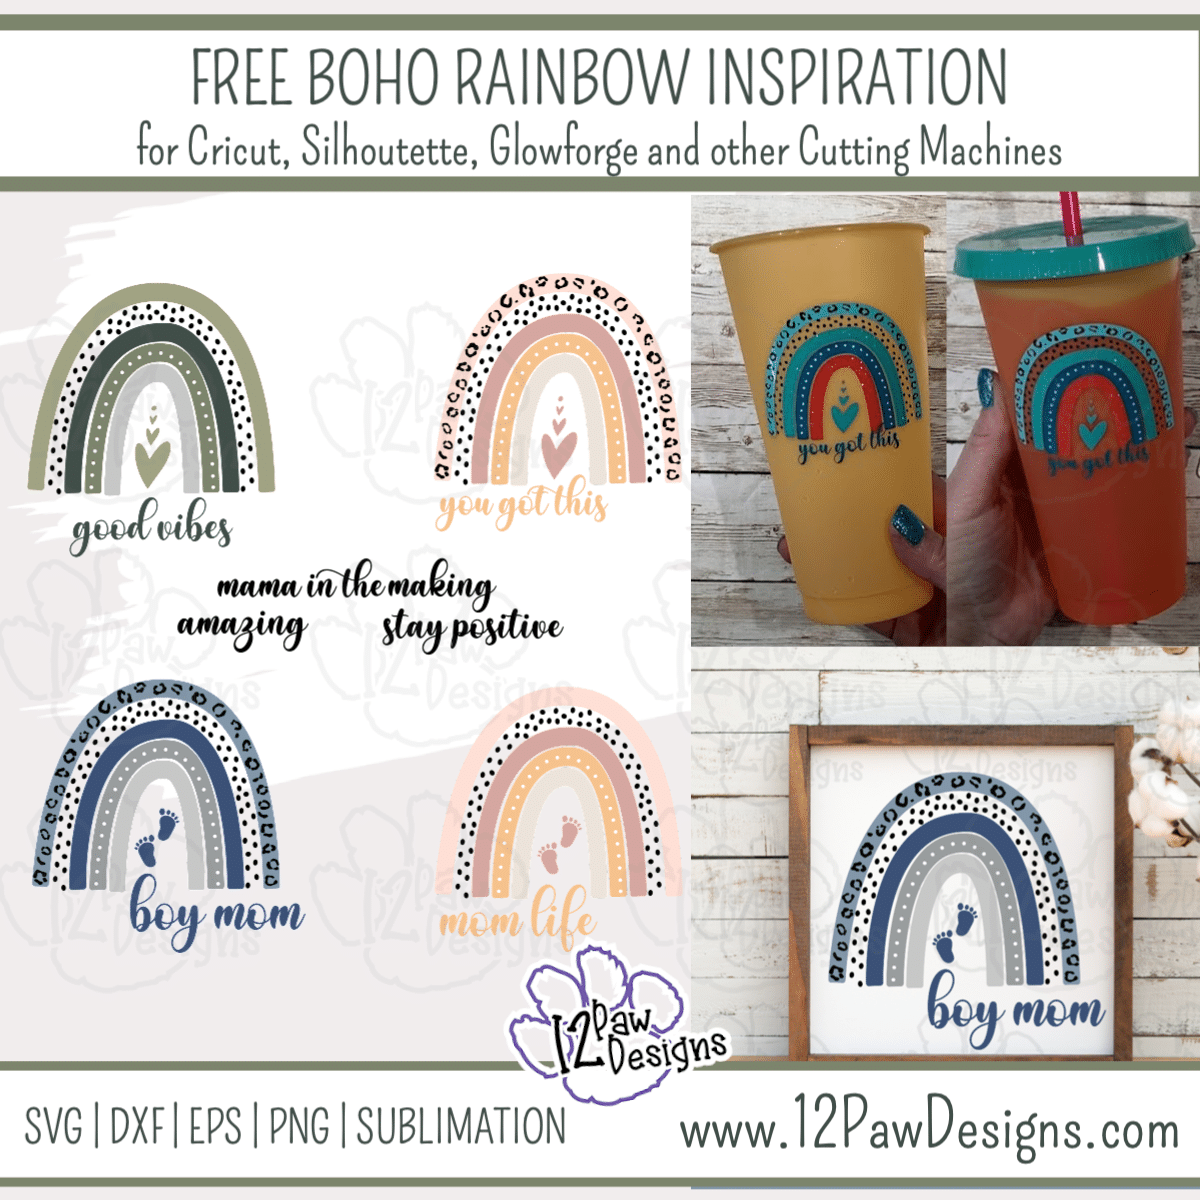
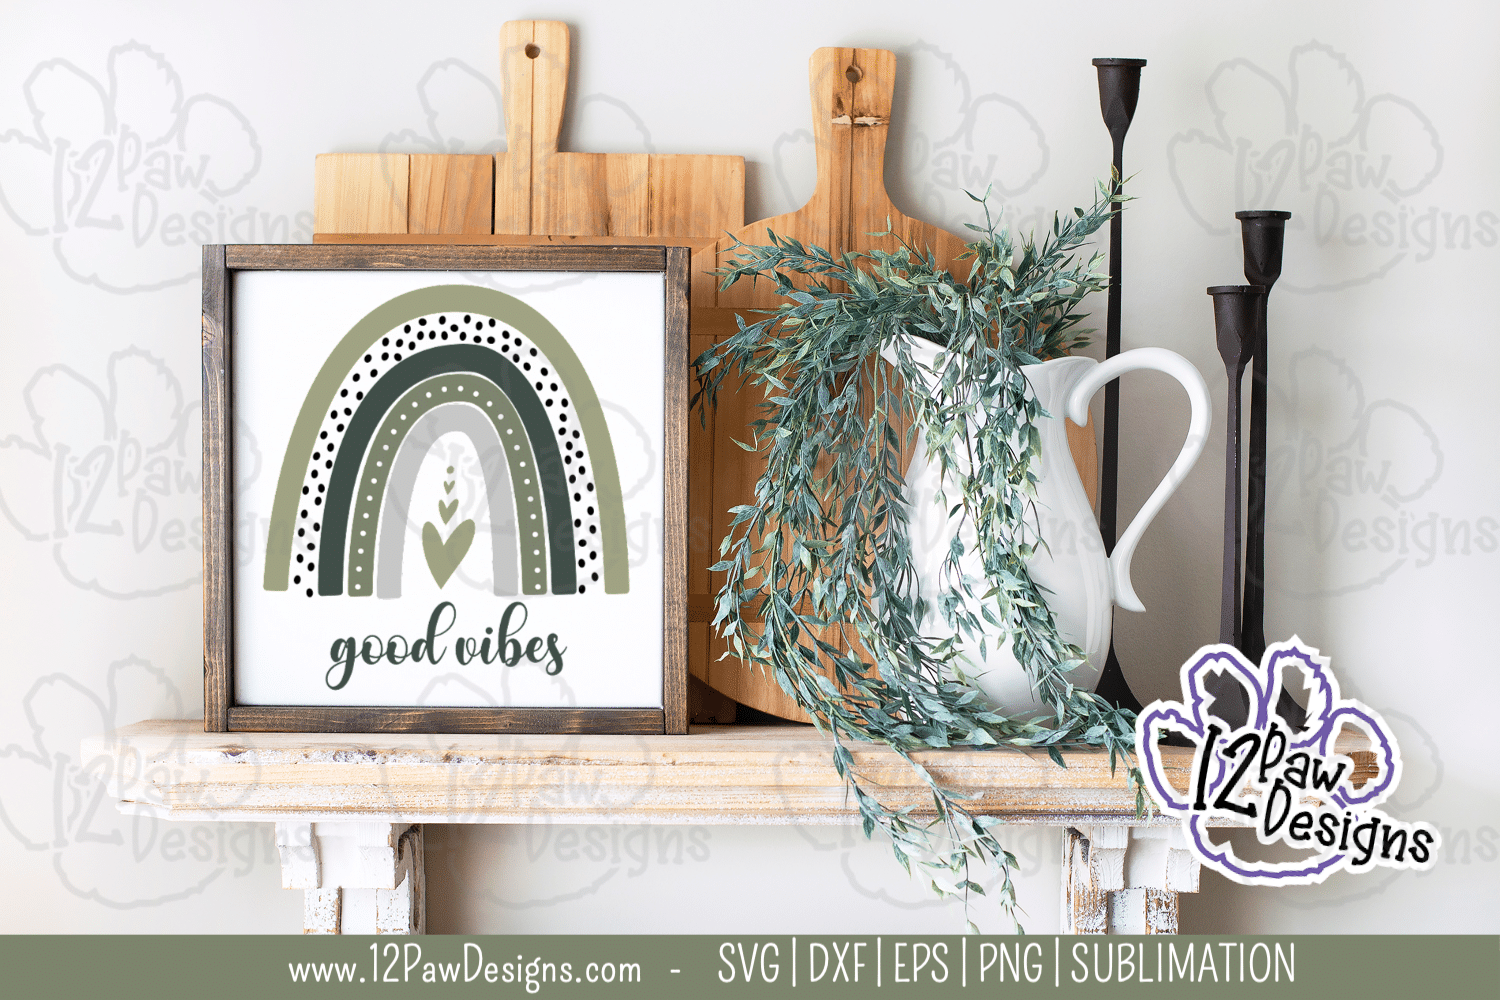
Boho Rainbow For Inspiration and the Mama’s in our life! I have designed some fun boho rainbows. I have added inspirational quotes and created a special rainbow mama with baby foot prints!! You can cut or do sublimation, etc. You can leave the leopard print on or take it off. Add one of the quotes and you have a design for you!!!
This weeks FREE SVG can be found in the Freebie Library as number 44 Boho Rainbow Inspiration\ Rainbow Mama. I am going to use the file and make a fun color change cup!! The video and steps are too are below.
Remember this would be adorable on a coffee cup, shirt, onsie, etc!!! Play and have fun!!! Please share what you have made too!!! I would also very much appreciate a pinterest pin!!!
Weeding tools, scissors, cutting knife and parchment paper
Color Changing tumbler – I found my at Walmart
Alcoholand cotton pad
Boho RainbowVideo Tutorial
Here is some other Ideas!
Here are the steps I took make the my color changing Tumbler
Step 1 – Open the SVG file in your cutting software (note: if you have the free version of Silhouette studio you will need the DFX files). Size the file elements as need for the project you are making. I used weeding boxes to help me weed my vinyl. Cut your vinyl out. Make sure all your pieces are cut before ejecting from the cutting machine.
NOTE: You can do the leopard or not, the dots on the rainbow can be left off etc. Have fun with it!!
Step 2 – Use the alcohol and cotton pad and clean the surface of your cup. You want all the oils from hands, etc off of the cup. Set aside to dry.
Step 3 – Time to wee your vinyl. Because I was going on a cup my image was small. Somethings I needed to reverse weed. My transfer tape was pretty sticky and did not want to release my vinyl all the way. So there were a few spots where it took me a little longer to weed.
Step 4 – User your transfer tape parchment paper to line up your rainbow. I applied my my black leopard and dots after on the cup. However, I think it would have been way easier to do it before. So starting with the leopard and dots and apply to the rainbow strips. I used the parchment paper to line up my rainbows to make sure they were where I wanted them and attached it to the transfer tape. See video on how I did this.
Step 5 – Let’s apply our vinyl!!! I use one of my extra squeegees with the ridges to hold my cup. I took my transfer tape and applied it to the cup. Then I applied my words and your cup is done!!!
Step 6 – Add ice and your drink and watch the fun color change!
How to get your FREE Files
To get your FREE file please go to my Freebie Library, sign in (don’t worry if you are not a member yet, sign up and the password will be emailed to you!!! IT ALSO IS INCLUDED EVERY WEEK IN MY NEWSLETTER!!) and download Number 44 Boho Rainbow Inspiration\ Rainbow Mama. The downloaded file will have multiple file options SVG, PNG, DXF (If you have the free version of Silhouette Studio you will need this file) and EPS.
I hope you enjoyed this tutorial and thank you again for stopping by and being part of my dream and 12 Paw Designs! Have an amazing week! Remember a ? Pintrest pin would be so appreciated! I can’t wait to see what you create. Please share with me. You can come back here and add a comment or add one to Facebook too!
Also, follow me, links below, to see fun stuff I make through out the week. Items will be going into the shop! https://12pawdesigns.com/shop/
If you have any questions or run into an issue please let me know!!!
DO NOT resell any of the files as digital download or any other form. DO NOT claim the files as your own. DO NOT modify and resell the files in any form.