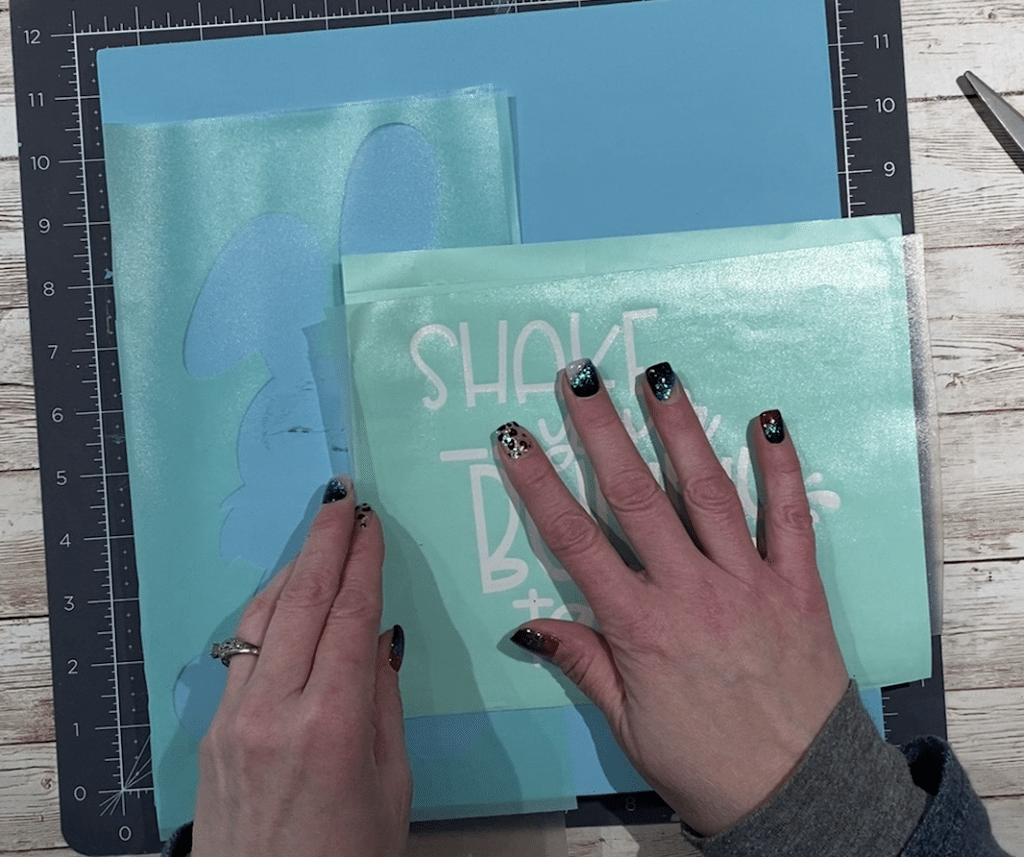
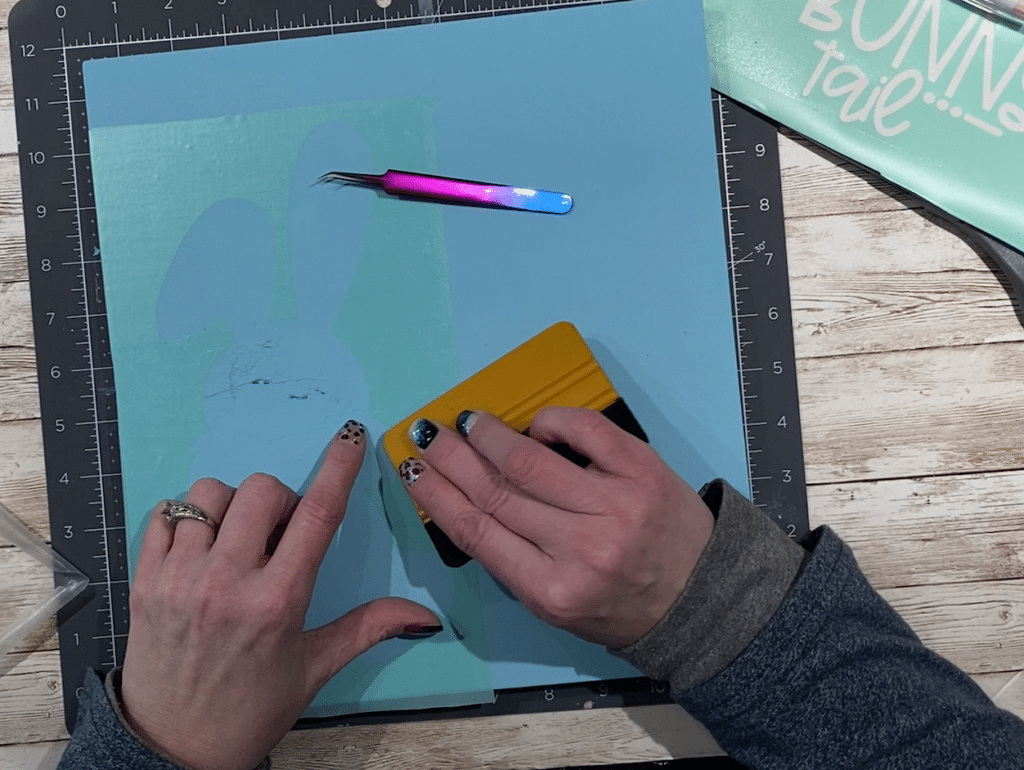
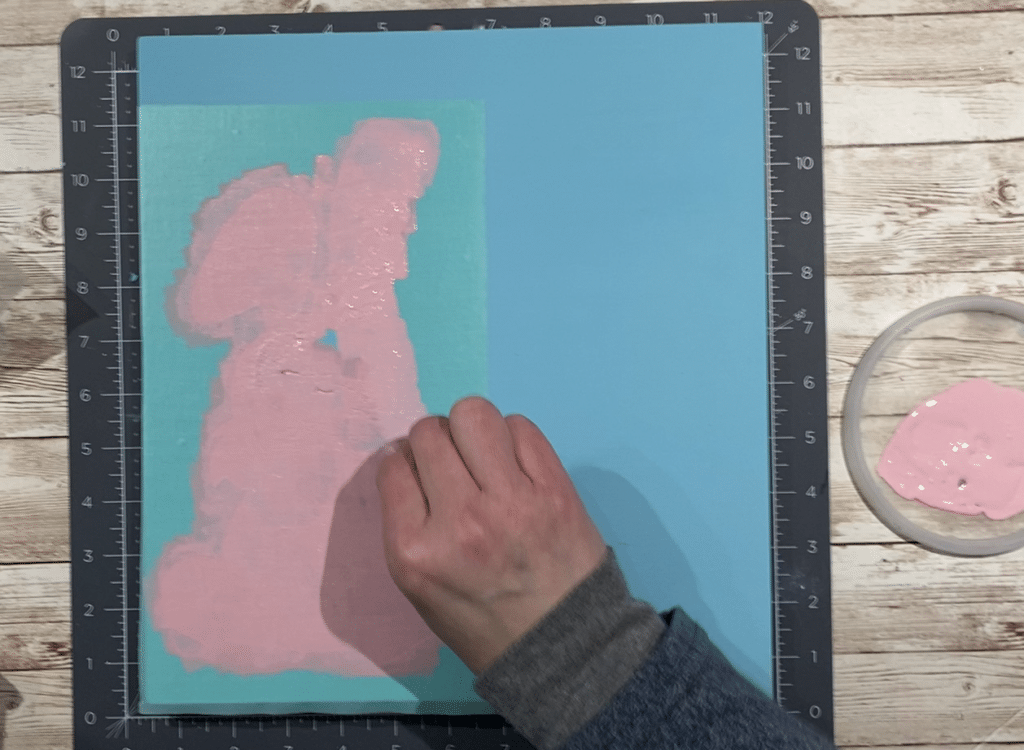
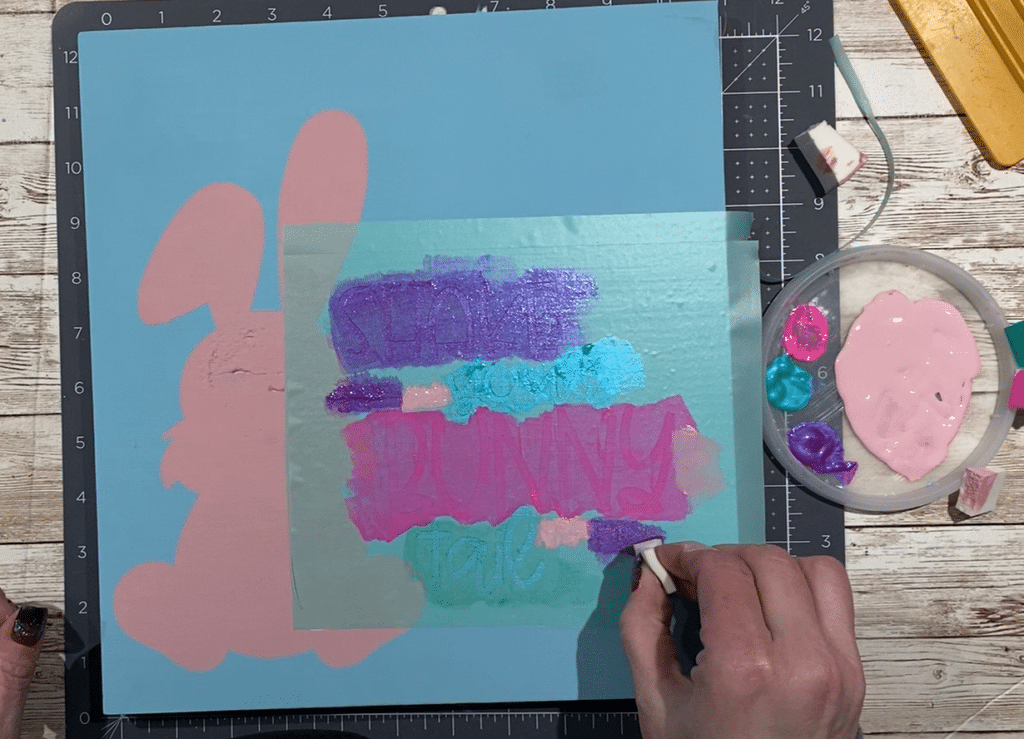
What an amazing week!!! I was one of the featured designers for the 123 Alumni Showcase. Shake your Bunny Tail was a huge success. If you have not posted your project please come back and post in the comments or Facebook page. I would love to see them. Now its Time to Hip Hop Down the Bunny Trail! I have designed 2 PNG\printable files for you One is a boy and the other is a girl. They make great print and cuts for kids or adult shirts, Tote bags, etc. This week in the tutorial I will be doing sublimation and then some bleach techniques on on 2 different shirts. So lets get started!
Hip Hop Video Tutorial of My Process
Hip Hop Supply List
- Cutting Machine and software
- Hip Hop Bunny Images (click on the link)
- Sublimation printer or transfer – I printed mine on a converted Epson WF7720
- Sublimation paper – I used Asub from Amazon
- Sublimation Ink – Right now I am using Squid ink that I purchased off of Etse
- Heat press or easy press that can do 400 degrees
- Parchment or butcher paper
- Teflon sheet
- Lint Roller
- Shirts – I used Gildan Softstyle shirts. I used the heather version because they are 65% poly and 35% cotton.
- Bleach (I used Clorox, regular Clorox) and spray bottle
- Peroxide and spray bottle
- Cardboard or something to put in the shirt during the bleach process
- Chip brush and cup to get a little more detailed on bleaching
- I also used Clorox
- Rubber Bands
Now let’s talk Sublimation and Bleaching. Remember, this is my steps. You may have a different printer and need to do things a little differently. These are the settings that I found that worked for me and have give me great results. Also, you do not have to do sublimation. These design can be used for print and cut too! The are PNG printable files. Have fun!

Step 1 – I will show you my steps using Silhouette Studio. However you can use Cricut Design space or anything that allows you to print. I went into my software, sized the image to the shirt size I wanted. I then went to print and the preview showed me it was not lined up properly. So needed to make a few adjustments to get it center on my page. Once I was done I then went into the print settings on the Mac. Please watch the video. I talk and show you how I setup the print settings. I actually went through them twice for each file. Once they have printed I grabbed them off of the printer.
Step 2 – Pressing the image. We are doing two shirts. One shirt we are going to press the sublimation print first and then bleach. So find the center of your shirt. I also put a slight crease in my sublimation print so I know where the center was there. I heated my press to 400 degrees and set my time to 60 seconds. While it was heating up I put a piece of parchment or butcher paper between the layers. This helps in case of ink transfer so it does not go onto the back side. Some people will put their pressing pillow between the layers which is fine, however, i still put the paper there so i dont get the ink on the pressing pillow. Next take a lint roller and clean off where the image is going to go. Have a good laugh in the video. I bought sticky…um yeah…they are sticky! Place your image on the shirt and when the press reach temp press for 60 seconds. Once it is done pull the paper off. I did save mine so i could use it during bleaching so that i could bleach that area better. You will see that in the video.
Step 3 – Lets get ready to bleach. One shirt i did a swirl or spiral. I laid the shirt flat, pinch it in the center and then spun it. Make sure that you have rubber bands on hand and ready to go. Once i have it spun I used the rubber bands to hold the shirt in place. I then wet the shirt. Side note – I should have wet the center area a little better. Squeeze out extra water.
Step 4 – I then took my shirts outside. I put plastic tote lids inside of my shirts because it was windy the day i was bleaching and didn’t want my shirts to go flying. I also used Clorox Bleach toilet bowl cleaner on one of the shirts to give it a different look. I needed a piece of cardboard under the first layer to help with absorption and drying of the bleach. So i took the toilet bowl cleaner and put it on the shirt. For me I wished i would have stayed away from the direct area where my image was going to go. Then on the spun shirt i took the bleach bottle and sprayed it. You want to get both sides. Now, I used straight bleach because I have a poyl\cotton blend. If you are are doing more cotton you want to add water to your bleach or you could get holes. Remember, you cant remove bleach so be careful. I should have hit the center of the spun shirt better than i did. However, again, no 2 shirts will be identical and you really need to play around to find what works. Again, have fun!!! Remember safety! Well ventilated area and i wore a glove if i was going to be touching bleach. Let your bleach sit and watch it. If you have a good sunny day it will help. However, sprint in Wisconsin isn’t always the warmest or sunniest so it took me a little longer.
Step 5 – More bleaching…after the the spun shirt was dry and the same for the other shirt it was time to open and bleach the area where the image goes. I wanted that area whiter. So i used the waste from my one shirt for sizing. Then I put some bleach in a cup and and with a chip brush I bleached around the paper and then painted bleach on. I also added more spray to get the bleach splatter. I had to do the cleaner shirt a few times because of putting some right where the image was going to go. But it was a fixable!
Step 6 – Neutralizing…Once your shirts are bleached the way you want put them in some cool water with peroxide to neutralize the bleach. Then i tossed them in the wash. It was a good time to wash my towels too! 😉
Step 7 – Once they are washed and dried time to do the other shirt with our other print. Repeat Step 2. Now, this happened to me and others. After I pressed the shirt and lifted the top of the press I saw my shirt yellowed. I took some peroxide in a spray bottle and sprayed it well. It took 2x of doing this and drying it to get the yellow out. This can happen when you apply the image after bleaching. If you have your image and shirt I HIGHLY recommend to press first. I also recommend to wait 24 after pressing to get a vibrant image. I was to excited and literally ran and started the bleach process. Even you press at night and then do your bleaching the next day that would help. Again, these are all suggestions. You do you!!!

Hip Hop Bunnies PNG – Hip Hop Bunnies Sublimation – Cricut Silhouette – PNG/Printable – Digital Download Hip Hop Bunnies PNG – Hip Hop Bunnies Sublimation – Cricut Silhouette – PNG/Printable – Digital Download 
Hip Hop Bunnies PNG – Hip Hop Bunnies Sublimation – Cricut Silhouette – PNG/Printable – Digital Download 
Hip Hop Bunnies PNG – Hip Hop Bunnies Sublimation – Cricut Silhouette – PNG/Printable – Digital Download 
Hip Hop Bunnies PNG – Hip Hop Bunnies Sublimation – Cricut Silhouette – PNG/Printable – Digital Download
To get your FREE file please go to my Freebie Library, sign in (don’t worry if you are not a member yet, sign up and the password will be emailed to you!!!) and download Number 22 Hip Hop Bunny. This download file will have 2 PNG files, a boy and a girl.
Want to learn how to design your own files???
I took the amazing 123-SVG class in 2019 and never regret at all! I have learned so much and having a blast creating my own files. I have setup an Etsy shop, have this website where i sell the files I have created. I never thought I was going to do any of this when i took the class I really just wanted to make my own files. I guess there were bigger plans for me and I walked through the door that opened up for me. I will never look back! I am having way to much fun!!! Class is 7 weeks long two different software packages are taught. You can decide which one you want to use. Then each week you will learn skills make some amazing files, and there are awesome projects. The course is setup for different experience levels as well. Now lets talk about support Not only do you have our amazing teach Michelle, you will have 2 coaches, one based on color and another based on the software you decide. I will be coaching the Adobe Illustrator group…hint hint…. Then you buddy up too! We have a face group where you share, ask questions, etc!! It is so amazing! Doors open Monday, however, i believe Sunday night there might be a surprise opening!!! To learn more check out the link. Have questions?? Ask me! I am hear to help!
https://my-designs-in-the-chaos.mykajabi.com/a/2147484125/ooyweqfe
Thank you again for stopping by and being part of my dream and 12 Paw Designs! I hope I can be part of your dream when you sign up and take the 123-SVG class!!! Have an absolutely amazing day!!! Remember a ? Pintrest pin would be so appreciated! I can’t wait to see what you create. Please share with me. You can come back here and add a comment or add one to Facebook too!
Also, please check out my shop. I am always adding new designs. You might also find ready made tumblers in there in the future!!!
https://12pawdesigns.com/shop/
If you have any questions or run into an issue please let me know!!!
Lorri?
Lorri@12PawDesigns.com
Let’s Conntect!
Want to connect more with 12 Paw Designs???:
• Website: https://12pawdesigns.com
• FB Page: https://www.facebook.com/12pawdesigns/
• Instagram: https://www.instagram.com/12pawdesigns/
• Pinterest: https://www.pinterest.com/12PawDesigns
DO NOT resell any of the files as digital download or any other form.
DO NOT claim the files as your own.
DO NOT modify and resell the files in any form.