Tag: made with love

  • Word Search Time!

    Word Search Time!

    12PD Family Word Search

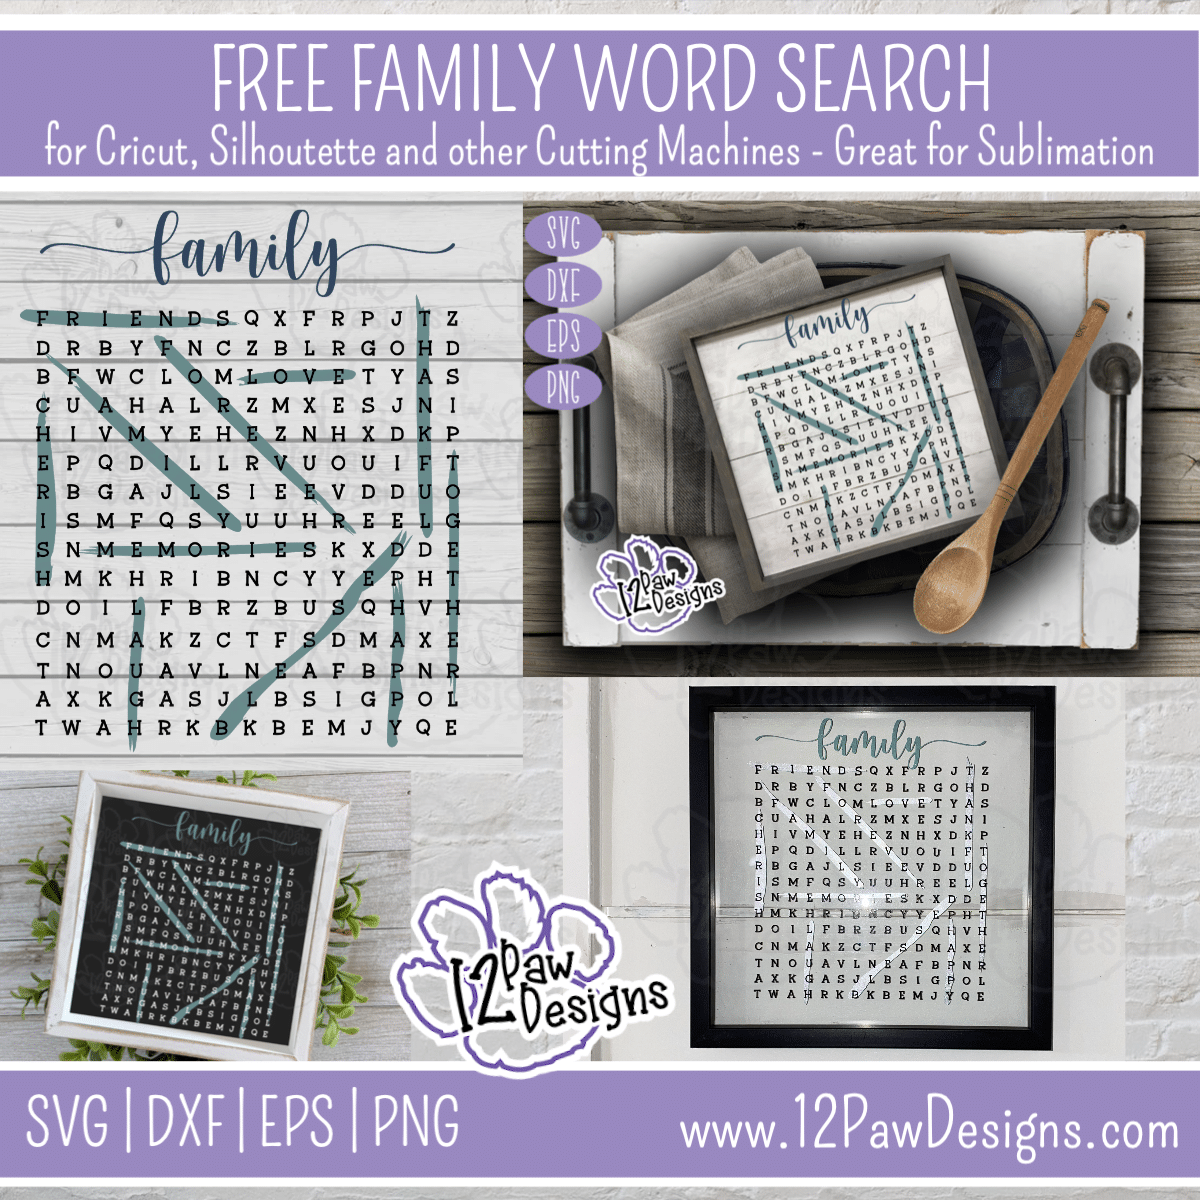
    I love games!!! I love to take time out to do a Word Search especially. So I thought I would so do something different and make a Family Word Search SVG Cut File. I even did a brush stroke behind all the words to you can hang it on, etc. This is a free file in the Freebie Library. I have also created a video tutorial along with a directions below on how I made my sign. The sign I am using I bought at the Dollar Tree. So it is a fun and inexpensive project to do! However, let your creative go and have fun with it. You could print it on vellum or a transparency too!! I also thought it would be super cute on a chalk board!!! Have fun and share your creativity!

    Family Word Supply List

    • Cutting Machine and software
    • Family Word Search Cutting Files from the Library (click on the link)
    • Vinyl– I used Starcraft for the black vinyl and the shimmering vinyl is StyleTech 2000 Ultra Glitter – 160 Sea Foam Green from 143vinyl (link is here)
    • Weeding tools, scissors, cutting knife, painters tape, parchment paper and transfer tape
    • Sign blank – I purchased my from the Dollar Tree #dollartreediy 
    • Alcohol
    • Acetate
    • Cotton Pads

    Family Word Search Video Tutorial

    I would like to note at 45 second in the video I go through how to pull it into Cricut Design space. At 4:45 I work in Silhouette Studio.

    Here is some more Inspiration!

    Here are the steps I took make the Word Search

    Step 1 – Open the SVG file in your cutting software (note: if you have the free version of Silhouette studio you will need the DFX files). Again, I would like to note at 45 second in the video I go through how to pull it into Cricut Design space. At 4:45 I work in Silhouette Studio. Size your cut file to the size of blank you are using. I am using a 7×7 Sign from the Dollar Tree. Since i was using a glass blank i reversed the paint stroke so you would adhere to the glass from the back side. If you are laying your letters on top of the brush strokes you will not have to do this. Also, I used weeding boxes around my elements. For the word search portion I easily could have used more to make the weeding process easier. Cut your vinyl out. Make sure all your pieces are cut before ejecting from your cutting machine.

    Step 2 – While our vinyl is cutting lets prep our blank. I used acetone and cotton pad to remove the saying on the sign. I did a acetone, swipe, fold pad, acetone, wipe, etc technique. Otherwise it smears it and takes longer to clean. Once that was done I use alcohol on a cotton pad and wiped the glass. I do this to make sure I get a nice clean surface. Set aside to dry.

    Step 3 – Now that everything is cut lets weed our vinyl. I was using an Ultra glitter and it was thicker. I needed to adjust my settings a little more because while it did cut it could have used another pass or a little more force for a cleaner cut. I ended up doing a reverse weed on the paint strokes to weed my vinyl. When weeding the word search letters I found it was easier for me to weed bottom up. I also pulled the vinyl back to 90 degrees and slowly slid it up. I also periodically cut off the extra vinyl. There were a few spots that I lost a few letters, however, no big deal. Cut some extras out and put them on the backing. I could see the indents so it made it easy to place them. The font is also whimsical enough that it does not have to be perfect. I used a pin pen to get the centers out of the tiny letters. It worked perfect!

    Step 4 – Once you have everything weeded lets apply the vinyl. I used the hinge method. This is where I laid my transfer down. Positioned where I wanted it and then used a piece of painters tape across the center of it. Then I lifted half away from the backing. Cut the backing off and placed and squeegee it down. The repeat for the other half. It made it really easy to get a good clean placement. Remove your transfer tape. Again, I pulled it back on itself to help pull it off. If I found an area that didn’t stick push that area down and rub it on. Next put family down, squeegee and remove the transfer tape.

    Step 5 – Now for the paint strokes. Since it was going on the back of the glass i grabbed a piece of parchment paper and attached the paint stroke to that leaving transfer tape exposed on the top. Then I could slide it around until I had the placement i wanted. Attached that top transfer tape piece. Lifted up the transfer tape and removed the parchment paper. Then laid down the transfer tape and squegee down. Remove your transfer tape.

    Step 6 – Admire your work! You did an amazing job!!!

    How to get your FREE Files

    To get your FREE file please go to my Freebie Library, sign in (don’t worry if you are not a member yet, sign up and the password will be emailed to you!!!) and download Number 25 Family Word Search. The downloaded file will have multiple file options SVG, PNG, DXF (If you have the free version of Silhouette Studio you will need this file) and EPS. 

    I hope you enjoyed this tutorial and thank you again for stopping by and being part of my dream and 12 Paw Designs! Have an amazing week! Enjoy every minute!! Remember a ? Pintrest pin would be so appreciated! I can’t wait to see what you create. Please share with me. You can come back here and add a comment or add one to Facebook too!

    Also, please check out my shop. I am always adding new designs. You might also find ready made tumblers in there in the future!!!
    https://12pawdesigns.com/shop/

    If you have any questions or run into an issue please let me know!!!

    Lorri?
    Lorri@12PawDesigns.com

    Let’s Conntect!

    Want to connect more with 12 Paw Designs???:
    • Website: https://12pawdesigns.com
    • FB Page: https://www.facebook.com/12pawdesigns/
    • Instagram: https://www.instagram.com/12pawdesigns/
    • Pinterest: https://www.pinterest.com/12PawDesigns

    DO NOT resell any of the files as digital download or any other form.
    DO NOT claim the files as your own.
    DO NOT modify and resell the files in any form.
  • Did Someone Say Hello Spring?

    Did Someone Say Hello Spring?

    Hello Spring Round SVG - Hello Spring Round File - Cricut Silhouette - svg/dxf/png/eps - Digital Download

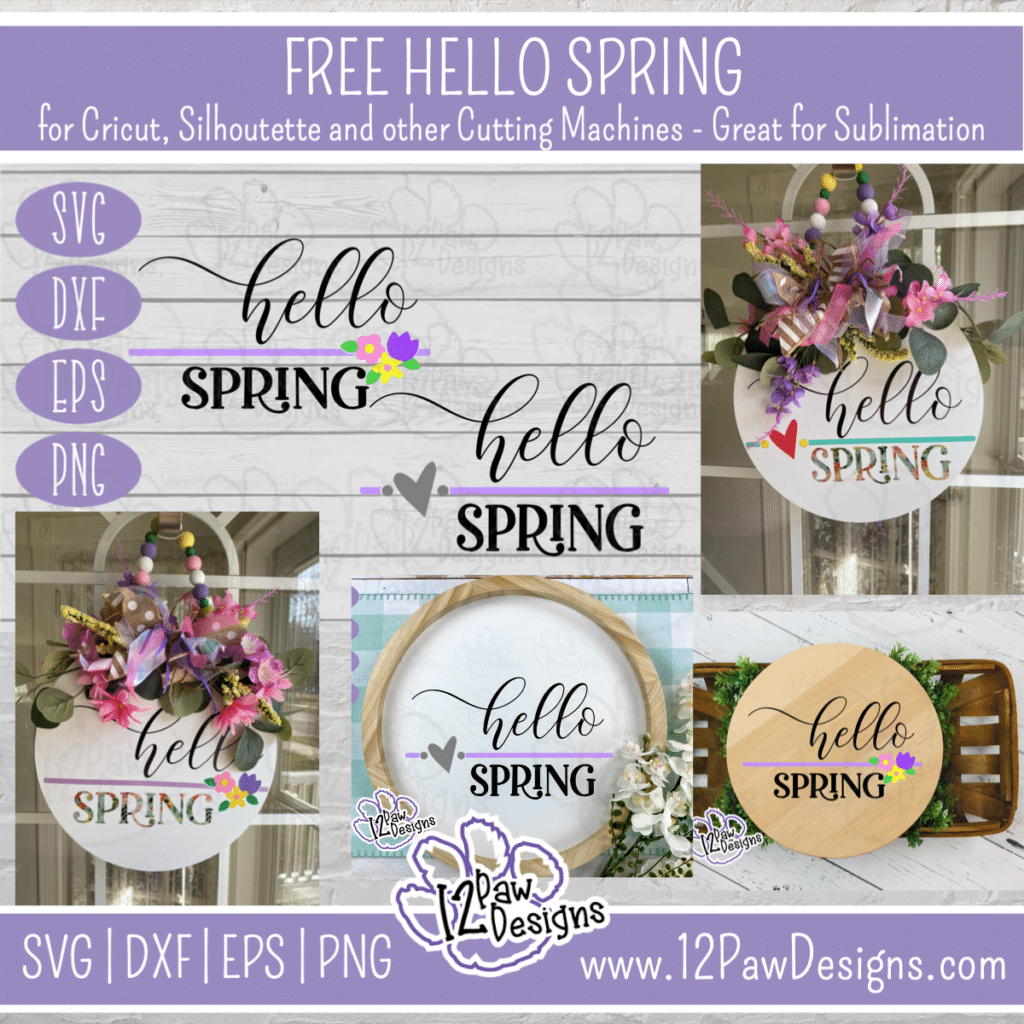
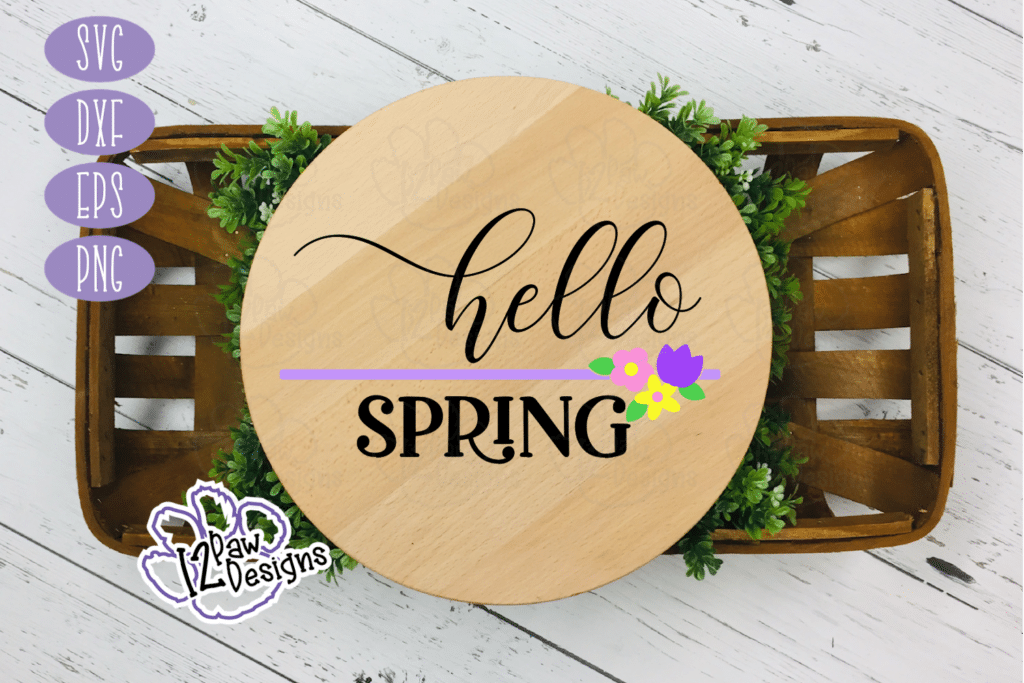
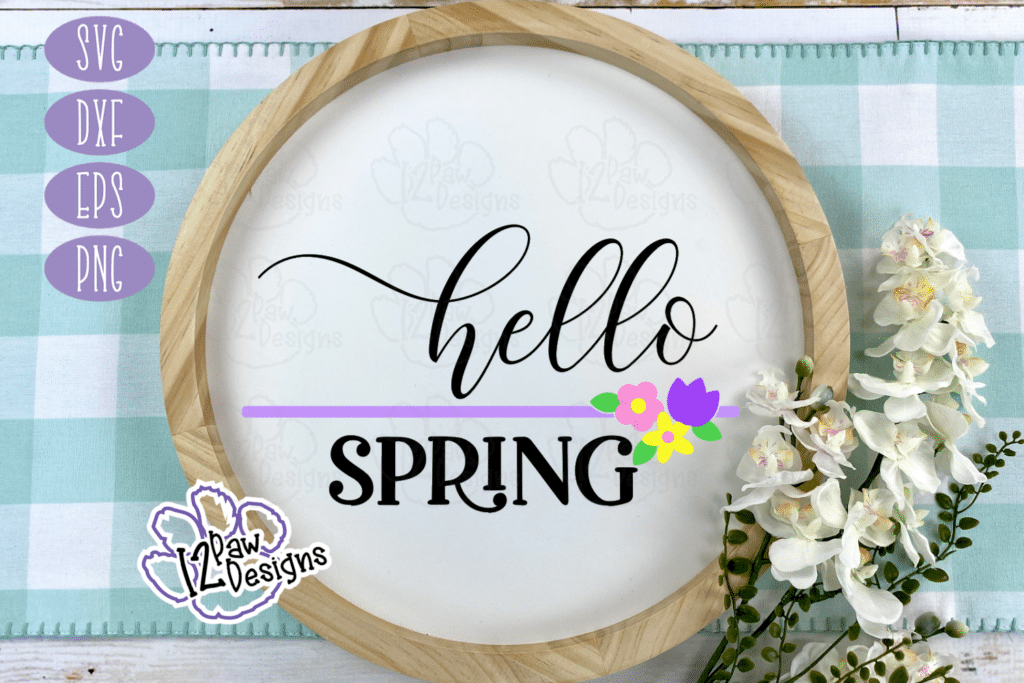
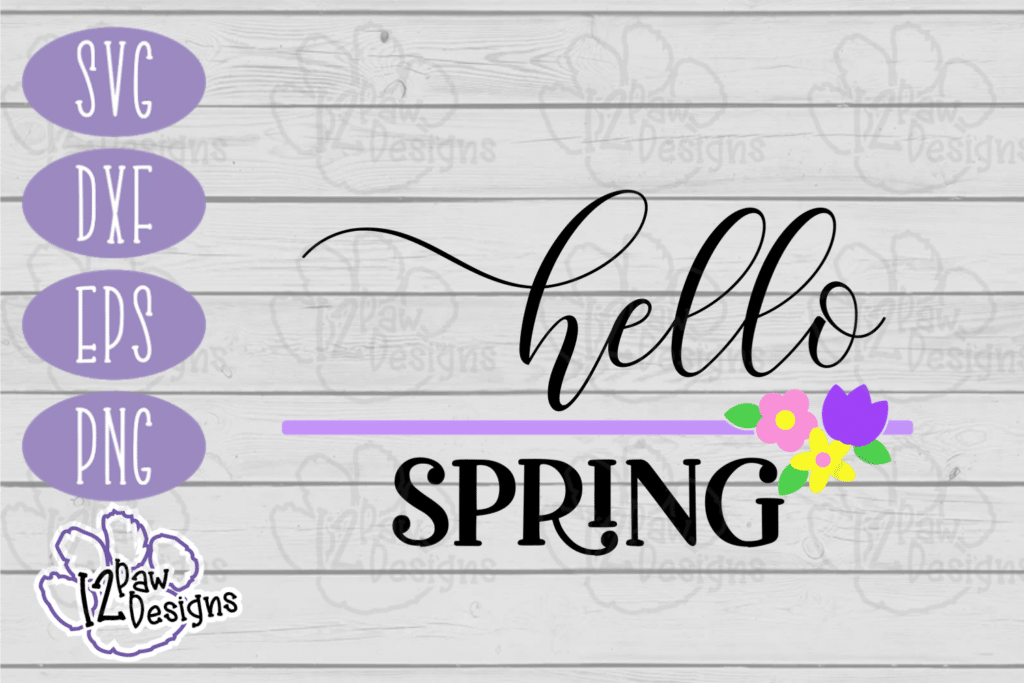
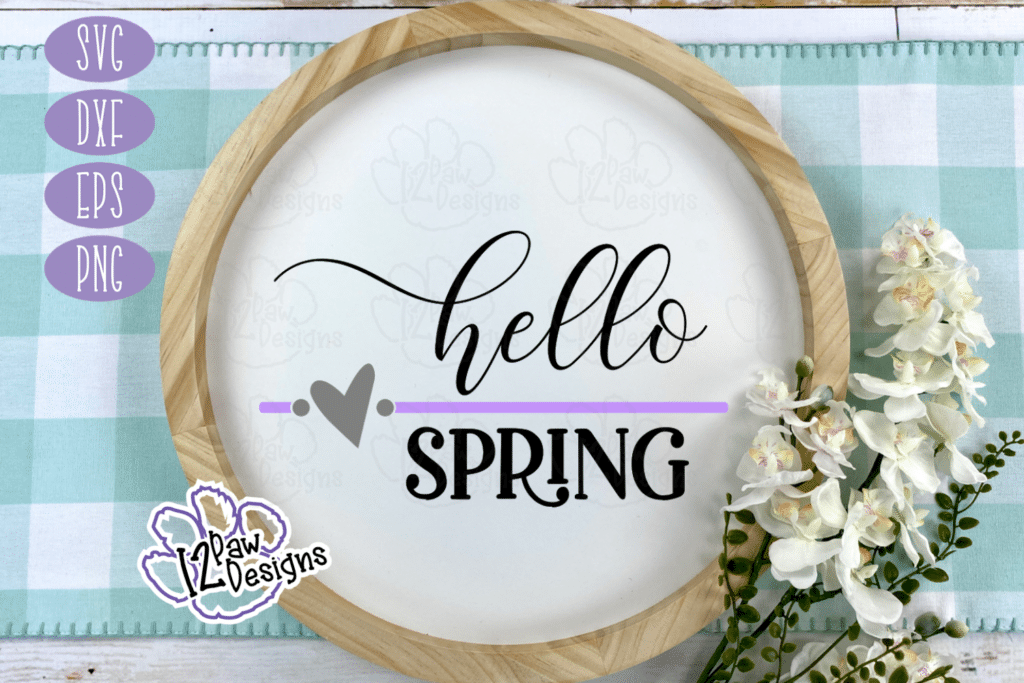
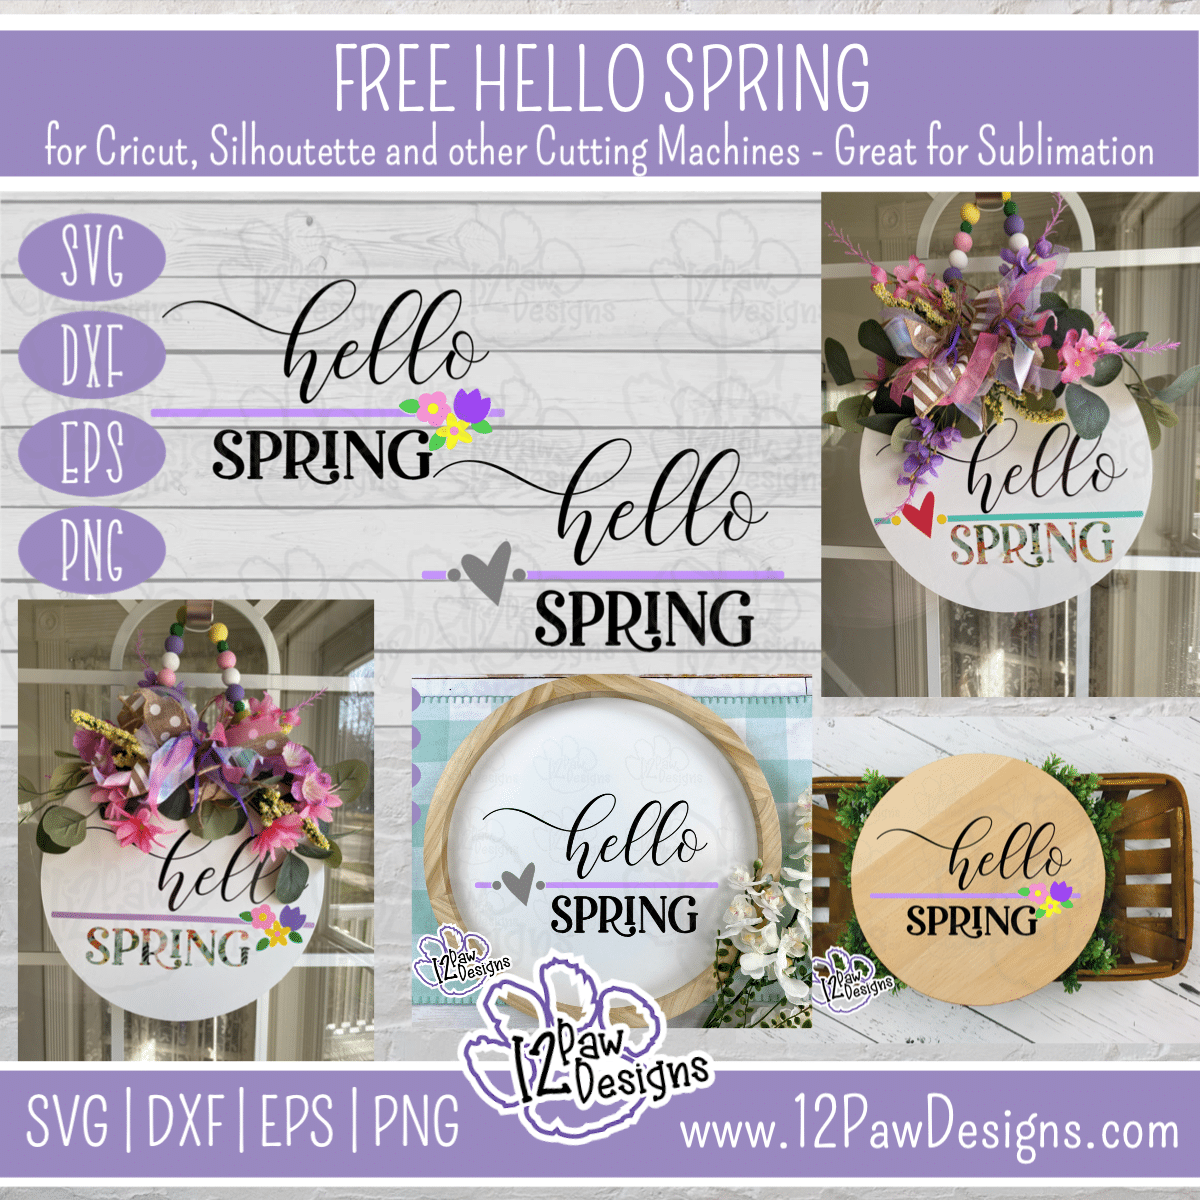
    Hello Spring and Happy Easter! Did someone say Hello Spring Round?? Oh…that’s right I did! Today I have 2 files for you. They are both Hello Spring, however, one has flowers on it and the other has a cute heart. In my video tutorial I am actually going to do both on a 12″ round that is ⅛” thick. The reason I am doing both sides is my front door is glass and I want to see a pretty side too!

    Supply List

    • Cutting Machine and software
    • Hello Spring Cutting Files from the Libray (click on the link)
    • Vinyl– I used Starcraft for the solid and the pretty glitter pattern vinyl is from Expressions Vinyl Mystery box
    • Weeding tools, scissors, cutting knife, and transfer tape
    • Wood Round – I used 12″ rounds from Amazon
    • Sand paper, paint brush, sponges and glue gun (to glue the bow on)
    • Paint – I used Waverly White chalk paint
    • Wood beads for the hanger – I used some raw beads I painted and then strung on jute. I show this in the video.
    • Items to finish it off sign – I used jute, ribbon and floral picks

    Hello Spring Video Tutorial

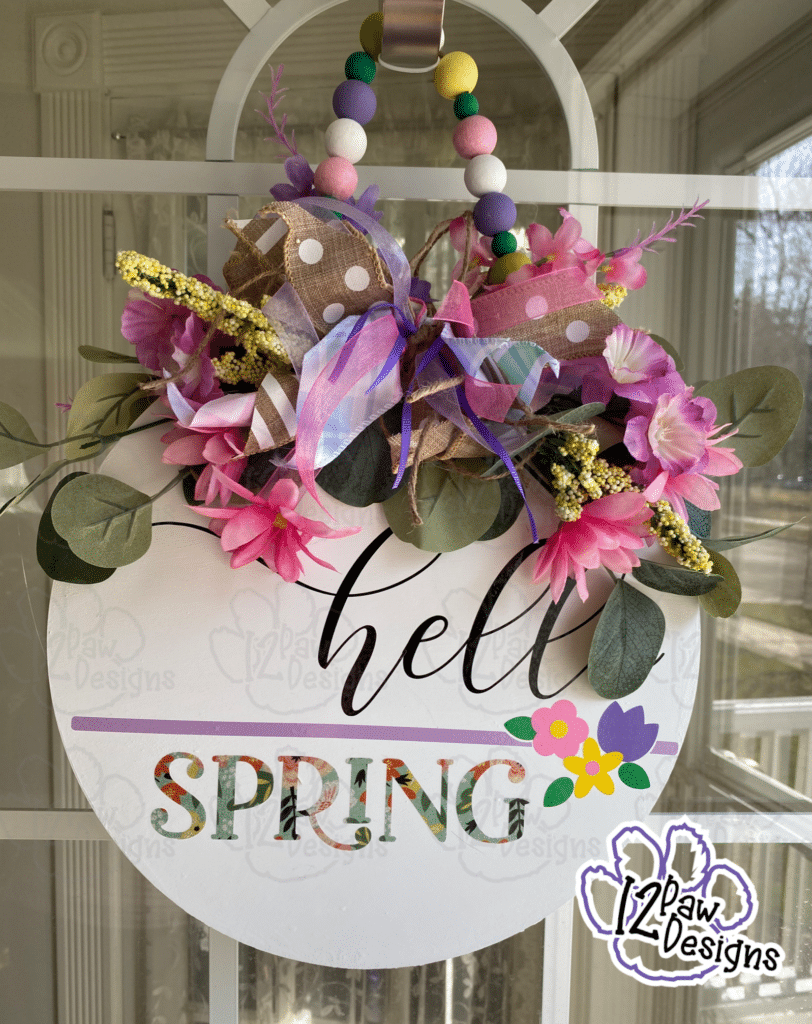
    Here are some Hello Spring images for you!

    Step 1 – Take your wood round and sand it. Because I am doing both sides I sanded both. Once you have that done apply your paint. I ended up having to do 2 coats on one side and the other side only needed 1 coat. Set aside too dry. Preferable over night. However, I can be impatient and will use a heat gun to make sure it is nice and dry.

    Step 2 – Next open the SVG file in your cutting software (note: if you have the free version of Silhouette studio you will need the DFX files). I did save the designs as 12×12. However, if you are using a larger round you will need to size accordingly. Once that is done cut out your vinyl. Make sure to test your vinyl cuts before ejecting your mat out of your machine.

    Step 3 – Now that everything is cut lets weed and apply our vinyl. In the video you will see I have a special helping me out. His name is Lumiere and LOVES to weed and apply vinyl. He especially loves the shiney and glitter ones (don’t we all). He will even pick those when I ask him for help! I left him in the video because he is after all 4 of the 12 Paws!!! Now, back to weeding vinyl. I did do a reverse weed on my one of my spring word pieces. I tested my first mat but not my second because I forgot it was a new file. Oooopsie. That is the great part about crafting there is always a way to fix something.

    When I was laying my vinyl down on my round I used the grid side of my mat. I then laid the strips down first. Using the markings on the mat to help me eye ball it. For the floral file I put the tulip down first, then the leave and the the other 2 flowers can go where you want them too. For the heart side put the dots down and the place the heart where you like. Then i put the words on, again eyeballing it. When I flipped the board over to do the second side i just made sure the strip of of vinyl was on one of the horizontal lines. Then laid my vinyl down.

    Step 4 – Now let us finish the round. I made a messy bow. I show the steps in the video where I cut strips of ribbon and jute and lay them down criss cross and alternating. Then I tied it off with a piece of jute. I repeated the process for the second bow.

    Step 5 – Putting the floral stems on. I cut eucalypts leaves from Walmart and floral picks from Dollar Tree. I cut the leaves down to size. Put some glue at the center top of the round and put them in the glue. I then add more glue over the top. I did 4 total stem leaves, 2 on each side. Then with the glue still hot I added a little more and placed my bow down. Press and hold for a few seconds. I then add my flowers in. I just placed them to fill in empty spots. I also add a few into the bow. Once the one side was down I flipped it over and did the same thing to the other side.

    Step 6 – Bead Hanger. I made a strand of beads for my hanger. You can purchase already painted beads or you can take plain beads and paint them. I like to put some in a cheap zip sandwich bag. Add a a little paint, zip shut with air in in and move them around in your hands to paint. You stay clean and you get really good coverage. I then dump them out onto parchment to dry. I do find that i need to do 2 coats. So after I dump them i zip the bag shut so any paint doesnt dry out and i can reuse the bag. Once they are dry I put them back in the bag for a second coat and then again back to the parchment paper. Once they are dry I string them onto just with a piece of floral wire as my threader. Tie a knot in both ends when done. I then glued the beads to the top of my round hiding the ends under the floral and bow. I even pushed a leave down on the glue to help hide and hold it.

    Step 7 – Admire what an amazing job you did!!! Take a picture and share it with me!!!!

    How to get your FREE Files

    To get your FREE file please go to my Freebie Library, sign in (don’t worry if you are not a member yet, sign up and the password will be emailed to you!!!) and download Number 23 and or 24 Hello Spring. The downloaded file will have multiple file options SVG, PNG, DXF (If you have the free version of Silhouette Studio you will need this file) and EPS. 

    I hope you enjoyed this tutorial and thank you again for stopping by and being part of my dream and 12 Paw Designs! Happy Easter to you and your family. Enjoy every minute!! Remember a ? Pintrest pin would be so appreciated! I can’t wait to see what you create. Please share with me. You can come back here and add a comment or add one to Facebook too!

    Also, please check out my shop. I am always adding new designs. You might also find ready made tumblers in there in the future!!!
    https://12pawdesigns.com/shop/

    If you have any questions or run into an issue please let me know!!!

    Lorri?
    Lorri@12PawDesigns.com

    Let’s Conntect!

    Want to connect more with 12 Paw Designs???:
    • Website: https://12pawdesigns.com
    • FB Page: https://www.facebook.com/12pawdesigns/
    • Instagram: https://www.instagram.com/12pawdesigns/
    • Pinterest: https://www.pinterest.com/12PawDesigns

    DO NOT resell any of the files as digital download or any other form.
    DO NOT claim the files as your own.
    DO NOT modify and resell the files in any form.