Category: Layering Vinyl

  • Create this Beautiful Sweet Land of Liberty Round

    Create this Beautiful Sweet Land of Liberty Round

    You loved the Patriotic tray and cut files so much I wanted to share how to create this beautiful Sweet Land of Liberty Round. I will show you the stain method that I used and I also share the FREE Sweet Land of Liberty Round Cut file with you! I love the antique look of the USA Round Flag.

    Sweet Land of Liberty, USA Round Flag, Flag Round, Round American Flag, Cricut Silhouette, Svg/Dxf/Png/Eps/Sublimation, Digital Download, Cut File
    12PD Sweet Land of Liberty

    Sweet Land of Liberty –

    USA Round Flag Inspiration!

    Supply List to Create the Beautiful Sweet Land of Liberty

    These are the items that I used. However, have fun and use items you have!

    • Cutting Machine and software
    • Sweet Land of Liberty (number 33) (click on the link)
    • Stencil Mask – I userd Starmask. You could use oramask also.
    • Paint – Red, Blue and Brown
    • Baby Wipes
    • 18″ Wood Round
    • Butane torch or kitchen torch
    • Sand paper or sanding block, Scrapper, Parchment Paper
    • Weeding tools, scissors, cutting knife, transfer tape, etc

    Video Tutorial – USA Round Flag

    How to cut larger than your mat on your cutting machine!

    Silhouette – Cutting Larger than you mat
    Cricut – Cutting larger than you mat

    Here are the steps I took to make Sweet Land of Liberty Flag Round

    Step 1 – Lets prep our round! Lightly sand the round with the sanding block. Once that is done let us burn it!!! Now, you can use a kitchen torch or a butane torch. You might be able to get away using a high temp heat gun. Make sure you do this in a well ventilated area. You will have smoke and smell. Then run your torch over the circle until you receive the effect you are looking for.

    Step 2 – Now load your free file into your cutting software and cut out your stencil material. I have included videos for cutting large than you mat for both Cricut and Silhouette. You do not need to mirror. Also cut out your saying. I have included and offset for it. You can choose to used it or not. Have fun with it!

    Step 3 – Weed your stencil mask. Remember this is a mask. So we weed out the parts we want to stain. Once you have your weeding done apply your transfer tape. User your squeegee to make sure you get air bubbles out. Now peel the backing away from the stencil and apply it to your wood round. I did the stripe portion first. Make sure you are follow the grain of the round. Once you have the stencil on peel away your transfer vinyl. Take your time removing it. User your fingers and really make sure your seams are pressed down.

    Step 4 – Now lets try the baby wipe staining technique. Mine were a little on the dry side so I needed a little extra water. However, be careful with how much water you use. I had some go under mask. Also, make sure you stain with the grain of the wood. Once you have the desired color pull your stencil material off.

    Step 5 – Repeat the same process for the stars. Remember the stars are being laid down on the round because we are staining blue. Use the stripes to line the star area up. To help keep your edges crisp dab around the stars and go from the center out. Once that area is done pull your mask off.

    Step 6 – I decided to take some brown and lightly “stain” over it to give it an antique look. This is totally optional! This is your project!!

    Step 7 – Let your round dry

    Step 8 – Now to add our words:

    • Start with weeding vinyl word and offset
    • Apply transfer tape
    • Peel off vinyl backing from the words
    • Now use parchment paper and attach it to the back of the words. Make sure you leave some transfer tape showing to attach it to the offset. Now use this technique to line up your words to the offset. Once you have it where you want. Push down the transfer tape and hinge method to pull the parchment out. Squeegee down your words.
    • Pull the vinyl backing from the offset
    • Apply your design to your round
    • Remove transfer tape

    Step 9 –Apply your hanger and you are set to go!

    How to get your FREE Sweet Land of Liberty Files

    To get your FREE file please go to my Freebie Library, sign in (don’t worry if you are not a member yet, sign up and the password will be emailed to you!!! Also, remember I include it in the bottom of the weekly email too! 😉 ) and download Number 33 – Sweet Land of LIberty. The downloaded file will have multiple file options SVG, PNG, DXF (If you have the free version of Silhouette Studio you will need this file) and EPS. 

    I hope you enjoy the FREE tiered tray file. Thank you again for stopping by and being part of my dream and 12 Paw Designs! Have an absolutely amazing day!!!

    Remember to PIN IT!!! ?

    Sweet Land of Liberty, USA Round Flag, Flag Round, Round American Flag, Cricut Silhouette, Svg/Dxf/Png/Eps/Sublimation, Digital Download, Cut File
    12PD Sweet Land of Liberty

    Also, please check out my shop. I am always adding new designs.
    https://12pawdesigns.com/shop/

    If you have any questions or run into an issue please let me know!!!

    Lorri?
    Lorri@12PawDesigns.com

    Let’s Conntect!

    Want to connect more with 12 Paw Designs???:
    • Website: https://12pawdesigns.com
    • FB Page: https://www.facebook.com/12pawdesigns/
    • Instagram: https://www.instagram.com/12pawdesigns/
    • Pinterest: https://www.pinterest.com/12PawDesigns

    DO NOT resell any of the files as digital download or any other form.
    DO NOT claim the files as your own.
    DO NOT modify and resell the files in any form.

  • Time for the Red White and Blue!

    Time for the Red White and Blue!

    Time for the Red White and Blue! Memorial Day is a few weeks away then we have the 4th of July so lets show our love for our country by creating fun Red White and Blue Tiered Tray This Patriotic Bundle can be used for so much more than just a tiered tray! There is the fun banner, the USA Waving flag words, the signs, etc. They can be used for other piece or projects! The America with the star with look amazing on a shirt or a tank as well! Let your creativity flow!!! I have included the link to the free file location, created a video tutorial and gave a brief tutorial below!

    Patriotic Tray SVG - Patriotic Bundle - Red White and Blue - Cricut - Silhouette - svg/dxf/png/eps/sublimation - Digital Download - Cut File
    12PD Patriotic Tray Bundle

    Red White and Blue Inspiration!

    Time for the Red White and Blue Supply List

    • Cutting Machine and software
    • Patriotic Tray Bundle (number 32) (click on the link)
    • Permanent Vinyl of your Choice – I use Starcraft from 143vinyl.com
    • Red, White and Blue Paint and paint brush
    • Patriotic Ribbon and twine\jute
    • Mini Rolling Pin
    • Sand paper or sanding block, Scrapper, Glue Gun, Parchment Paper
    • Dollar Tree items, 6×6 signs, mini wooden crates, tumble tower block, snake puzzle, 3 in 1 board game for the scrabble pieces or scrabble piece from Walmart
    • Wooden Tag – I purchased mine from Hobby Lobby
    • Wooden beads
    • White Card stock
    • Weeding tools, scissors, cutting knife, transfer tape, etc

    Video Tutorial – Time for the Red White and Blue!

    Here are the steps I took to make the Patriotic Tiered Tray

    Step 1 – If you are using a sign from the Dollar Tree that has an image on it scrap it off. I found if I got it wet it came off real easy. Once that is done paint the items that need to be white white. On mine I painted the edges of the 6×6 signs white to start with and then painted them red and blue after. It helped cover up the green that i had on mine. After the white is dry paint the other things blue and red. For the scrabble tray I took 4 tumble tower blocks and glued them together to form the tray. I then painted it blue. I painted the bottom (actually top, but it will be flipped over) slat of the mini crate blue and the other end red. I painted the middle of the mini rolling pin red also.

    Step 2 – While everything is drying. Open the SVG file in your cutting software (note: if you have the free version of Silhouette studio you will need the DFX files). Size the items according to the supplies you will be working with. Then cut out your vinyl.

    Step 3 – Once your adhesive is cut weed your vinyl. For the small detailed items I found that reverse weeding working best. Put your transfer tape on the item and remove what you do not want from there. I have the noted in the video.

    Step 4 – Once everything is weeded time to apply the vinyl to our projects. I have things organized and group for you so the America sign with the star the red is all together. So I put the transfer tape on the red portion. Used parchment paper to align everything up I placed it on the blue offset. Then I applied it to the sign. Then I put the white on top.

    For Let Freedom Ring I put the transfer tape on the white portion, then used parchment paper to align it up on top of the red and placed. then repeated to put it on the blue. The applied it to the sign.

    Continue placing the rest of t the vinyl on your pieced.

    Step 5 – For the banner I did the print and cut and printed it on white cardstock and then cut that out on my cutting machine. So easy and a time saver!

    Step 6 – Now add your decorative accents. For the rolling pin i tied a piece of star ribbon on the one end. For the books I used a wide burlap patriot ribbon to cover the slats of the crate. The made a messy bow and put that on top with white jute. Have fun and play with this step! Use what you have!!

    How to get your FREE Patriotic Tiered Tray Files

    To get your FREE file please go to my Freebie Library, sign in (don’t worry if you are not a member yet, sign up and the password will be emailed to you!!! Also, remember I include it in the bottom of the weekly email too! 😉 ) and download Number 32 – Patriotic Tray Bundle. The downloaded file will have multiple file options SVG, PNG, DXF (If you have the free version of Silhouette Studio you will need this file) and EPS. 

    I hope you enjoy the FREE tiered tray file. Thank you again for stopping by and being part of my dream and 12 Paw Designs! Have an absolutely amazing day!!! Remember a ? Pintrest pin would be so appreciated!

    Also, please check out my shop. I am always adding new designs. You might also find ready made tumblers in there in the future!!!
    https://12pawdesigns.com/shop/

    As a special thank you use code BDAY20 to take 20% off anything in the shop right now! It is my birthday month and I want to share it with you!!!

    If you have any questions or run into an issue please let me know!!!

    Lorri?
    Lorri@12PawDesigns.com

    Let’s Conntect!

    Want to connect more with 12 Paw Designs???:
    • Website: https://12pawdesigns.com
    • FB Page: https://www.facebook.com/12pawdesigns/
    • Instagram: https://www.instagram.com/12pawdesigns/
    • Pinterest: https://www.pinterest.com/12PawDesigns

    DO NOT resell any of the files as digital download or any other form.
    DO NOT claim the files as your own.
    DO NOT modify and resell the files in any form.

  • Hello Spring Sign will Make your Porch Blossom!

    Hello Spring Sign will Make your Porch Blossom!

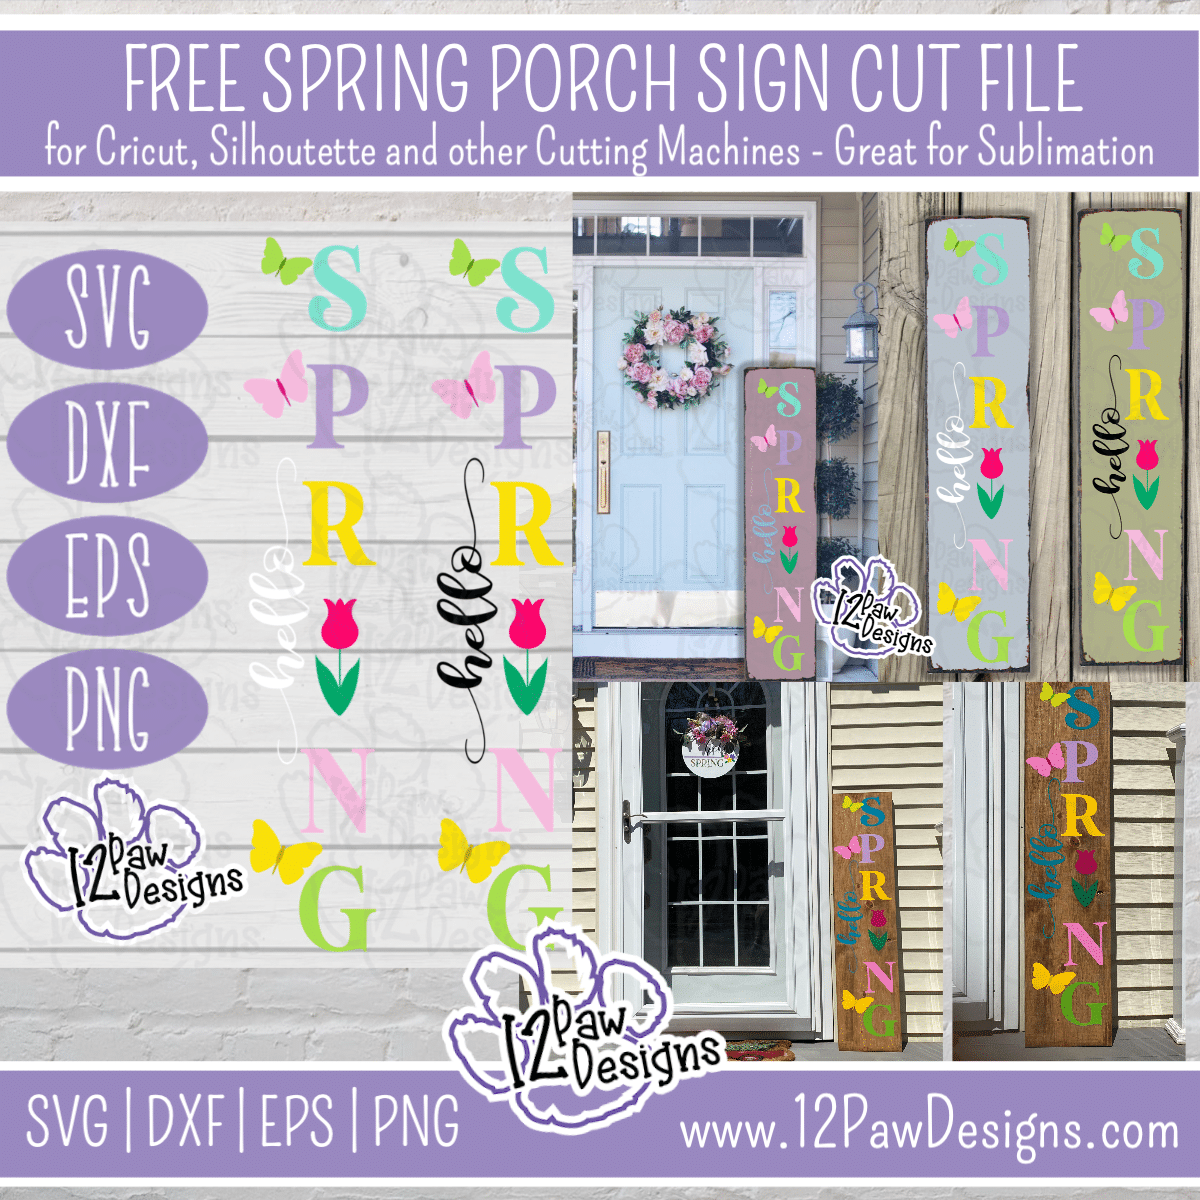
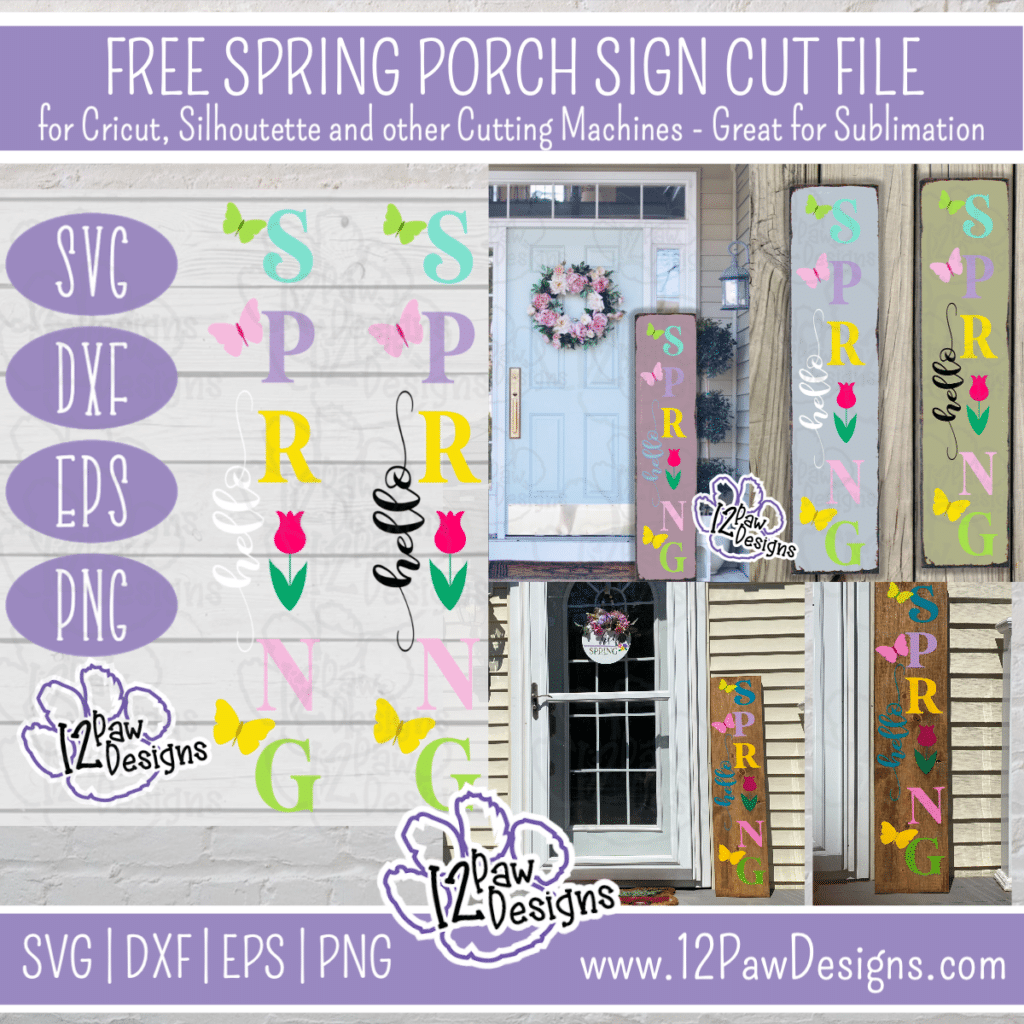
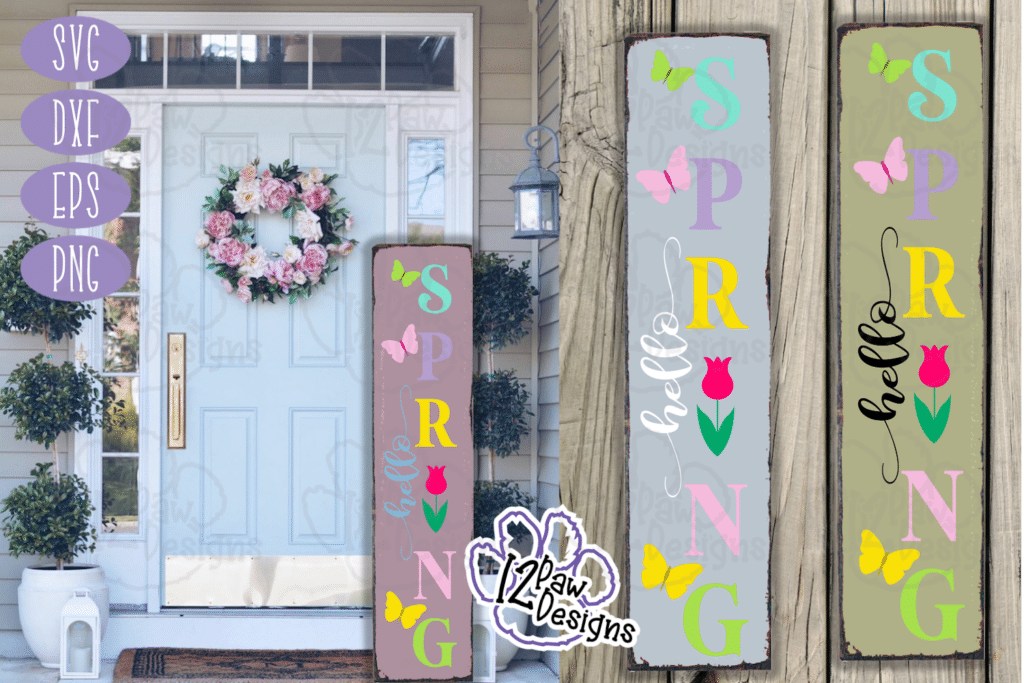
    Part 1 – Hello Spring will be a reversible sign!

    12PD Hello Spring Porch

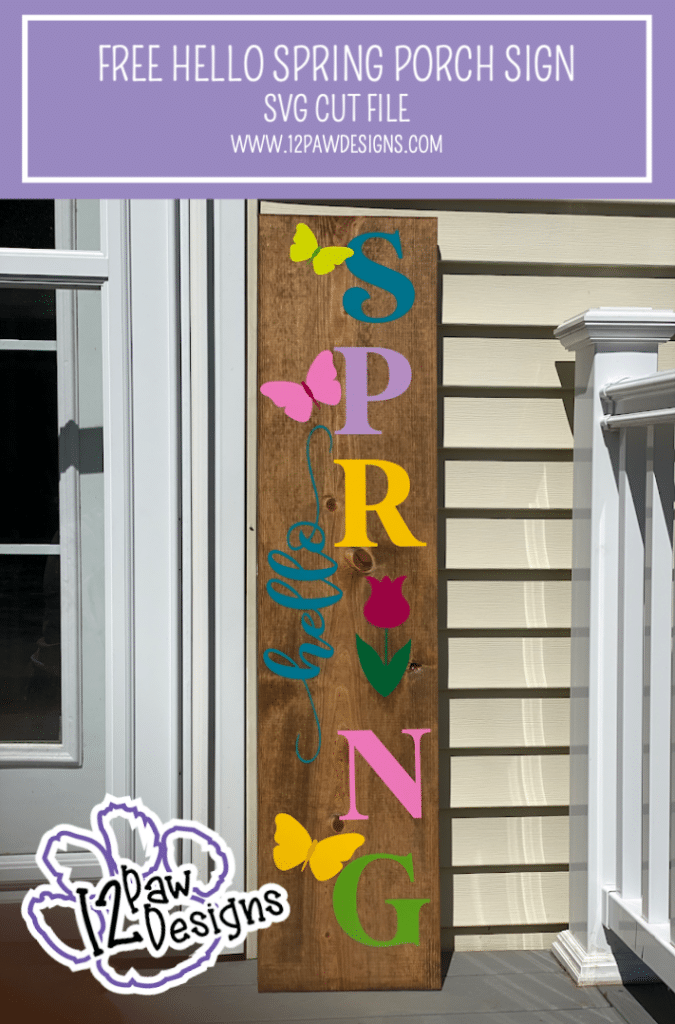
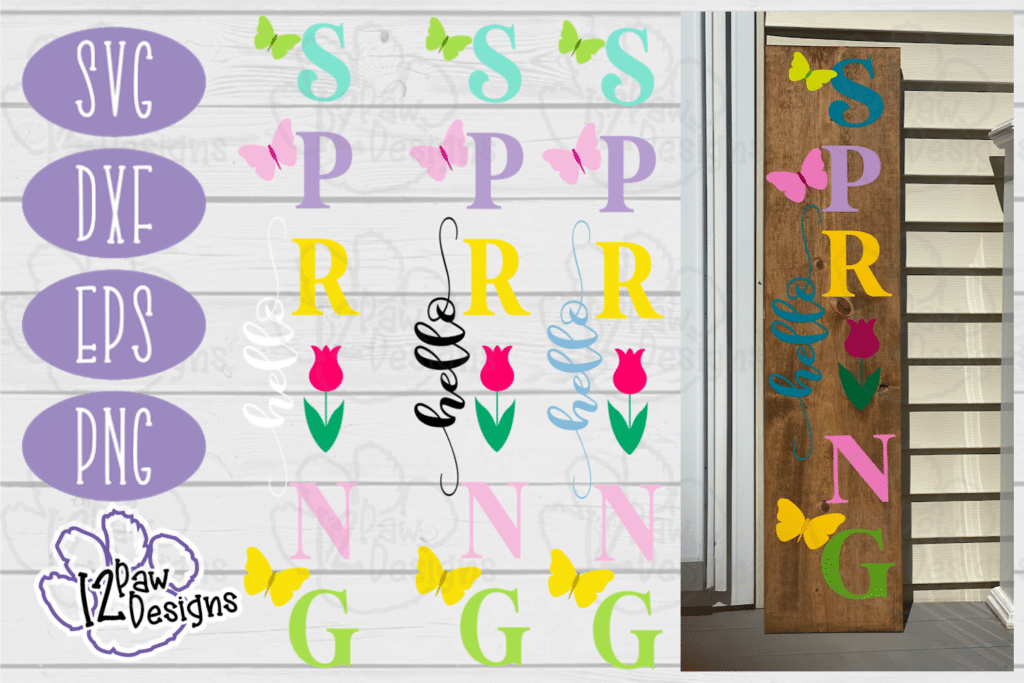
    Hello Spring Sign will Make your Porch Blossom!! As an added bonus this is going to be part 1! Yes! Part 1. This is going to be a reversible sign. There will be a Welcome Summer side coming soon!!!!

    Hello Spring Sign is made with a stained common\pine board. Then I used permanent adhesive on it. The file is setup for 12″ x 60″. However, size it to the size you need. I ended up with 12″x48″ Have fun with the colors!

    This weeks FREE SVG/Cut files can be found in the Freebie Library. File number is 30. I have also created a video tutorial along with some quick directions below on how I made this FUN Hello Spring Sign. I would love to see the color choices you used!

    Hello Spring Supply List

    • Cutting Machine and software
    • Hello Spring Porch Sign (click on the link)
    • Permanent Vinyl of your Choice – I use Starcraft from 143vinyl.com
    • Pine\Common Board – Mine was 12″x48″
    • Stain color of Choice
    • Sand paper or sanding block
    • Staining rag
    • Parchment Paper
    • Spray sealer – **Important** Seal after you stain and before you place your vinyl
    • Weeding tools, scissors, cutting knife, transfer tape, etc

    Video Tutorial – How to make your Porch Blossom!

    Here are the steps I took to make the Hello Spring Sign

    Step 1 – Prep your board. My lovely husband sanded and then stained my board for me. Remember when staining less is more. The more stain you use the longer it takes to dry. Once the board is dry I sprayed a few coat of clear sealer. I normally like 2x by rustoleum, howevere, I was out. I found a clear coat. It was totally fine to use. I just had a few areas that I must have been heavy handed when I sprayed and the vinyl did not want to come off at first. It was not a problem in the end!!!

    Step 2 – While everything is drying. Open the SVG file in your cutting software (note: if you have the free version of Silhouette studio you will need the DFX files). Size the sign according to the board you will be working with. Pick your fun vinyl colors and cut everything out. For the butterflies I used 2 colors, a darker body and lighter wings.

    Step 3 – Once your adhesive is cut weed your vinyl. Then apply your transfer tape.

    Step 4 – Arrange your pieces on your board. I found that it was easier to put Hello on first. I found the middle of the word and board and placed it. Then it was easier to place the rest. Remember to use the picture to help. I started in the middle and worked my way to the outer edges. I used the parchment paper to help with the centering and placement. Pull the backing off of the adhesive letter. Then place your vinyl and transfer tape on the parchment paper. Leave some of your transfer tape exposed so you can adhere it to the board. You will see in the video how i did that. Once you have it in the place you want it apply the top of the transfer tape. Then slide your parchment paper out. Finish adhering the letter and then carefully remove your transfer tape.

    Step 5 – Repeat step 4 until you have everything applied to your board. I did let my board sit in the house for a day before putting it outside to make sure everything was ok.

    How to get your FREE Files

    To get your FREE file please go to my Freebie Library, sign in (don’t worry if you are not a member yet, sign up and the password will be emailed to you!!! Also, remember I include it in the bottom of the weekly email too! 😉 ) and download Number 30 – Hello Spring Parch sign. The downloaded file will have multiple file options SVG, PNG, DXF (If you have the free version of Silhouette Studio you will need this file) and EPS. 

    I really hope you enjoy part 1. Watch for part 2, Welcome Summer to be coming soon!!! Remember a ? Pinterest pin would be so appreciated! I can’t wait to see what you create. Please share with me. You can come back here and add a comment or add one to Facebook too!

    Also, please check out my shop. I am always adding new designs. You might also find ready made tumblers in there in the future!!! There might be a few extra keychains that show up there too!!
    https://12pawdesigns.com/shop/

    If you have any questions or run into an issue please let me know!!!

    Lorri?
    Lorri@12PawDesigns.com

    Let’s Conntect!

    Want to connect more with 12 Paw Designs???:
    • Website: https://12pawdesigns.com
    • FB Page: https://www.facebook.com/12pawdesigns/
    • Instagram: https://www.instagram.com/12pawdesigns/
    • Pinterest: https://www.pinterest.com/12PawDesigns

    DO NOT resell any of the files as digital download or any other form.
    DO NOT claim the files as your own.
    DO NOT modify and resell the files in any form.

  • Time for Some Teacher Appreciation!

    Time for Some Teacher Appreciation!

    12PD Teacher Appreciation

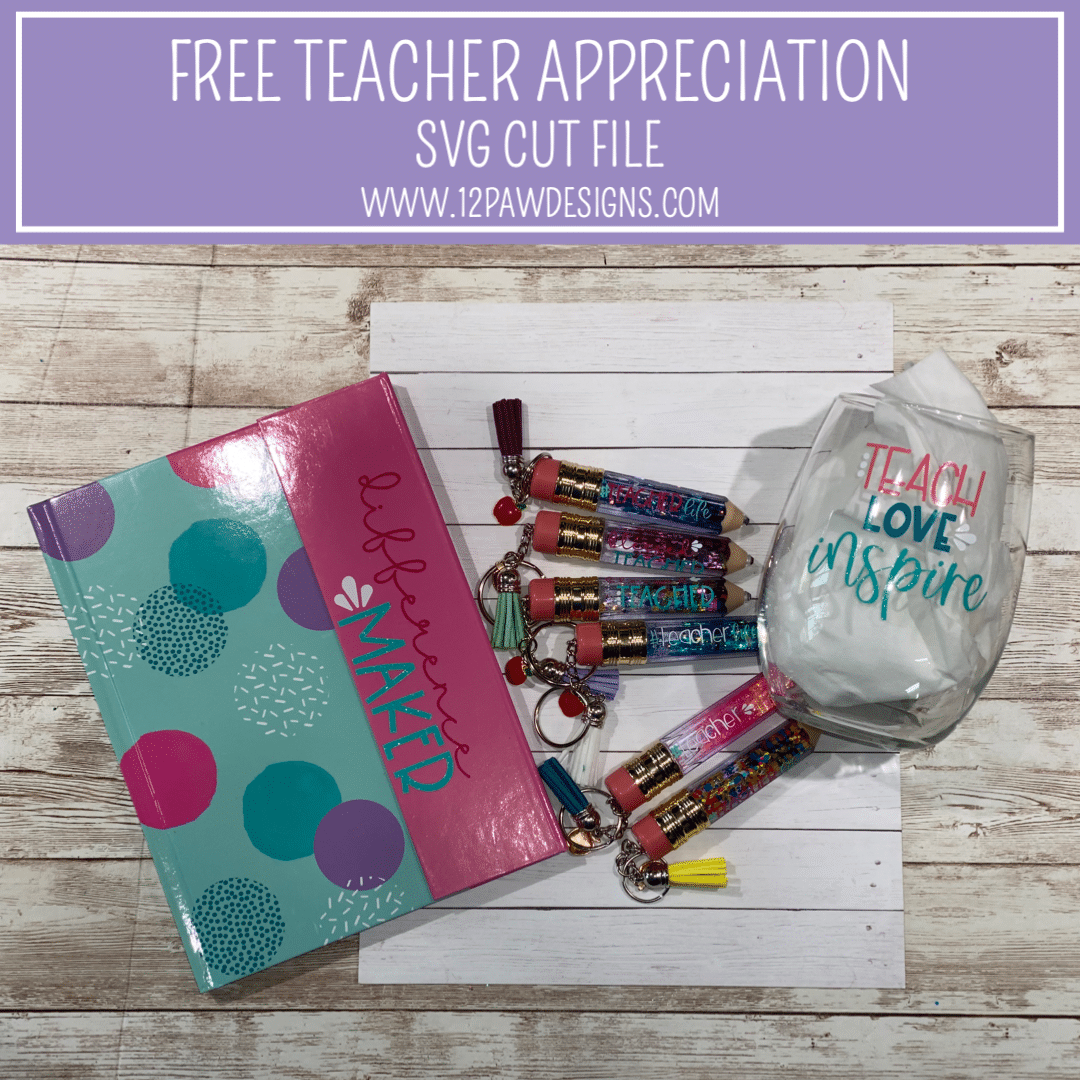
    TIME FOR SOME TEACHER APPRECIATION! It’s that Time of year where we need to show our Teachers some Appreciation! This weeks FREE SVG can be found in the Freebie Library. In the file there are 5 options for you. Two of the options can actually be used for a teach gift or something else. I have also created a video tutorial along with some quick directions below on how I made the journal, the adorable pencil keychains and the wine glass. I picked up the journal at Dollar General and the wine glass as Dollar Tree. The keychain supplies will be in the supply list below. Also in the video I talk about some other ideas for some more gifts for your favorite teacher along with possible for mom! I start the video off with this, then we make the journal, the keychains and finally the wine glass. Let your creative go and have fun with it. Have fun and share your creativity!

    I will also be adding a few new teach files in the store too!! There will also be some baseball and softball ones coming too!!!

    Teacher Appreciation Supply List

    Please note there are affiliate links in the supply list. There is no extra cost to you for using these links it just helps me to keep brining you free content! Thank you for your support,

    Time for Some Teacher Appreciation Video Tutorial

    Here is some Teacher Appreciation Ideas!

    Here are the steps I took make the Teacher Appreciation Gifts

    Step 1 – Open the SVG file in your cutting software (note: if you have the free version of Silhouette studio you will need the DFX files). Size the file elements as need for the project you are making. I used weeding boxes to help me weed my vinyl. This is especially important when doing the key chains. Cut your vinyl out. Make sure all your pieces are cut before ejecting from the cutting machine.

    Step 2 – I started with the journal and cut those pieces first. Then while the keychain vinyl was cutting I worked on the journal. Weed your vinyl. Once that is done take your transfer tape and apply it to the vinyl. Then I used parchment paper and applied my vinyl\transfer to that. Decided where i wanted it placed and then removed the parchment paper and squeegee down the vinyl. I did this same step for the second word and the applied my accents.

    Step 3 – Now for the keychains. I cut the wands off of the lip gloss tubes. Then I removed the eraser for the top. I took a small about amount of E6000 and applied it to the top and put the eraser back on the top. Let dry. I then took the baby oil and glitter (make sure your glitter is ready to use) I put the baby oil in the tube. Do not fill it up all the way. Then add your glitter. I used a piece of paper underneath to help with clean up. Now…there is such a thing as too much glitter!! You want them to galaxy float. Now decide if you need any more oil. I need a little air bubble at the top. The tubes I recommend have a plug that comes with them. BONUS! I put the plug in and then added some E6000 glue and put the cap on. You want to glue them shut to make sure you dont have an accident! Once this is done wipe your pencils with alcohol and cotton pad to get off any left over glitter and stuff. Let dry.

    Step 4 – Now weed your vinyl. Lessons learned. The bigger words you can weed easily. However, the smaller ones were a bugger! Reverse weeding did help a little, however, I applied the vinyl with weeding box to the pencil and then weeded it. Be careful not to scratch them though Once I figured this out it went relatively quickly.

    Step 5 – Now to finish the key chains. Take your needle nose and eye screw and attach it to the top. You want to make sure you go into the metal of the cap for good hold. I then opened the eye screw and fed in the key chain. Closed off the screw. Next take your jump ring and attach to the jump ring at the top. Add you tassel and apple charm. Close your ring. Now admire how stinking cute they are!!!

    Step 6 – Wine Glass. Cut out your vinyl. While that is cutting I took the glass, alcohol and the cotton pads and cleaned the glass. Let dry. Weed your vinyl. Once that is done I actually put the words together before applying to the glass. I used parchment paper again to line everything up. Then used parchment paper to apply the vinyl to the glass. Add your accents. How is is that!!! It’s so cute and fun!!

    How to get your FREE Files

    To get your FREE file please go to my Freebie Library, sign in (don’t worry if you are not a member yet, sign up and the password will be emailed to you!!!) and download Number 25 Family Word Search. The downloaded file will have multiple file options SVG, PNG, DXF (If you have the free version of Silhouette Studio you will need this file) and EPS. 

    I hope you enjoyed this tutorial and thank you again for stopping by and being part of my dream and 12 Paw Designs! Have an amazing week! Remember a ? Pintrest pin would be so appreciated! I can’t wait to see what you create. Please share with me. You can come back here and add a comment or add one to Facebook too!

    Also, please check out my shop. I am always adding new designs. You might also find ready made tumblers in there in the future!!! There might be a few extra keychains that show up there too!!
    https://12pawdesigns.com/shop/

    If you have any questions or run into an issue please let me know!!!

    Lorri?
    Lorri@12PawDesigns.com

    Let’s Conntect!

    Want to connect more with 12 Paw Designs???:
    • Website: https://12pawdesigns.com
    • FB Page: https://www.facebook.com/12pawdesigns/
    • Instagram: https://www.instagram.com/12pawdesigns/
    • Pinterest: https://www.pinterest.com/12PawDesigns

    DO NOT resell any of the files as digital download or any other form.
    DO NOT claim the files as your own.
    DO NOT modify and resell the files in any form.

  • Did Someone Say Hello Spring?

    Did Someone Say Hello Spring?

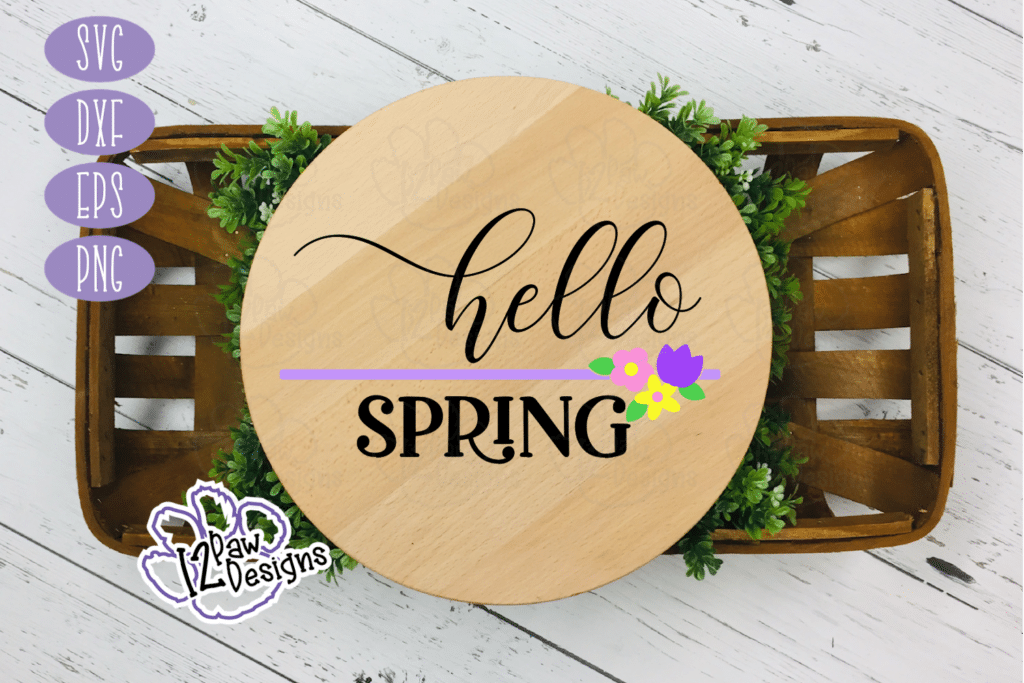
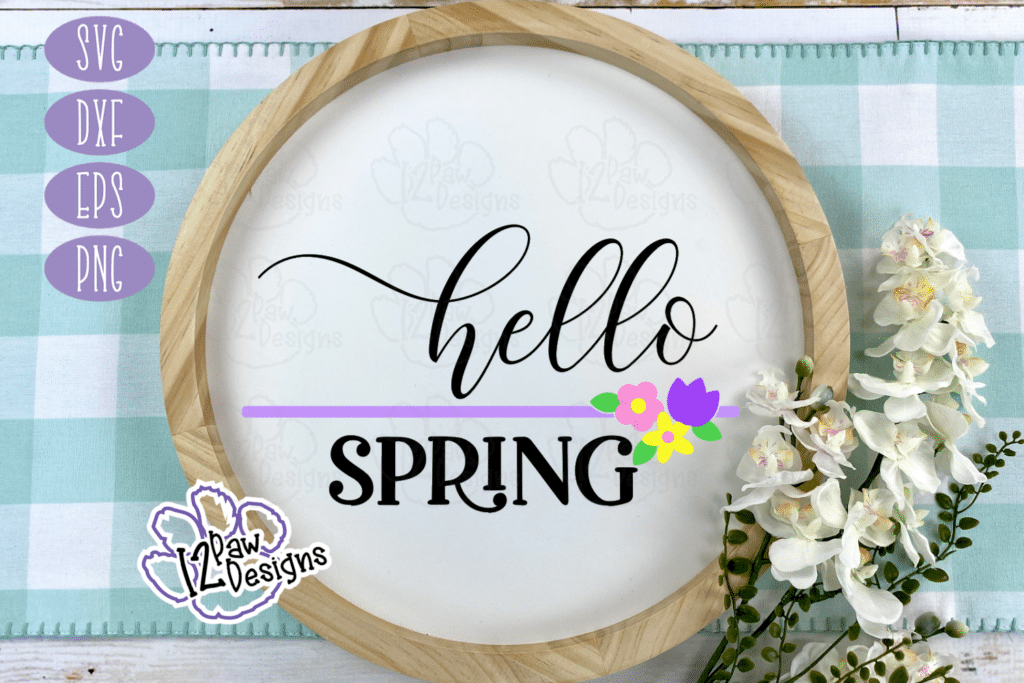
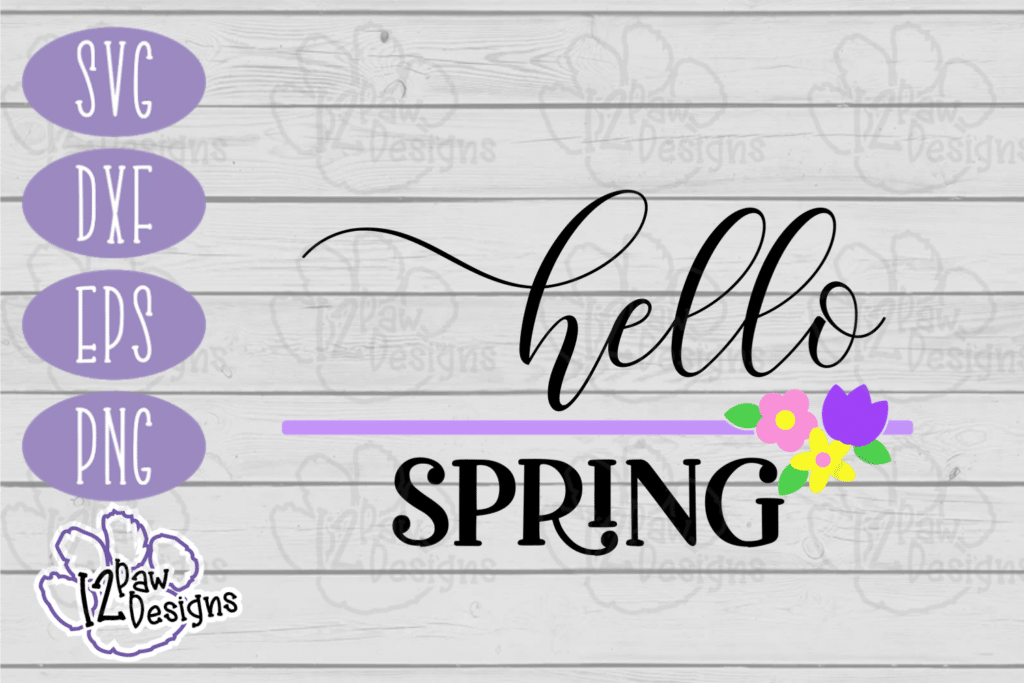
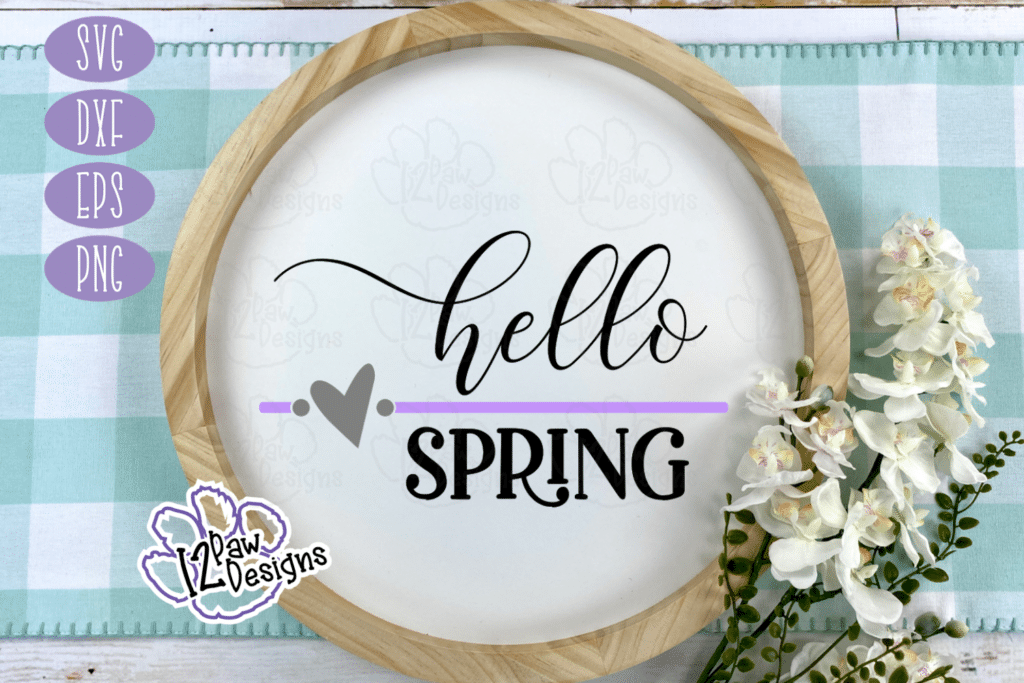
    Hello Spring Round SVG - Hello Spring Round File - Cricut Silhouette - svg/dxf/png/eps - Digital Download

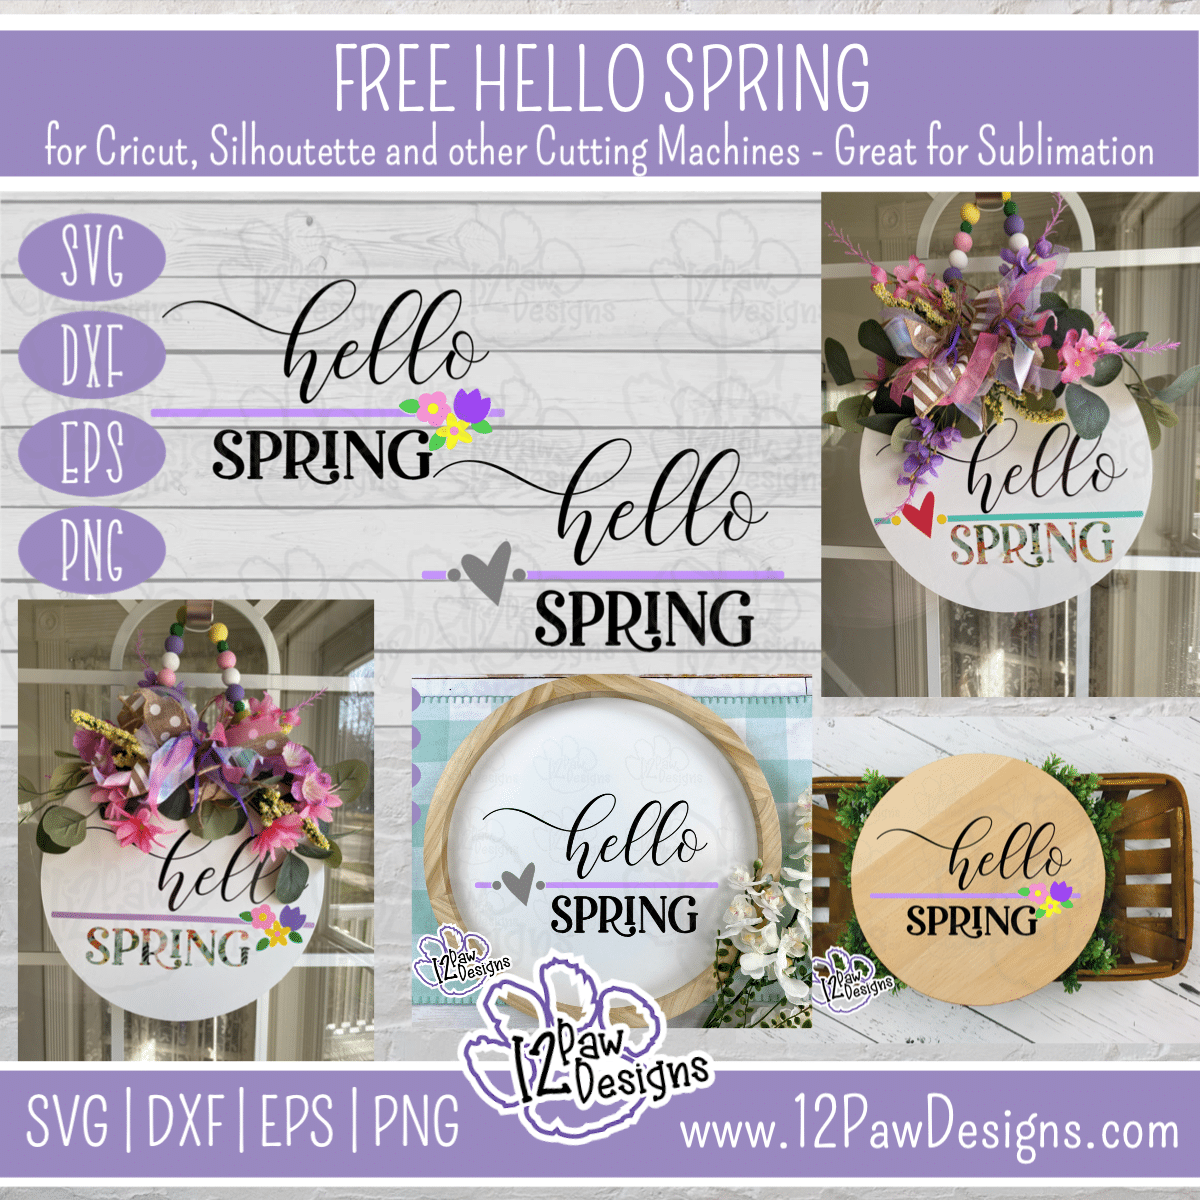
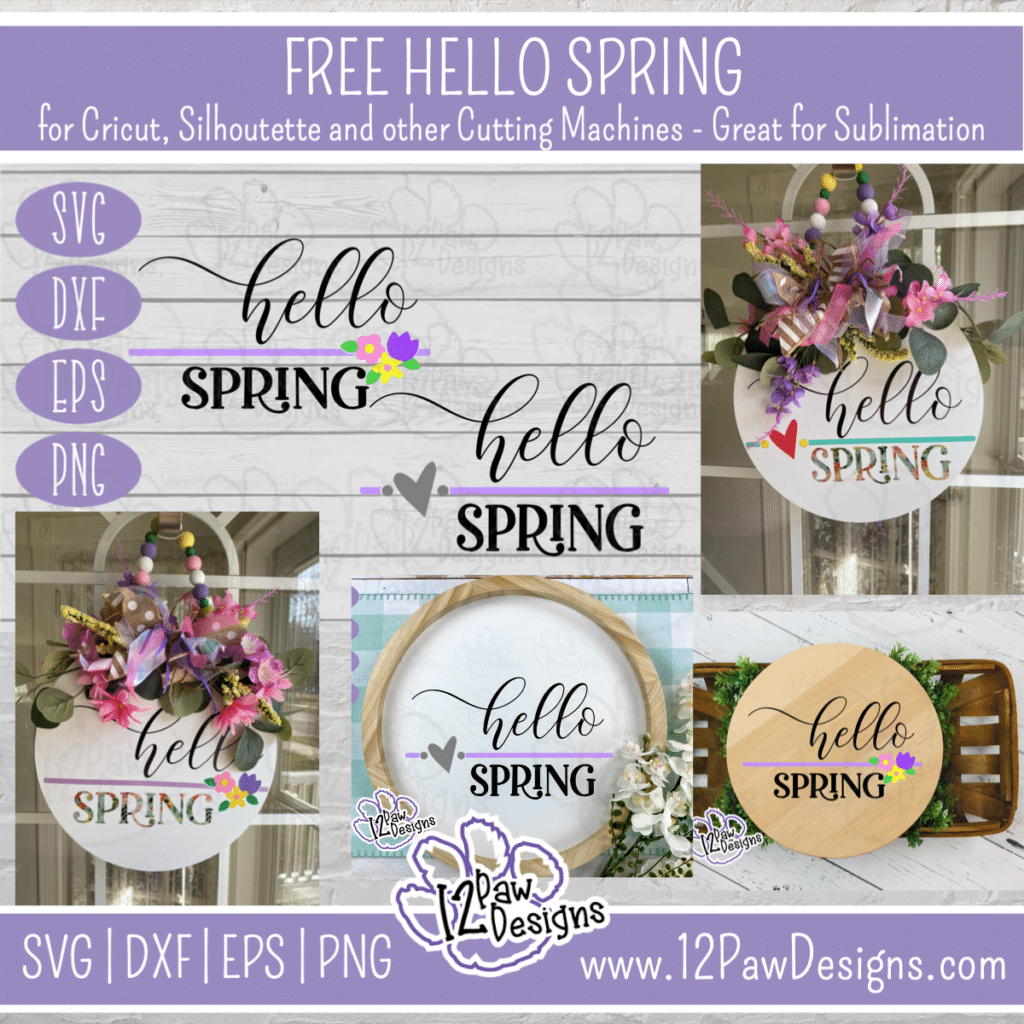
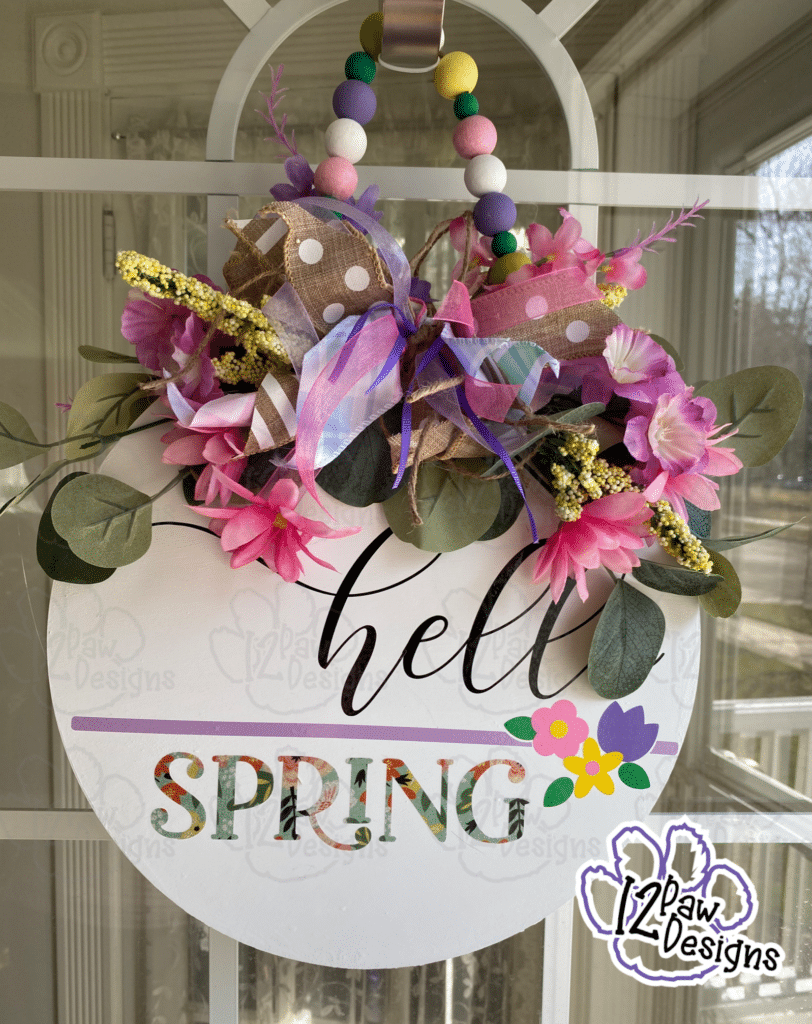
    Hello Spring and Happy Easter! Did someone say Hello Spring Round?? Oh…that’s right I did! Today I have 2 files for you. They are both Hello Spring, however, one has flowers on it and the other has a cute heart. In my video tutorial I am actually going to do both on a 12″ round that is ⅛” thick. The reason I am doing both sides is my front door is glass and I want to see a pretty side too!

    Supply List

    • Cutting Machine and software
    • Hello Spring Cutting Files from the Libray (click on the link)
    • Vinyl– I used Starcraft for the solid and the pretty glitter pattern vinyl is from Expressions Vinyl Mystery box
    • Weeding tools, scissors, cutting knife, and transfer tape
    • Wood Round – I used 12″ rounds from Amazon
    • Sand paper, paint brush, sponges and glue gun (to glue the bow on)
    • Paint – I used Waverly White chalk paint
    • Wood beads for the hanger – I used some raw beads I painted and then strung on jute. I show this in the video.
    • Items to finish it off sign – I used jute, ribbon and floral picks

    Hello Spring Video Tutorial

    Here are some Hello Spring images for you!

    Step 1 – Take your wood round and sand it. Because I am doing both sides I sanded both. Once you have that done apply your paint. I ended up having to do 2 coats on one side and the other side only needed 1 coat. Set aside too dry. Preferable over night. However, I can be impatient and will use a heat gun to make sure it is nice and dry.

    Step 2 – Next open the SVG file in your cutting software (note: if you have the free version of Silhouette studio you will need the DFX files). I did save the designs as 12×12. However, if you are using a larger round you will need to size accordingly. Once that is done cut out your vinyl. Make sure to test your vinyl cuts before ejecting your mat out of your machine.

    Step 3 – Now that everything is cut lets weed and apply our vinyl. In the video you will see I have a special helping me out. His name is Lumiere and LOVES to weed and apply vinyl. He especially loves the shiney and glitter ones (don’t we all). He will even pick those when I ask him for help! I left him in the video because he is after all 4 of the 12 Paws!!! Now, back to weeding vinyl. I did do a reverse weed on my one of my spring word pieces. I tested my first mat but not my second because I forgot it was a new file. Oooopsie. That is the great part about crafting there is always a way to fix something.

    When I was laying my vinyl down on my round I used the grid side of my mat. I then laid the strips down first. Using the markings on the mat to help me eye ball it. For the floral file I put the tulip down first, then the leave and the the other 2 flowers can go where you want them too. For the heart side put the dots down and the place the heart where you like. Then i put the words on, again eyeballing it. When I flipped the board over to do the second side i just made sure the strip of of vinyl was on one of the horizontal lines. Then laid my vinyl down.

    Step 4 – Now let us finish the round. I made a messy bow. I show the steps in the video where I cut strips of ribbon and jute and lay them down criss cross and alternating. Then I tied it off with a piece of jute. I repeated the process for the second bow.

    Step 5 – Putting the floral stems on. I cut eucalypts leaves from Walmart and floral picks from Dollar Tree. I cut the leaves down to size. Put some glue at the center top of the round and put them in the glue. I then add more glue over the top. I did 4 total stem leaves, 2 on each side. Then with the glue still hot I added a little more and placed my bow down. Press and hold for a few seconds. I then add my flowers in. I just placed them to fill in empty spots. I also add a few into the bow. Once the one side was down I flipped it over and did the same thing to the other side.

    Step 6 – Bead Hanger. I made a strand of beads for my hanger. You can purchase already painted beads or you can take plain beads and paint them. I like to put some in a cheap zip sandwich bag. Add a a little paint, zip shut with air in in and move them around in your hands to paint. You stay clean and you get really good coverage. I then dump them out onto parchment to dry. I do find that i need to do 2 coats. So after I dump them i zip the bag shut so any paint doesnt dry out and i can reuse the bag. Once they are dry I put them back in the bag for a second coat and then again back to the parchment paper. Once they are dry I string them onto just with a piece of floral wire as my threader. Tie a knot in both ends when done. I then glued the beads to the top of my round hiding the ends under the floral and bow. I even pushed a leave down on the glue to help hide and hold it.

    Step 7 – Admire what an amazing job you did!!! Take a picture and share it with me!!!!

    How to get your FREE Files

    To get your FREE file please go to my Freebie Library, sign in (don’t worry if you are not a member yet, sign up and the password will be emailed to you!!!) and download Number 23 and or 24 Hello Spring. The downloaded file will have multiple file options SVG, PNG, DXF (If you have the free version of Silhouette Studio you will need this file) and EPS. 

    I hope you enjoyed this tutorial and thank you again for stopping by and being part of my dream and 12 Paw Designs! Happy Easter to you and your family. Enjoy every minute!! Remember a ? Pintrest pin would be so appreciated! I can’t wait to see what you create. Please share with me. You can come back here and add a comment or add one to Facebook too!

    Also, please check out my shop. I am always adding new designs. You might also find ready made tumblers in there in the future!!!
    https://12pawdesigns.com/shop/

    If you have any questions or run into an issue please let me know!!!

    Lorri?
    Lorri@12PawDesigns.com

    Let’s Conntect!

    Want to connect more with 12 Paw Designs???:
    • Website: https://12pawdesigns.com
    • FB Page: https://www.facebook.com/12pawdesigns/
    • Instagram: https://www.instagram.com/12pawdesigns/
    • Pinterest: https://www.pinterest.com/12PawDesigns

    DO NOT resell any of the files as digital download or any other form.
    DO NOT claim the files as your own.
    DO NOT modify and resell the files in any form.