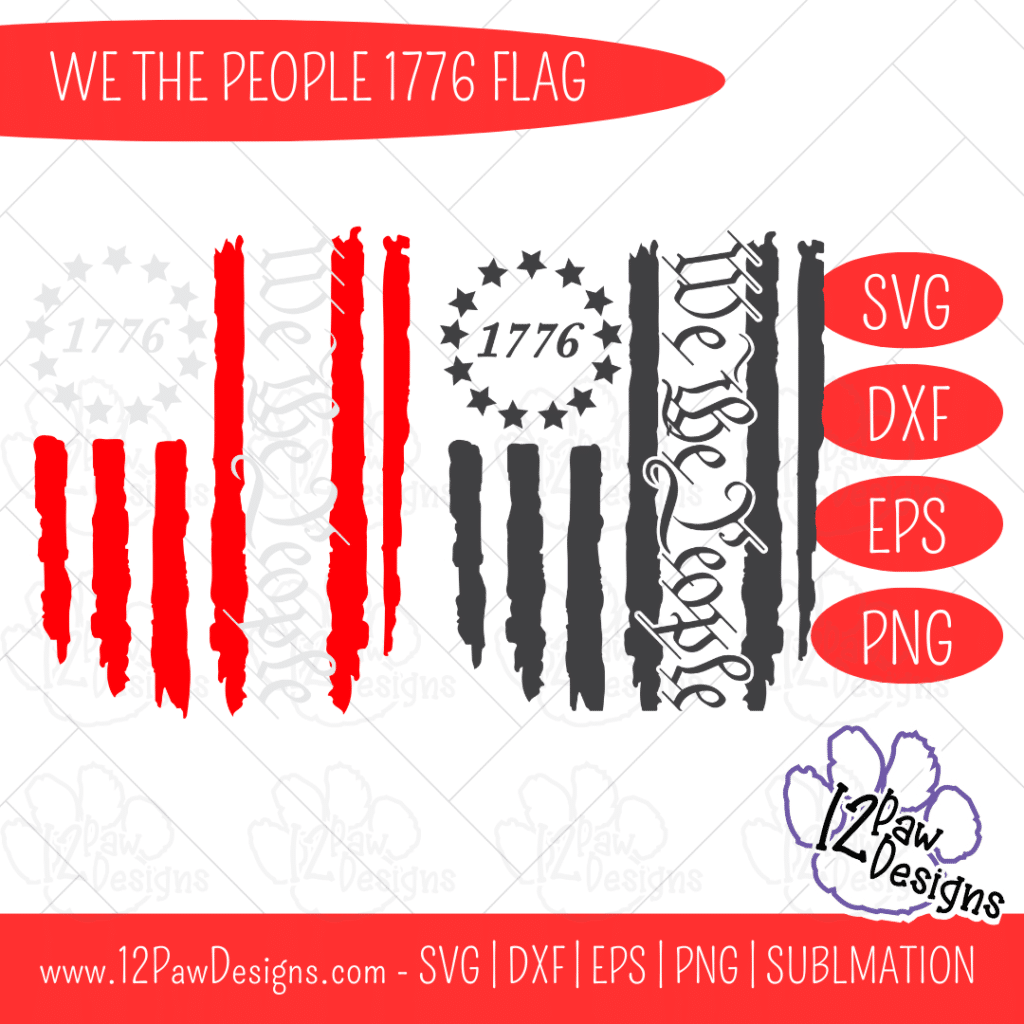
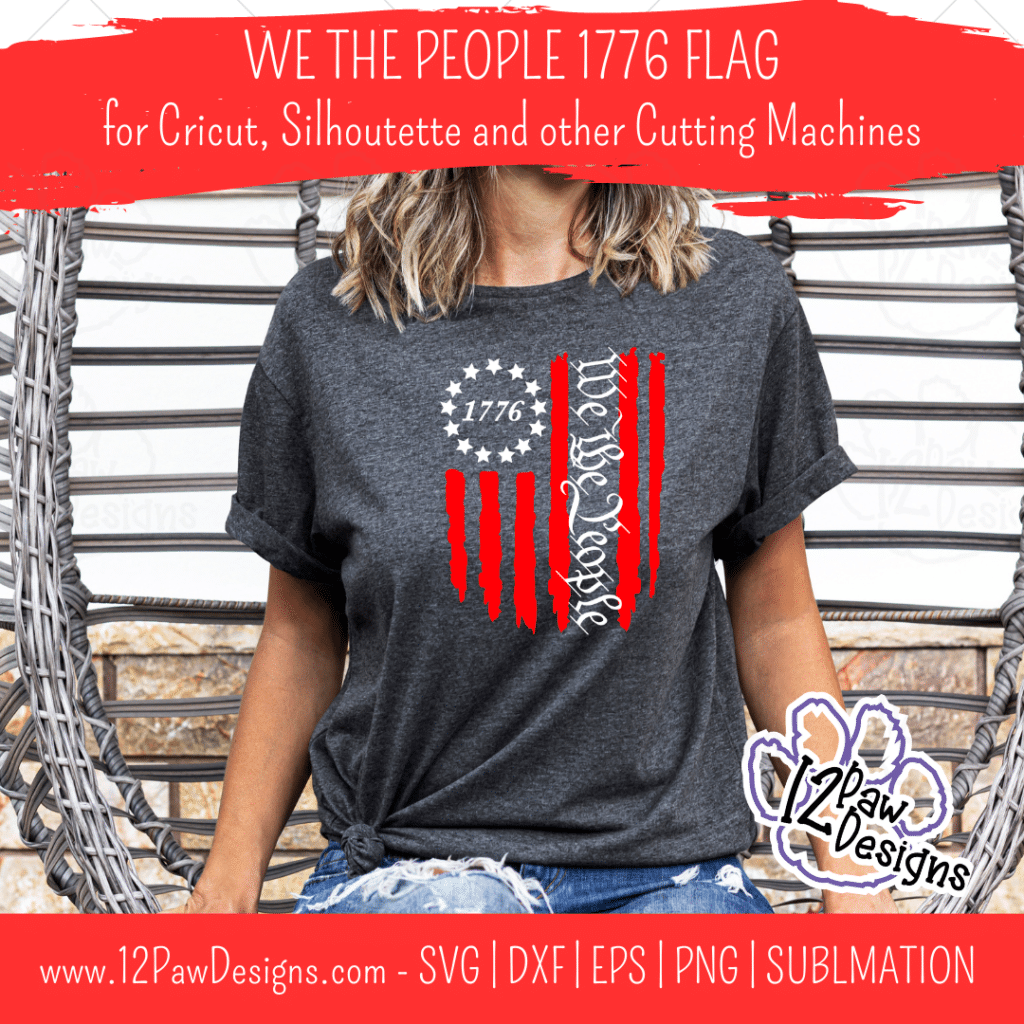
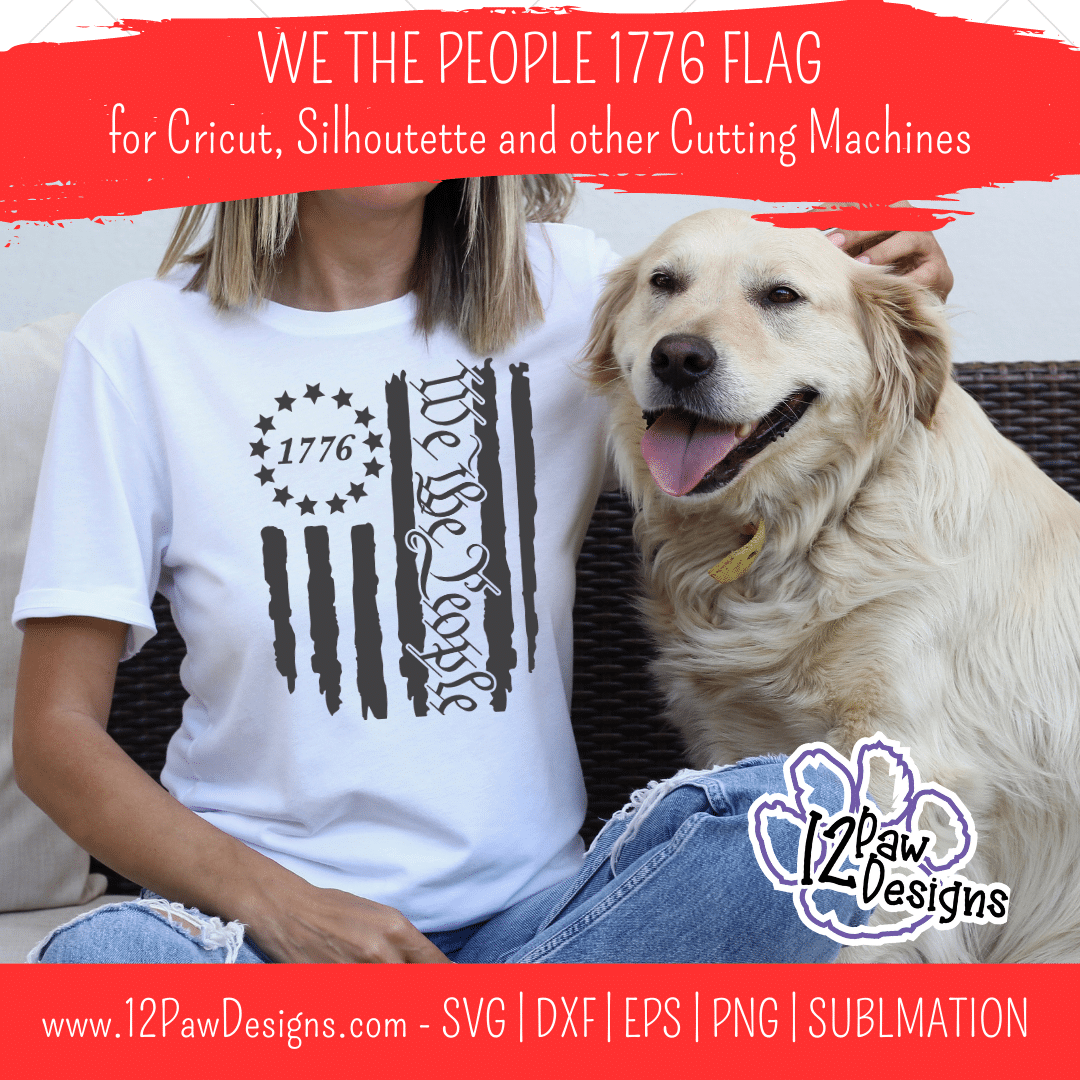
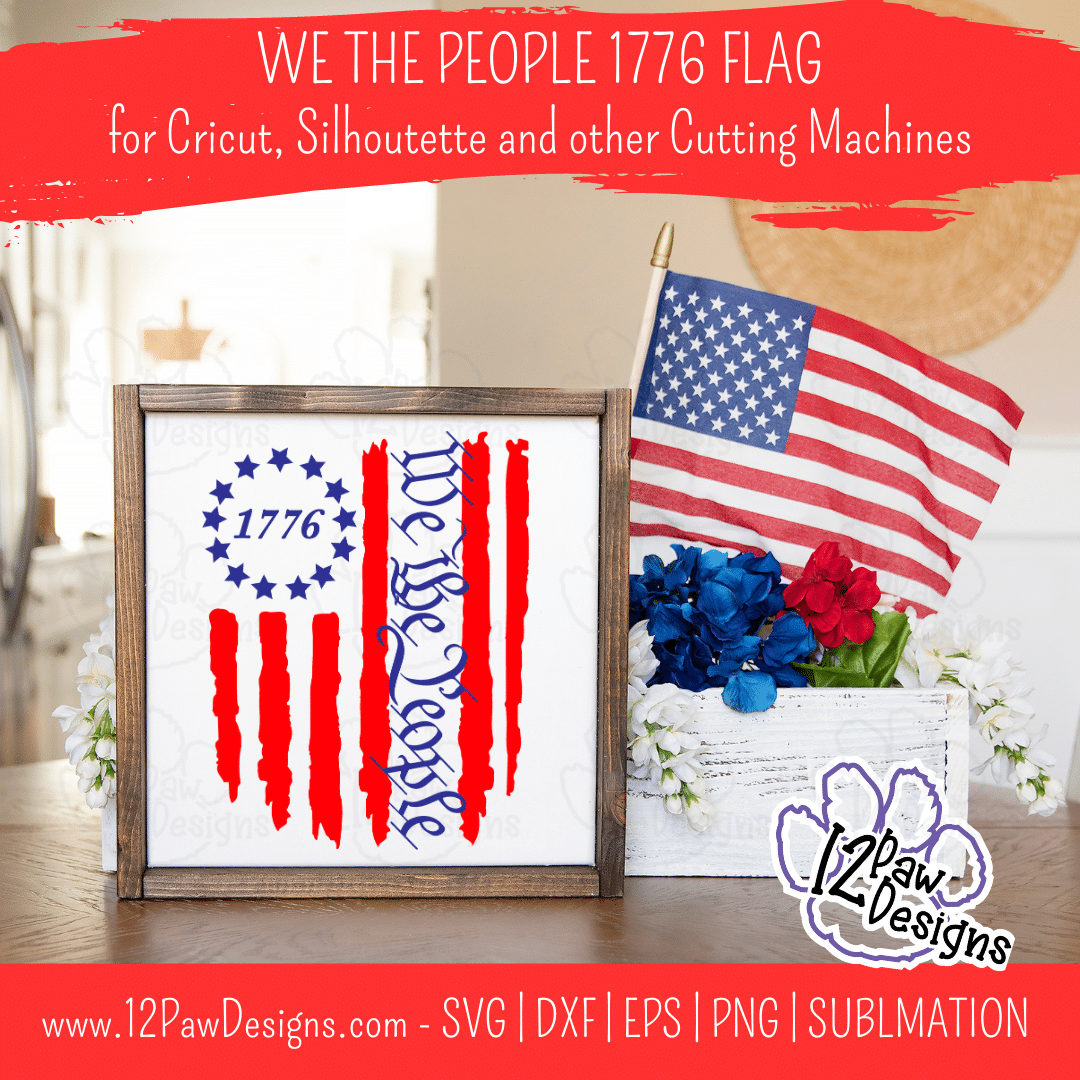
This week I am sharing my take on the We the People 1776 flag. This design has distressed stripes, the 13 circle of stars with the We the People phrase on it. I hope you enjoy this American Flag design.
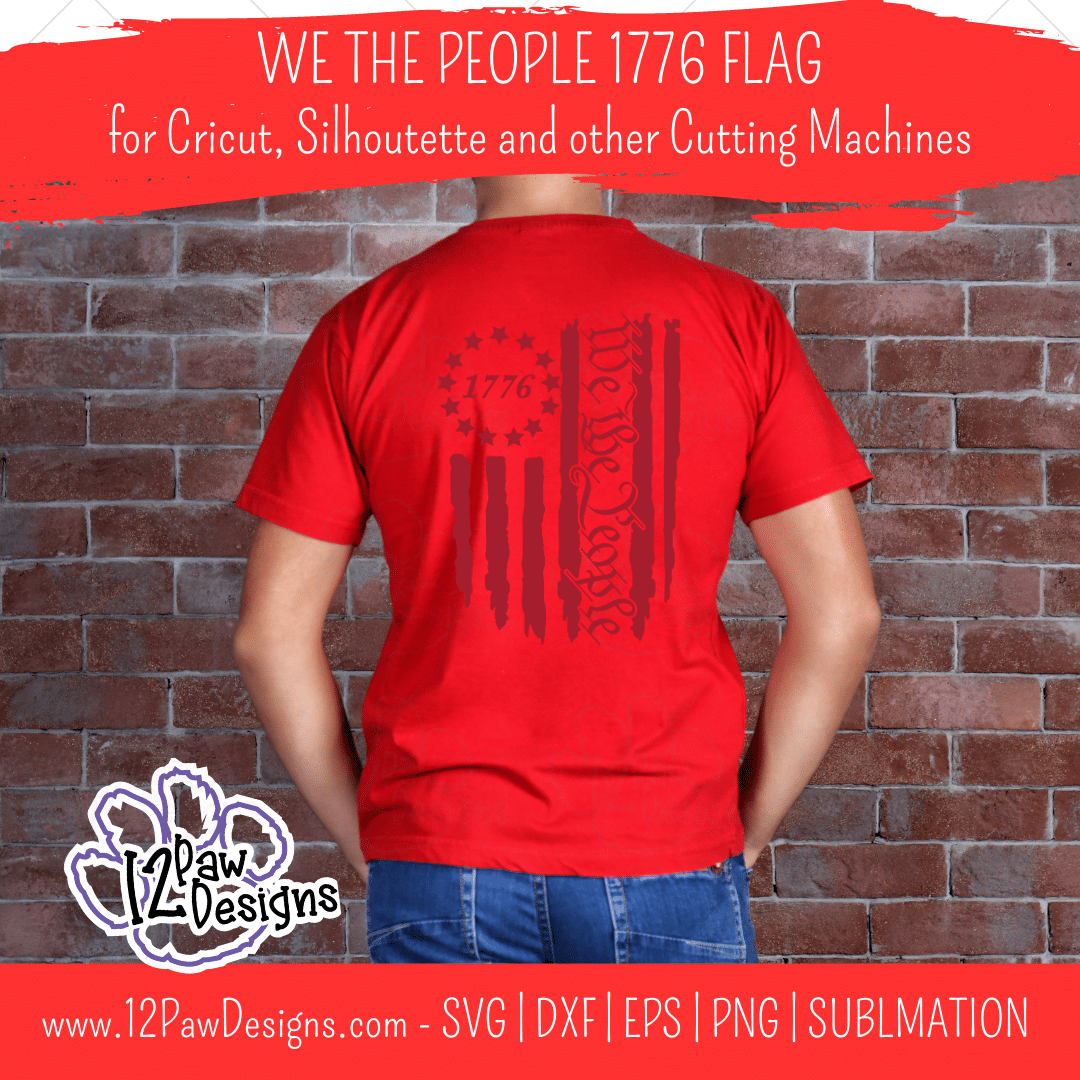
I wanted to make sure this design would work for anyone. My husband wants it on the back of a shirt in a tone on tone. So I have two versions. One with the layering of colors and the other is one layer with knock outs.
You will find this design and many others the Library. It would great on a shirt, tote, sign, etc. So have fun and enjoy this design! You will find it at number 129. Please come on over to Crafty Paws Facebook group and share what you made. We love to see!
How to get your FREE We the People 1776 Flag…
To get your FREE file please go to my Freebie Library, sign in (don’t worry if you are not a member yet, sign up and the password will be emailed to you!!! Also, remember I include it in the bottom of the weekly email too!) and download Number 129 – We the People 1776 Flag. The downloaded file will have multiple file options SVG, PNG, DXF (If you have the free version of Silhouette Studio you will need this file) and EPS.
I really hope you enjoy We the People 1776 Flag design from me.. Please remember a Pinterest pin would be so appreciated! I can’t wait to see what you create. Please share with me. You can come back here and add a comment or add one to Facebook too!
We the People 1776 Flag
We the People, 1776 Flag, American Flag, Merica, Fourth of July, Cricut, Silhouette, Sublimation, Svg/Dxf/Png/Eps, Digital Download, Cut FileWe the People, 1776 Flag, American Flag, Merica, Fourth of July, Cricut, Silhouette, Sublimation, Svg/Dxf/Png/Eps, Digital Download, Cut FileWe the People, 1776 Flag, American Flag, Merica, Fourth of July, Cricut, Silhouette, Sublimation, Svg/Dxf/Png/Eps, Digital Download, Cut FileWe the People, 1776 Flag, American Flag, Merica, Fourth of July, Cricut, Silhouette, Sublimation, Svg/Dxf/Png/Eps, Digital Download, Cut FileWe the People, 1776 Flag, American Flag, Merica, Fourth of July, Cricut, Silhouette, Sublimation, Svg/Dxf/Png/Eps, Digital Download, Cut File
DO NOT resell any of the files as digital download or any other form. DO NOT claim the files as your own. DO NOT modify and resell the files in any form.
You loved the Patriotic tray and cut files so much I wanted to share how to create this beautiful Sweet Land of Liberty Round. I will show you the stain method that I used and I also share the FREE Sweet Land of Liberty Round Cut file with you! I love the antique look of the USA Round Flag.
12PD Sweet Land of Liberty
Sweet Land of Liberty –
USA Round Flag Inspiration!
Supply List to Create the Beautiful Sweet Land of Liberty
These are the items that I used. However, have fun and use items you have!
Here are the steps I took to make Sweet Land of Liberty Flag Round
Step 1 – Lets prep our round! Lightly sand the round with the sanding block. Once that is done let us burn it!!! Now, you can use a kitchen torch or a butane torch. You might be able to get away using a high temp heat gun. Make sure you do this in a well ventilated area. You will have smoke and smell. Then run your torch over the circle until you receive the effect you are looking for.
Step 2 – Now load your free file into your cutting software and cut out your stencil material. I have included videos for cutting large than you mat for both Cricut and Silhouette. You do not need to mirror. Also cut out your saying. I have included and offset for it. You can choose to used it or not. Have fun with it!
Step 3 – Weed your stencil mask. Remember this is a mask. So we weed out the parts we want to stain. Once you have your weeding done apply your transfer tape. User your squeegee to make sure you get air bubbles out. Now peel the backing away from the stencil and apply it to your wood round. I did the stripe portion first. Make sure you are follow the grain of the round. Once you have the stencil on peel away your transfer vinyl. Take your time removing it. User your fingers and really make sure your seams are pressed down.
Step 4 – Now lets try the baby wipe staining technique. Mine were a little on the dry side so I needed a little extra water. However, be careful with how much water you use. I had some go under mask. Also, make sure you stain with the grain of the wood. Once you have the desired color pull your stencil material off.
Step 5 – Repeat the same process for the stars. Remember the stars are being laid down on the round because we are staining blue. Use the stripes to line the star area up. To help keep your edges crisp dab around the stars and go from the center out. Once that area is done pull your mask off.
Step 6 – I decided to take some brown and lightly “stain” over it to give it an antique look. This is totally optional! This is your project!!
Step 7 – Let your round dry
Step 8 – Now to add our words:
Start with weeding vinyl word and offset
Apply transfer tape
Peel off vinyl backing from the words
Now use parchment paper and attach it to the back of the words. Make sure you leave some transfer tape showing to attach it to the offset. Now use this technique to line up your words to the offset. Once you have it where you want. Push down the transfer tape and hinge method to pull the parchment out. Squeegee down your words.
To get your FREE file please go to my Freebie Library, sign in (don’t worry if you are not a member yet, sign up and the password will be emailed to you!!! Also, remember I include it in the bottom of the weekly email too! 😉 ) and download Number 33 – Sweet Land of LIberty. The downloaded file will have multiple file options SVG, PNG, DXF (If you have the free version of Silhouette Studio you will need this file) and EPS.
I hope you enjoy the FREE tiered tray file. Thank you again for stopping by and being part of my dream and 12 Paw Designs! Have an absolutely amazing day!!!
DO NOT resell any of the files as digital download or any other form. DO NOT claim the files as your own. DO NOT modify and resell the files in any form.