Tag: camping bucket

  • Boho Rainbow For Inspiration and the Mama’s in our life!

    Boho Rainbow For Inspiration and the Mama’s in our life!

    Boho Rainbow, Inspirational Quote, Rainbow Mama, Cricut Silhouette Glowforge, Svg/Dxf/Png/Eps, Sublimation, Digital Download, Cut File

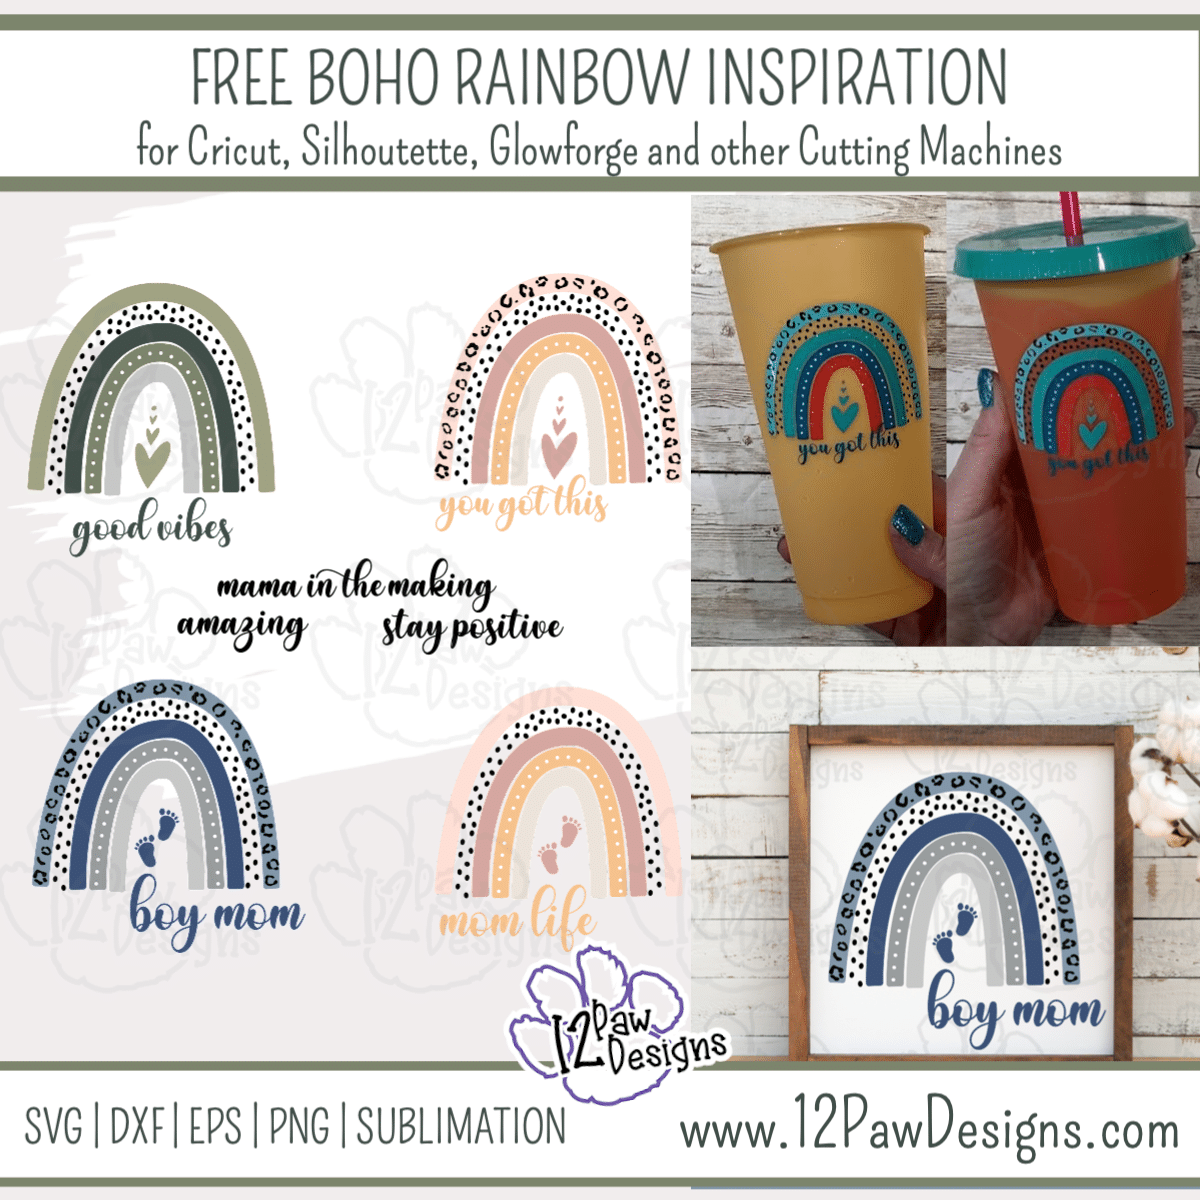
    Boho Rainbow For Inspiration and the Mama’s in our life! I have designed some fun boho rainbows. I have added inspirational quotes and created a special rainbow mama with baby foot prints!! You can cut or do sublimation, etc. You can leave the leopard print on or take it off. Add one of the quotes and you have a design for you!!!

    This weeks FREE SVG can be found in the Freebie Library as number 44 Boho Rainbow Inspiration\ Rainbow Mama. I am going to use the file and make a fun color change cup!! The video and steps are too are below.

    Remember this would be adorable on a coffee cup, shirt, onsie, etc!!! Play and have fun!!! Please share what you have made too!!! I would also very much appreciate a pinterest pin!!!

    Boho Rainbow Tumbler Supply List

    • Cutting Machine and software
    • Boho Rainbow FREE File (click on the link)
    • Vinyl and Transfer tape of choice
    • Weeding tools, scissors, cutting knife and parchment paper
    • Color Changing tumbler – I found my at Walmart
    • Alcohol and cotton pad

    Boho Rainbow Video Tutorial

    Here is some other Ideas!
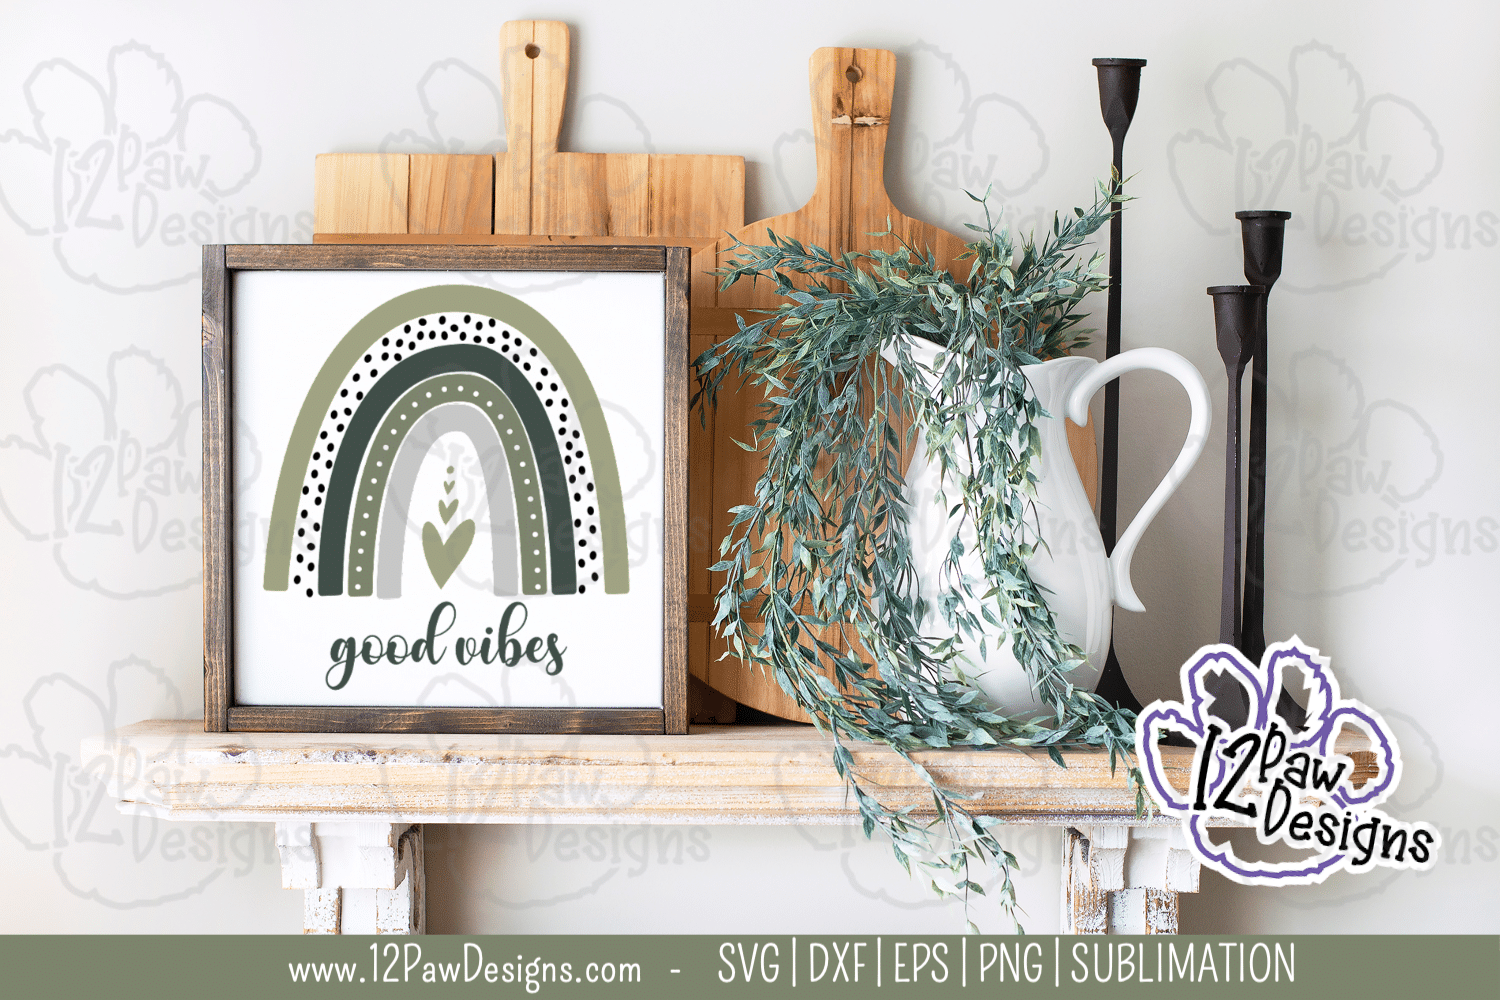
    Here are the steps I took make the my color changing Tumbler

    Step 1 – Open the SVG file in your cutting software (note: if you have the free version of Silhouette studio you will need the DFX files). Size the file elements as need for the project you are making. I used weeding boxes to help me weed my vinyl. Cut your vinyl out. Make sure all your pieces are cut before ejecting from the cutting machine.

    NOTE: You can do the leopard or not, the dots on the rainbow can be left off etc. Have fun with it!!

    Step 2 – Use the alcohol and cotton pad and clean the surface of your cup. You want all the oils from hands, etc off of the cup. Set aside to dry.

    Step 3 – Time to wee your vinyl. Because I was going on a cup my image was small. Somethings I needed to reverse weed. My transfer tape was pretty sticky and did not want to release my vinyl all the way. So there were a few spots where it took me a little longer to weed.

    Step 4 – User your transfer tape parchment paper to line up your rainbow. I applied my my black leopard and dots after on the cup. However, I think it would have been way easier to do it before. So starting with the leopard and dots and apply to the rainbow strips. I used the parchment paper to line up my rainbows to make sure they were where I wanted them and attached it to the transfer tape. See video on how I did this.

    Step 5 – Let’s apply our vinyl!!! I use one of my extra squeegees with the ridges to hold my cup. I took my transfer tape and applied it to the cup. Then I applied my words and your cup is done!!!

    Step 6 – Add ice and your drink and watch the fun color change!

    How to get your FREE Files

    To get your FREE file please go to my Freebie Library, sign in (don’t worry if you are not a member yet, sign up and the password will be emailed to you!!! IT ALSO IS INCLUDED EVERY WEEK IN MY NEWSLETTER!!) and download Number 44 Boho Rainbow Inspiration\ Rainbow Mama. The downloaded file will have multiple file options SVG, PNG, DXF (If you have the free version of Silhouette Studio you will need this file) and EPS. 

    I hope you enjoyed this tutorial and thank you again for stopping by and being part of my dream and 12 Paw Designs! Have an amazing week! Remember a ? Pintrest pin would be so appreciated! I can’t wait to see what you create. Please share with me. You can come back here and add a comment or add one to Facebook too!

    Also, follow me, links below, to see fun stuff I make through out the week. Items will be going into the shop!
    https://12pawdesigns.com/shop/

    If you have any questions or run into an issue please let me know!!!

    Lorri?
    Lorri@12PawDesigns.com

    Let’s Conntect!

    Want to connect more with 12 Paw Designs???:
    • Website: https://12pawdesigns.com
    • FB Page: https://www.facebook.com/12pawdesigns/
    • Instagram: https://www.instagram.com/12pawdesigns/
    • Pinterest: https://www.pinterest.com/12PawDesigns

    DO NOT resell any of the files as digital download or any other form.
    DO NOT claim the files as your own.
    DO NOT modify and resell the files in any form.

  • Let’s Make Lighted Camping Buckets!

    Let’s Make Lighted Camping Buckets!

    We Sleep Around, Lighted Camping Buckets, Backyard Sign Cricut Silhouette, Svg/Dxf/Png/Eps/Sublimation, Digital Download, Cut File

    With camping and backyard outings upon us lets make some fun lighted camping buckets!! I have 2 fun files for you. One for my camping friends and the other for my backyard friends. The We Sleep Around File has a WE and an I version so you could make a fun shirt or sign too!!! Don’t camp?? Don’t worry, I don’t either! I made a fun Welcome to Our Backyard sign\bucket for you too!!! This is a fun and fast project!!! Let grab our supplies and get going!

    Also, until June 1st enjoy 25% off everything in the shop!!!

    We Sleep Around – Welcome to our Back yard

    Camping Bucket Supply list

    Video TutorialCamping Buckets

    Here are the steps I took to make the Camping Buckets

    Step 1 – Lets prep our Buckets! Scrape the stickers off the lid and the bucket. I used a scrapper to get mine off. I found if i could lift a section and then get under I could lift the sticker off and remove. Use the acetone and cotton pad to remove any residual parts. Once that is done use the Alcohol and a pad to clean and prep your surface. Set aside to dry.

    Step 1 – Now load your free file into your cutting software and cut it out in your vinyl of choice. For the camper I went vintage colors with turquoise and pink.

    Step 3 – Now to weed our vinyl

    • Start with weeding vinyl – I find a pin pen helps to remove the small pieces of vinyl from the center of the words. I also like to use weeding boxes too.
    • Apply transfer tape for the camper I started with the outline first
    • Peel off vinyl backing from the words
    • Now use parchment paper and attach it to the back of the camper. Make sure you leave some transfer tape showing to attach it to the next layer. Now use parchment and camper to line it up on the stripe and words. Once you have it where you want. Push down the transfer tape and hinge method to pull the parchment out. Squeegee down your vinyl.
    • Pull the vinyl backing from the offset
    • Repeat to add the drapes
    • Apply your design to your bucket. I use a taco method, where I curved it up and touched the middle of the design to the bucket. Squeegee image down.
    • Remove transfer tape. Remember to keep the transfer tape close to your image.

    Step 4 – Assemble and add your light. You could use double sided tape or hook and loop if you want your light to stay in one spot.

    Step 5 – Play with the fun lights and enjoy!!!

    How to get your FREE Sweet Land of Liberty Files

    To get your FREE file please go to my Freebie Library, sign in (don’t worry if you are not a member yet, sign up and the password will be emailed to you!!! Also, remember I include it in the bottom of the weekly email too! 😉 ) and download Number 34 – We Sleep Around and/or Welcome to our Backyard. The downloaded file will have multiple file options SVG, PNG, DXF (If you have the free version of Silhouette Studio you will need this file) and EPS. 

    I hope you enjoy the FREE tiered tray file. Thank you again for stopping by and being part of my dream and 12 Paw Designs! Have an absolutely amazing day!!!

    Remember to PIN IT!!! ?

    We Sleep Around, Lighted Camping Buckets, Backyard Sign Cricut Silhouette, Svg/Dxf/Png/Eps/Sublimation, Digital Download, Cut File
    12PD Camper and Backyard Bundle

    Also, please check out my shop. I am always adding new designs.
    https://12pawdesigns.com/shop/

    If you have any questions or run into an issue please let me know!!!

    Lorri?
    Lorri@12PawDesigns.com

    Let’s Conntect!

    Want to connect more with 12 Paw Designs???:
    • Website: https://12pawdesigns.com
    • FB Page: https://www.facebook.com/12pawdesigns/
    • Instagram: https://www.instagram.com/12pawdesigns/
    • Pinterest: https://www.pinterest.com/12PawDesigns

    DO NOT resell any of the files as digital download or any other form.
    DO NOT claim the files as your own.
    DO NOT modify and resell the files in any form.