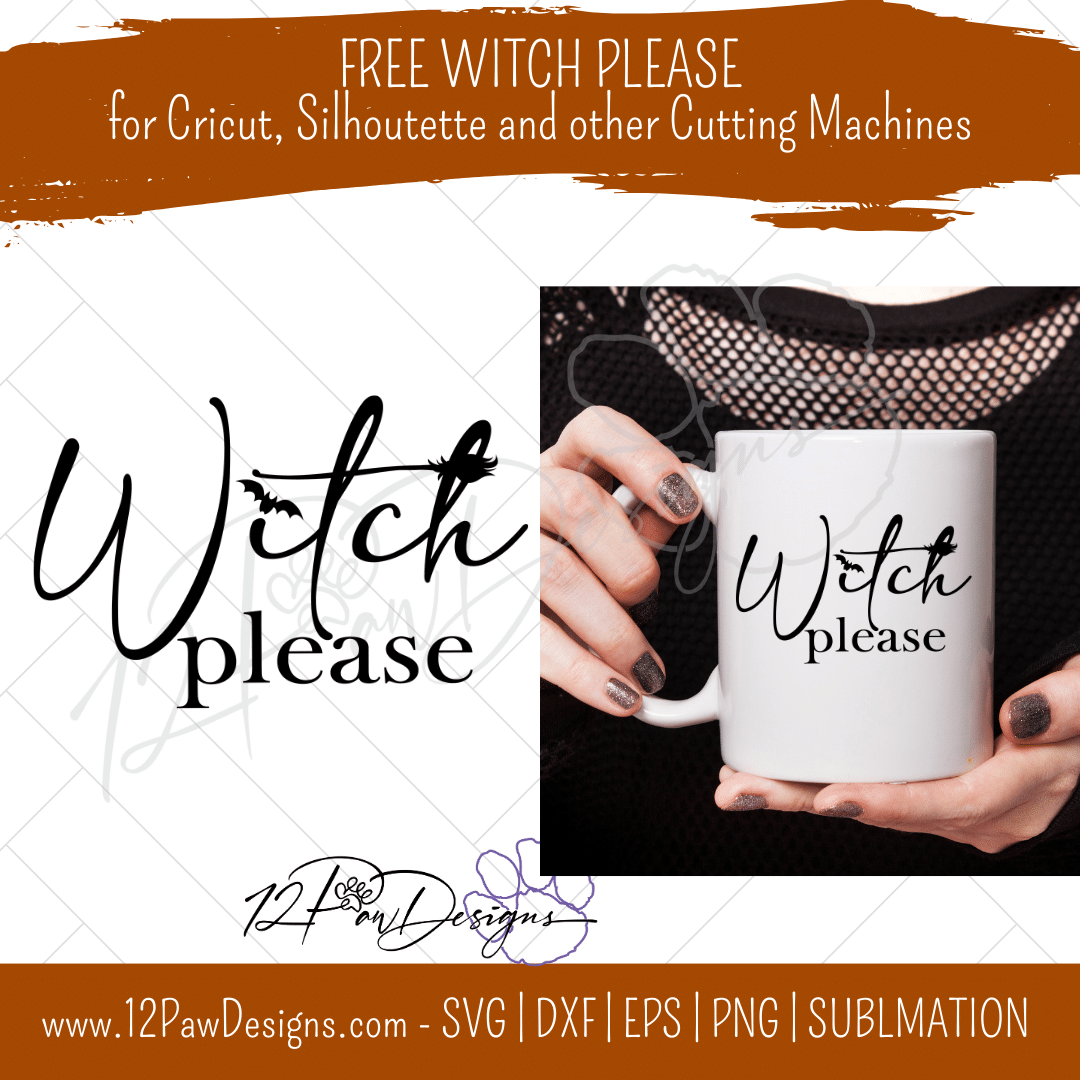
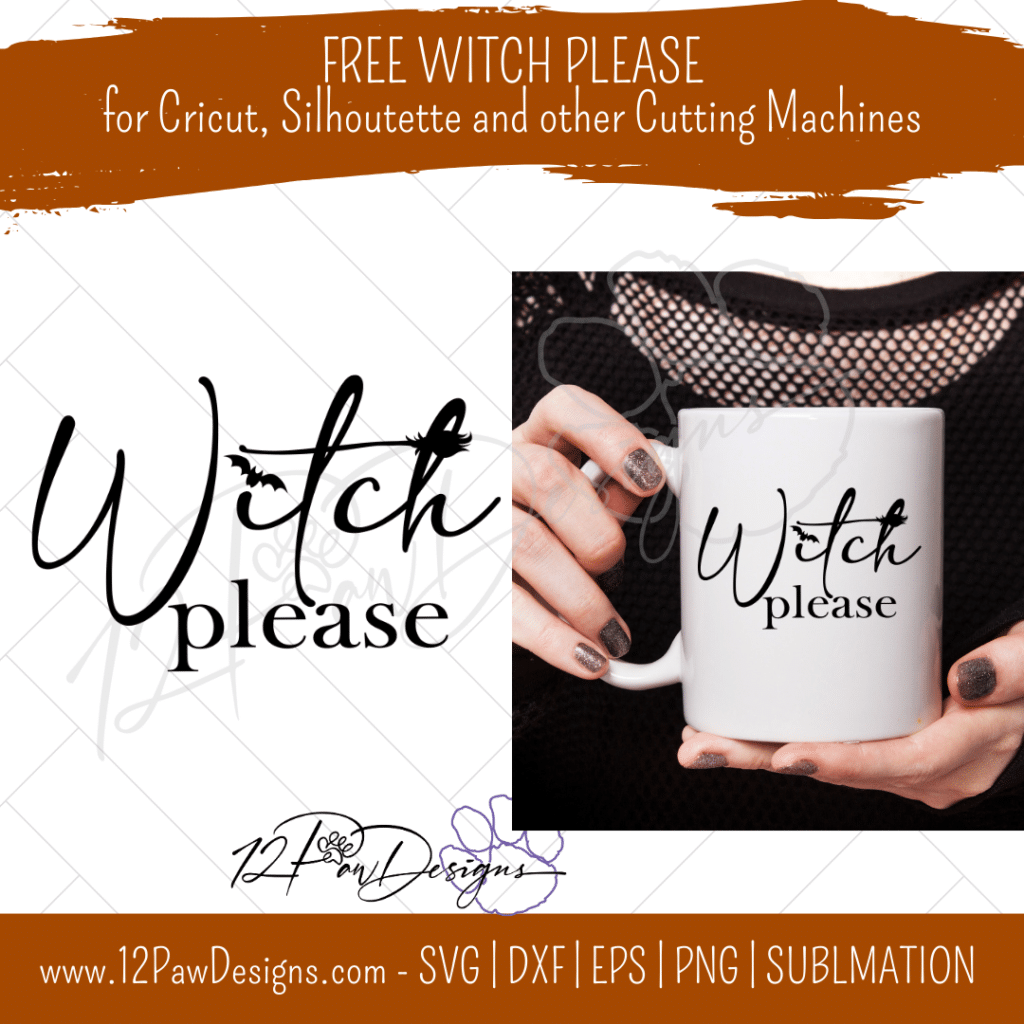
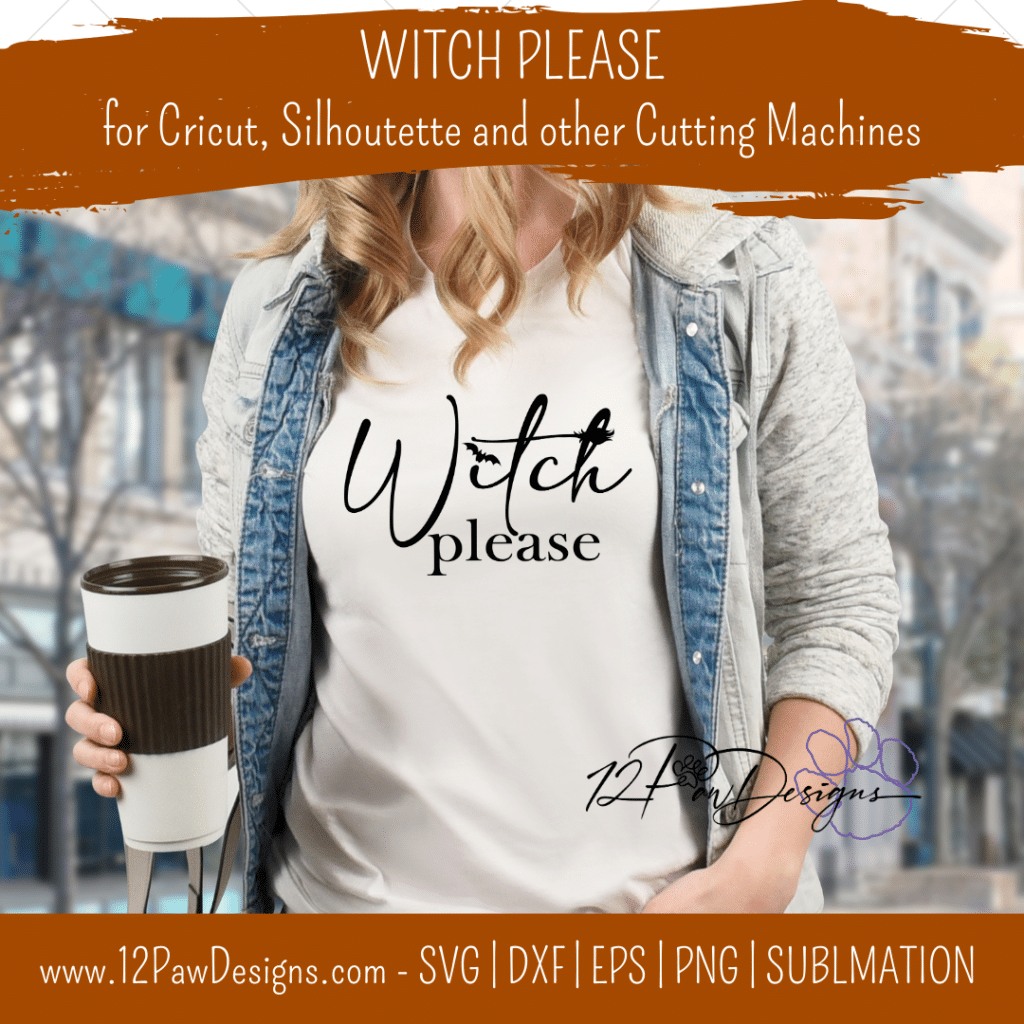
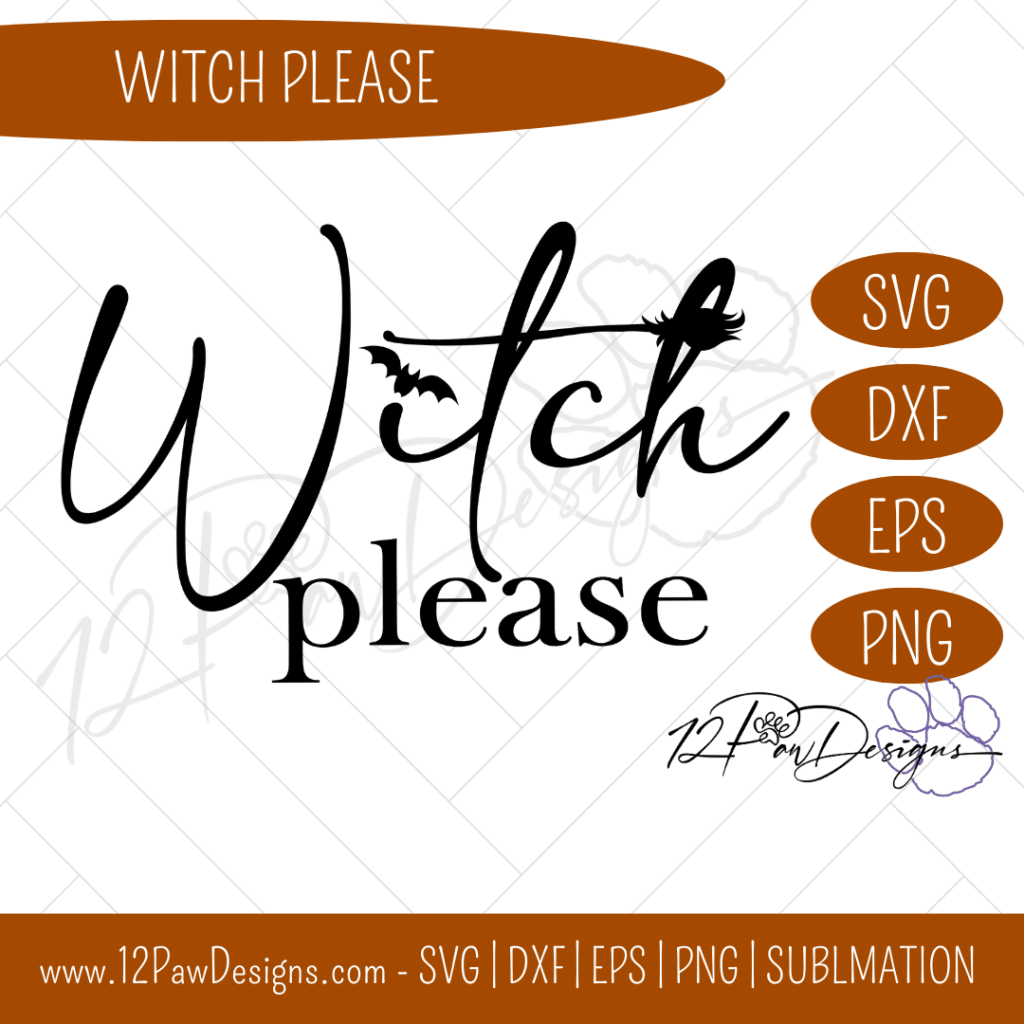
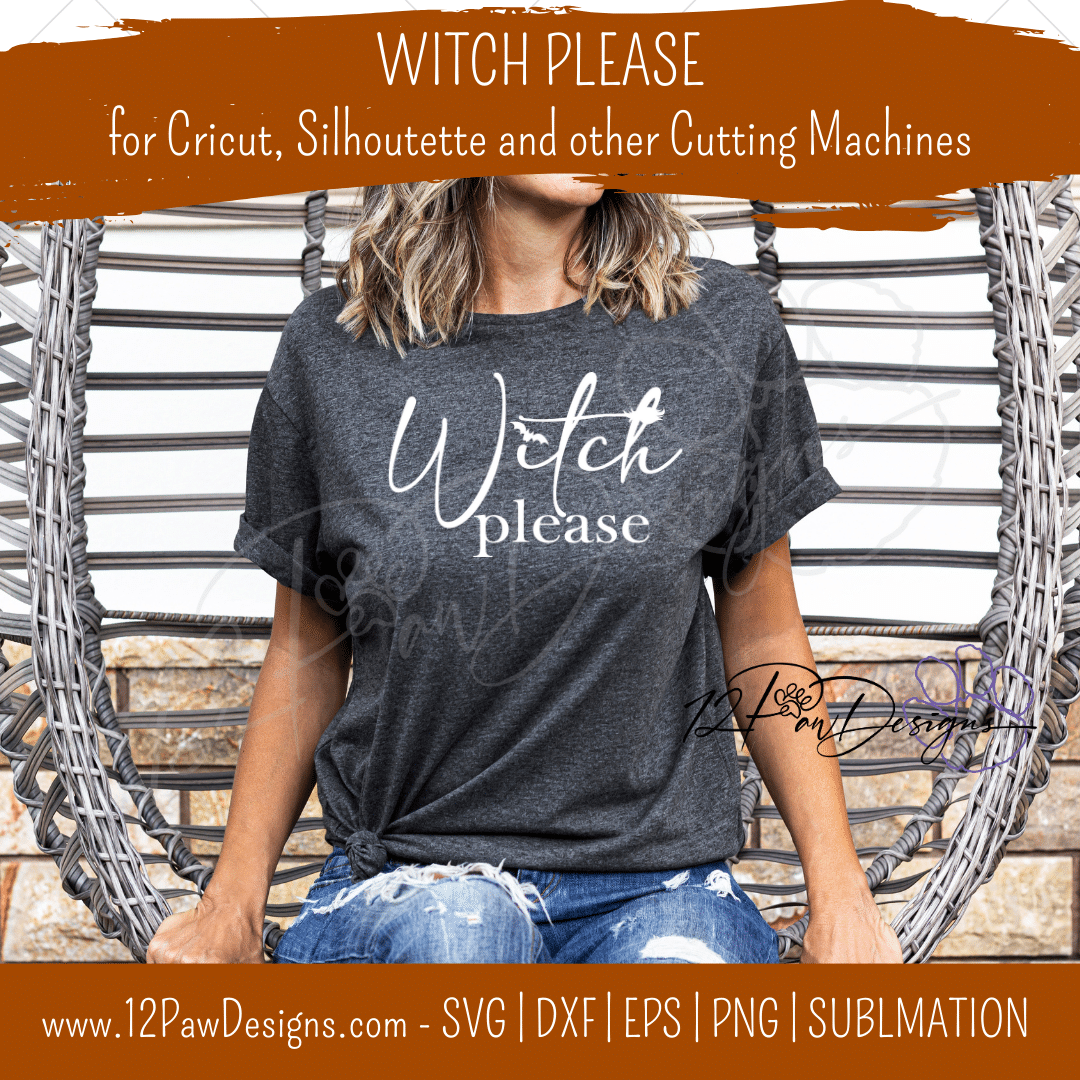
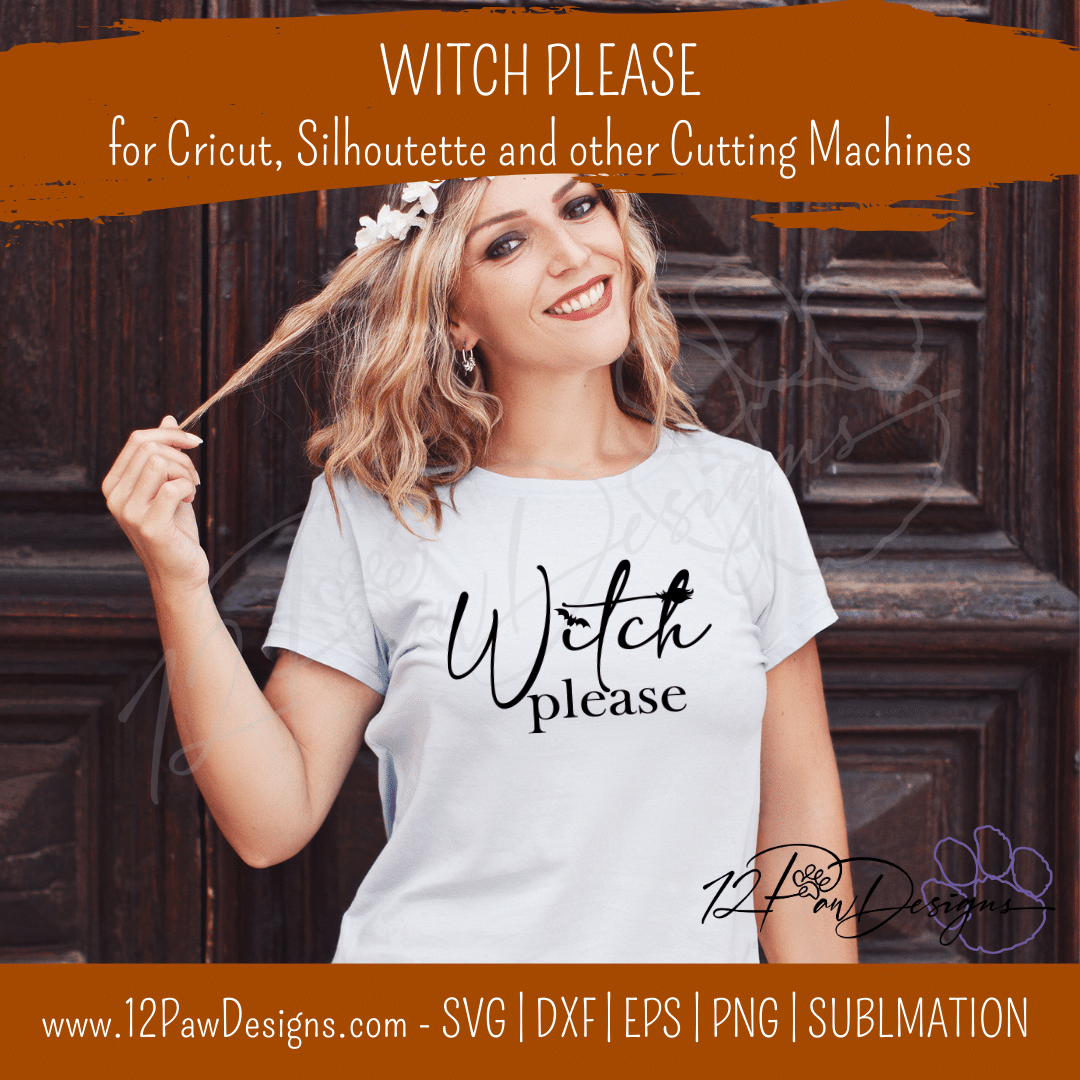
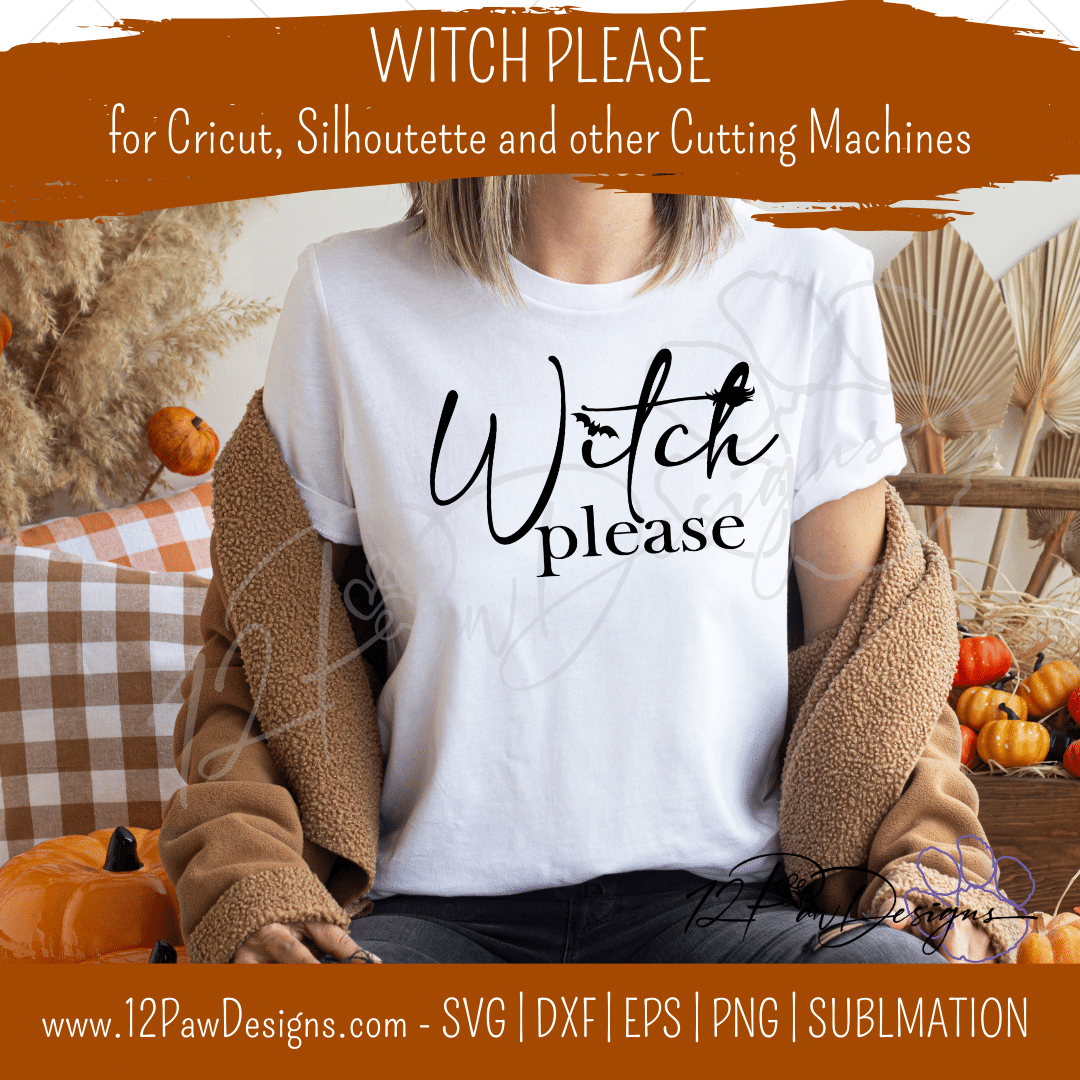
Who is ready for Halloween? Let me help with Witch Please! This fun cute design has a broom for the T cross and a bat for the I. It is perfect for this time of year!
Use this design to wear it proudly, cute on a mug or how about a sign in your home! Bring a giggle to your your co-workers, family and friends!
You will find this design along with many others in the Library. You will find it at number 135. Please come on over to our Facebook Group, Crafty Paws Facebook group and share what you made. We would love to see!
How to get your FREE Witch Please…
To get your FREE file go to my Freebie Library, sign in (don’t worry if you are not a member yet, sign up and the password will be emailed to you!!! Also, remember I include it in the bottom of the weekly email too!) and download Number 135 – Witch Please. The downloaded file will have multiple file options SVG, PNG, DXF (If you have the free version of Silhouette Studio you will need this file) and EPS.
I really hope you enjoy Witch Please. Remember a Pinterest pin would be so appreciated! I can’t wait to see what you create. You can come back here and add a comment or add one to Facebook too!
DO NOT resell any of the files as digital download or any other form. DO NOT claim the files as your own. DO NOT modify and resell the files in any form.
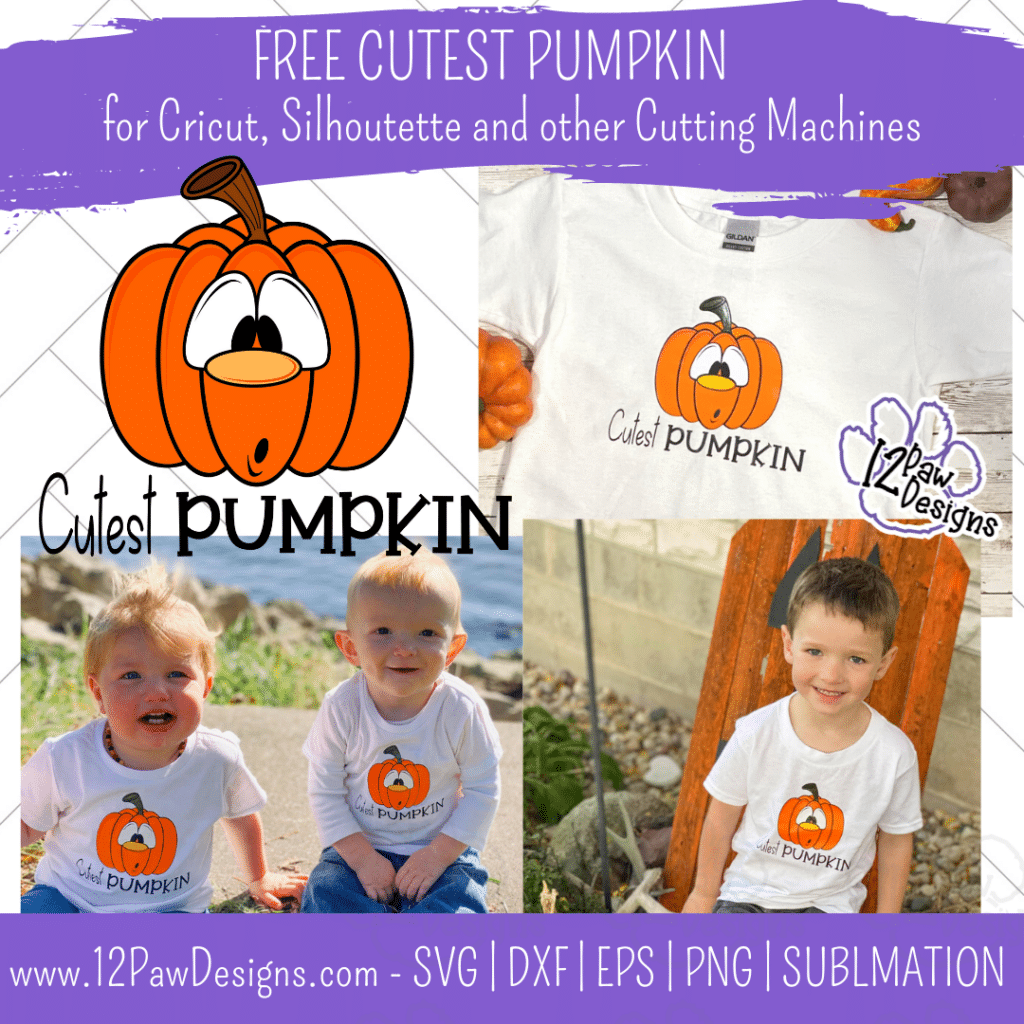
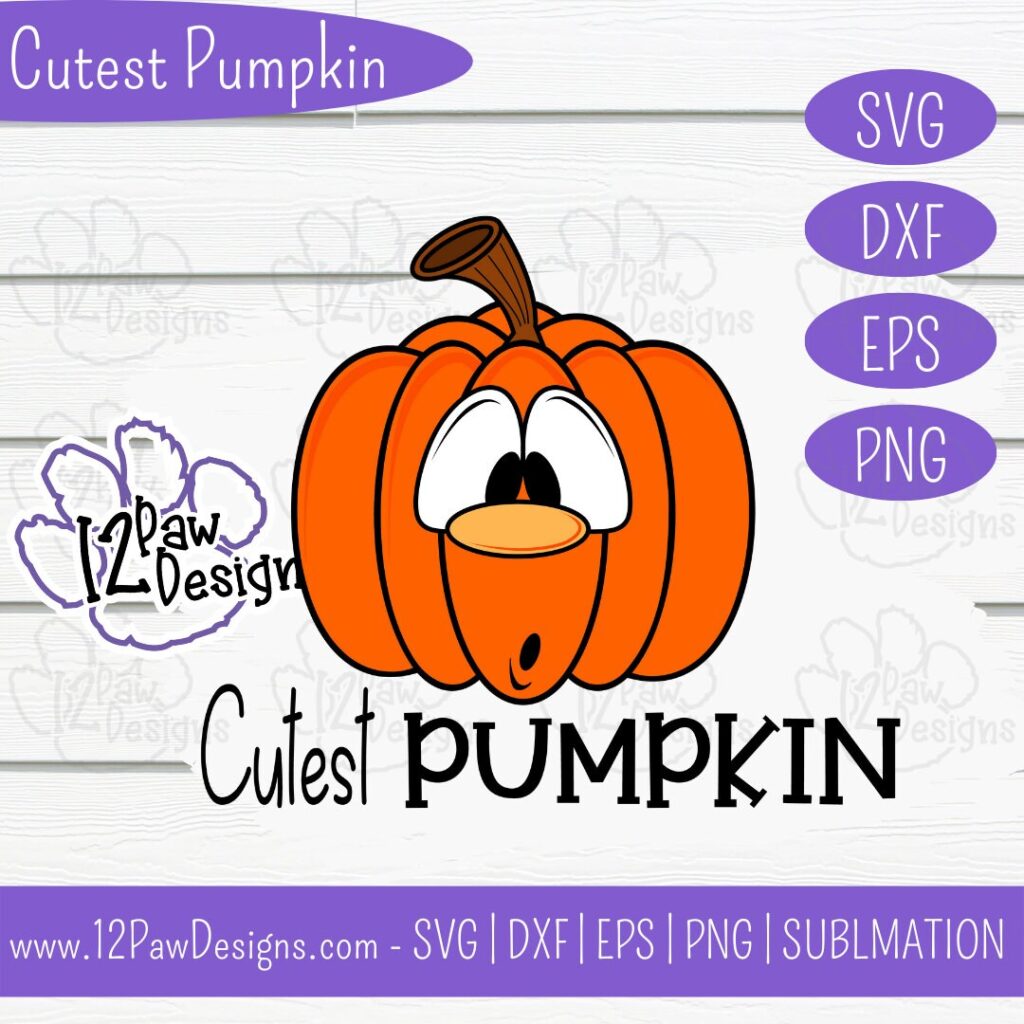
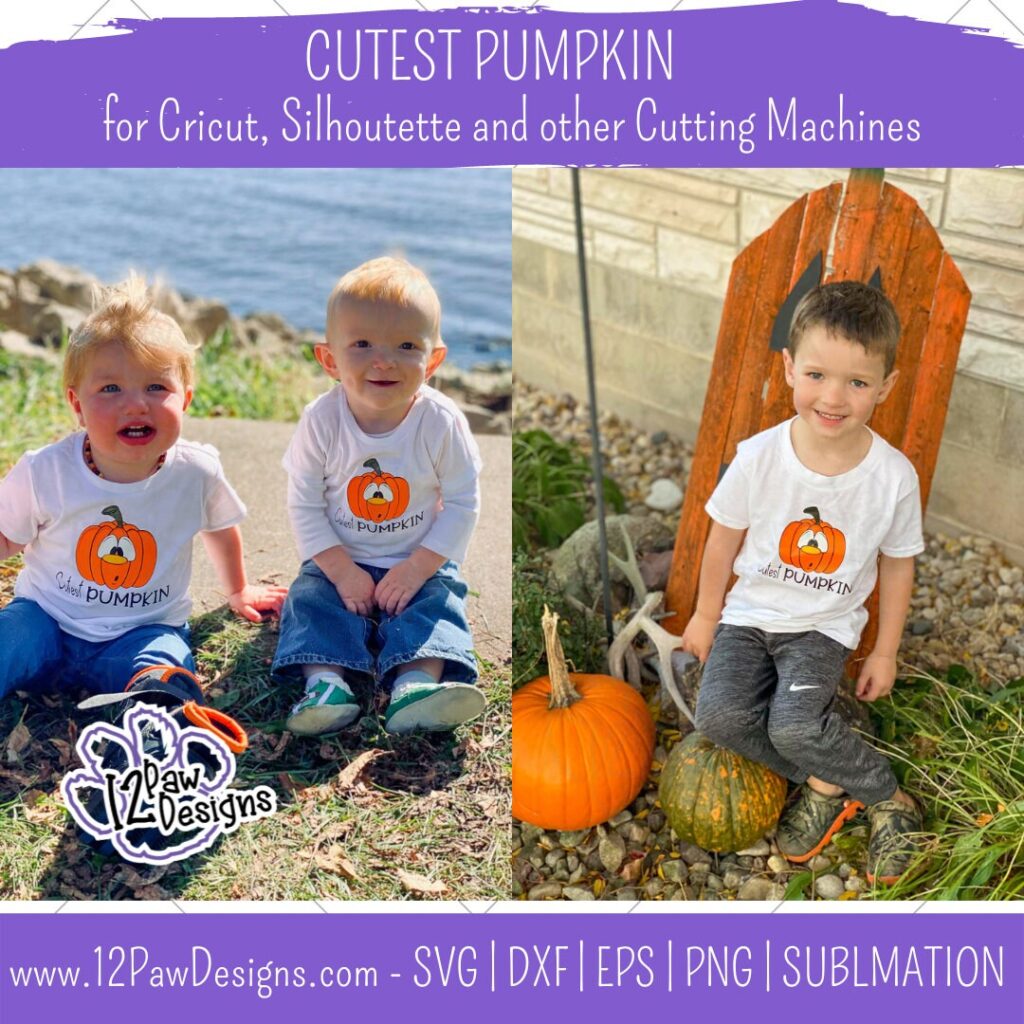
Oh, they ARE the Cutest Pumpkin! This week I am blessed to have the assistance of these 3 adorable cousins to model our Funny Pumpkin! They are absolutely adorable!! I am sharing with you this Cutest Pumpkin file so you can make your own cute shirts!
The blog will focus on making layered vinyl heat transfer shirt. I will show you how I do it and a few tips to help the process.
This weeks FREE Cutest Pumpkin PNG/SVG/cut file can be found in the Freebie Library. File number is 57 (remember the password is always in the bottom of your weekly email from me). I have also created a video tutorial along with some directions on how I made these shirts. I can’t wait to see your projects!!
Remember to join our Facebook Craft Group!!!
I am so excited to let you know that I started a Facebook Craft Group. The goal of the group is to welcome ALL crafters. I craft in different mediums, styles and type. Wood, vinyl, paint, sublimation, tumblers, etc. No matter what you do this group is for you. Come and join us!!! Click the link! Crafty Paws for All Cricut Silhouette Glowforge Sublimation and More
Step 1 – Open the file in your favorite cutting software. Cut vinyl to the size you need for your project. I did 6×6 for a 4T and 24 month and then 5×5 for the 12 month. Now if you are doing heat transfer vinyl remember to mirror your image. I actually like to flip my image before I send to cut. This way I don’t have to worry about forgetting to mirror or the software moving it on me. It has saved me vinyl.
Also, remember shiny or “pretty” side down on your mat.
Step 2 – Once you have everything cut weed your vinyl.
Step 3 – Heat your press to the proper heat setting for your vinyl.
Step 4 – Prepare your vinyl There are quite a few layers. I like to layer everything together prior to pressing. I organize them on how I would put them on the shirt. So the black base of the pumpkin first, then the orange, eyes, stem, nose, highlights, eye lines and mouth. Now remember you can do some items at the same time to press. You just need to make sure that the transfer sheets do not touch.
Once I have everything layered I fold in half to find the center. For the shirt I wanted Cutest Pumpkin words center under. So I cut them off and moved them.
Step 5 – Once the press is at temp place your pressing pillow down. The reason for the pressing pillow is the seams of the shirt. The pillow will help give you even presses and pressure on the shirt.
Step 6 – Next take the shirt and fold in half and give it a quick press. This helps you find the center seam and takes any moisture out. Then lay it on the pillow. I actually did my reverse so I could see it better.
Step 7 – Now lay your black piece down on the shirt. Use the center seam from the fold you did and line that up on the fold you did. You want to go about 1″ down on a kids shirt. Also, place the Cutest Pumpkin words down as well. Now you are going to press. HINT!!!!! You only want to press long enough to get the transfer sheet to release. So 2 to 3 seconds max. The reason is HTV shrinks. Too much heat will make it hard for the next layers to line up. Remove the transfer sheet. Remove transfer sheets.
Next lay your orange down on the black back and again, only press for 2 to 3 seconds max. Remove the transfer sheet.
Next do the eyes. I also did the stem since the transfer sheet didn’t touch. Press, 2 to 3 seconds. Remove transfer sheets.
Then do the highlights and nose. Press 2 to 3 seconds. Remove transfer sheets.
Then eye lines and mouth. Press 2 to 3 seconds. Remove transfer sheets.
Step 8 – Once all the layers are on do one final press for the full recommended time of your HTV. You want to see fibers in the HTV.
Step 9 – Put the shirts on the punkins and go ohhh!!
To get your FREE file please go to my Freebie Library, sign in (don’t worry if you are not a member yet, sign up and the password will be emailed to you!!! Also, remember I include it in the bottom of the weekly email too! 😉 ) and download Number 57 – Cutest Pumpkin . The downloaded file will have multiple file options SVG, PNG, DXF (If you have the free version of Silhouette Studio you will need this file) and EPS.
I really hope you enjoy my Cutest Pumpkin Design. Remember a ? Pinterest pin would be so appreciated! I can’t wait to see what you create. Please share with me. You can come back here and add a comment or add one to Facebook too!
DO NOT resell any of the files as digital download or any other form. DO NOT claim the files as your own. DO NOT modify and resell the files in any form.
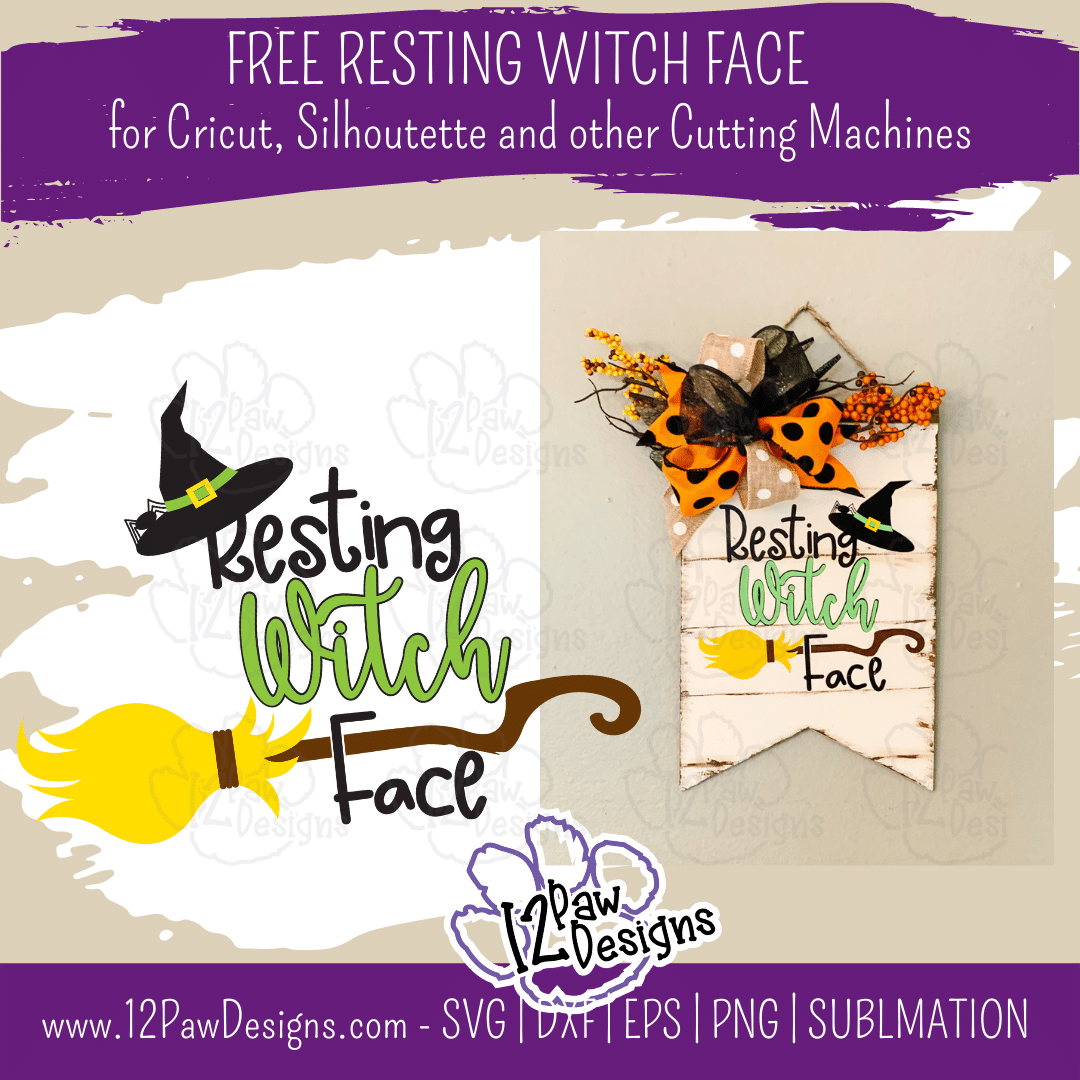
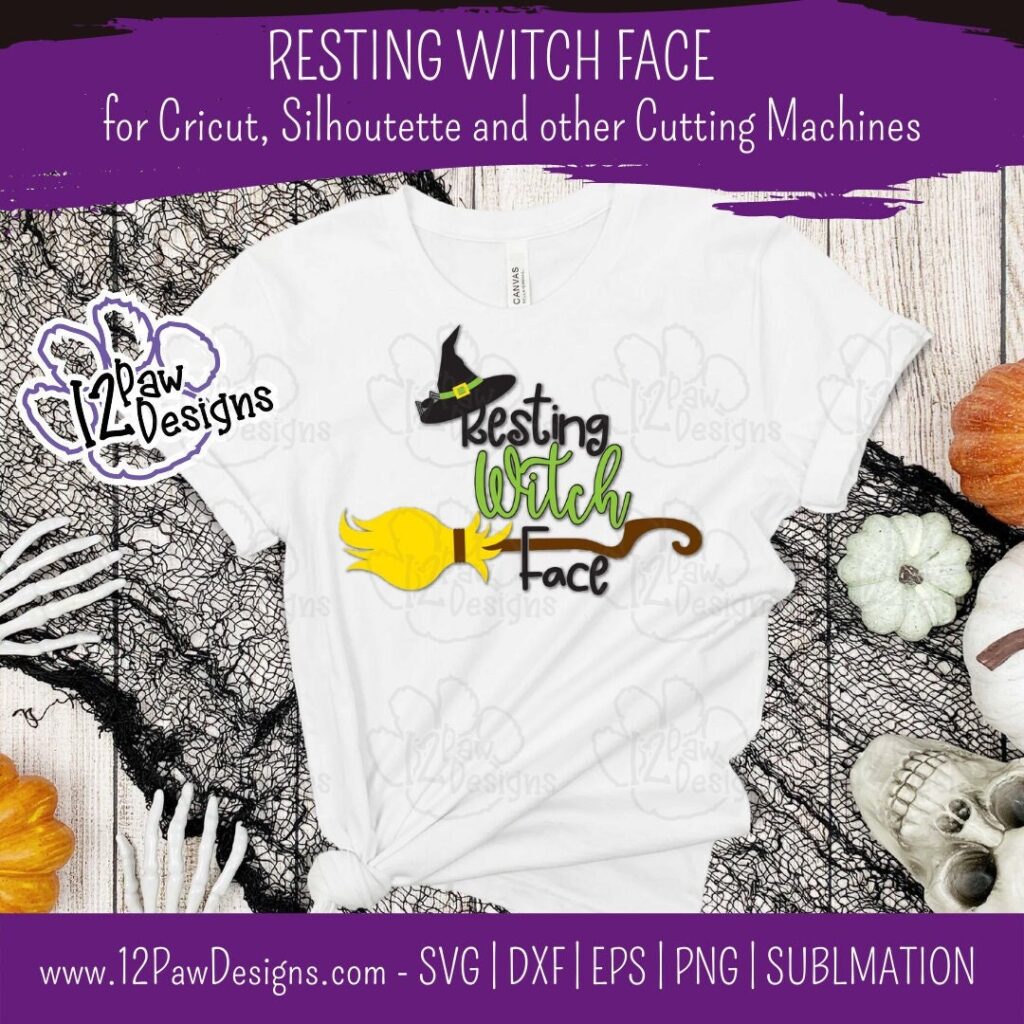
Resting Witch Face make can make a funny Halloween shirt, sign or bag! It is so much fun at Halloween how everyone can joke around with Funny Witch sayings. Resting Witch Face is one of those sayings. This cute design includes a fun witch hat with a spider and a funky witches broom. Take the free cutting file and let your imagination go. I will be showing how I made this distressed sign using a Dollar Tree Banner that I up-cycled.
This weeks FREE Resting Witch Face PNG/SVG/cut file can be found in the Freebie Library. File number is 56 (remember the password is always in the bottom of your weekly email from me). I have also created a video tutorial along with some directions on how I made this sign. I can’t wait to see your projects!!
Remember to join our Facebook Craft Group!!!
I am so excited to let you know that I started a Facebook Craft Group. The goal of the group is to welcome ALL crafters. I craft in different mediums, styles and type. Wood, vinyl, paint, sublimation, tumblers, etc. No matter what you do this group is for you. Come and join us!!! Click the link! Crafty Paws for All Cricut Silhouette Glowforge Sublimation and More
Florals – I picked up 2 picks from the Dollar Tree
Weeding tools, scissors, cutting knife, transfer tape, squeegee, etc
Glue Gun
Painters tape
Floral Wire or wire tire
Video Tutorial – Resting Witch Face Sign
Here are the steps I took to make my sign
Step 1 – Take a metal scrapper and scrape off the glitter. Then take a 60 grit sanding block and sand the sign. Next take the painters tape and cover the top piece of the banner.
Step 2 – Paint the sign. Since I was using white it took 3 coats. Give it dry time between coats. You can also use a heat gun to speed up the dry time. If you get paint on the edges you can use baby wipes to clean your edges up.
Step 3 – Open the file in your favorite cutting software. Cut vinyl to the size you need for your project. Weed your vinyl between your paint coats
Step 4 – Once the sign is dry take the brown paint and a liner brush and paint\draw thin lines across the sign to look like wood. I had a metal ruler, you could use a ruler, wood, etc. Once you have that done take a brush, make up sponge or rag and go around the edges of the sign. You can see the technique I used in the video. Then take the rag and blend to look distressed. Especially around the lines to give it that distressed look.
Step 5 – Using the same rag stain paint the top piece of wood. If you have some paint or something on the edge of your sign you can also use the rag to cover the edges.
Step 6 – Now its time to apply the vinyl. Take your transfer tape and apply it to the word base. Then using your squeegee apply it to your sign. Make sure you leave room at the tope for a bow and some florals.
Next take the witch vinyl and the parchment paper and put the witch on the parchment paper. Find your placement. Attach the top part of the transfer tape down making a hinge. Then lift up the hinge to remove the parchment paper and then apply the vinyl down.
Next take the broom bristles and the broom stick and align them up together with your transfer tape and parchment if needed. Apply the full broom to the sign. Watch your spacing to get it on the letter F.
Next apply the witch hat. You can hang it on the R or the g in Resting. Then apply the hat band and then the buckle.
Step 7 – Time to make the bow. Since this is a smaller sign we will make a smaller bow. I took 3 rolls of ribbon and cut 8″ to 9″ lengths. I cut 2 of each. Then take the first strip and fold over ⅔ of it in a loop. Repeat this for all 6 loops. It should look like a floral bouquet. Take the floral wire or wire tie and tie the bow off. Now fluff and pull the ends out to form a bow. Trim the ends in dove tail or angles. Check out the video for the tutorial on the bow.
Step 8 – Take some floral berries and attach it to the top of the sign with hot glue gun. Then glue the bow to the tope of the sign. Fluff and arrange.
To get your FREE file please go to my Freebie Library, sign in (don’t worry if you are not a member yet, sign up and the password will be emailed to you!!! Also, remember I include it in the bottom of the weekly email too! 😉 ) and download Number 56 – Resting Witch Face . The downloaded file will have multiple file options SVG, PNG, DXF (If you have the free version of Silhouette Studio you will need this file) and EPS.
I really hope you enjoy my Resting Witch Face Design. Remember a ? Pinterest pin would be so appreciated! I can’t wait to see what you create. Please share with me. You can come back here and add a comment or add one to Facebook too!
DO NOT resell any of the files as digital download or any other form. DO NOT claim the files as your own. DO NOT modify and resell the files in any form.
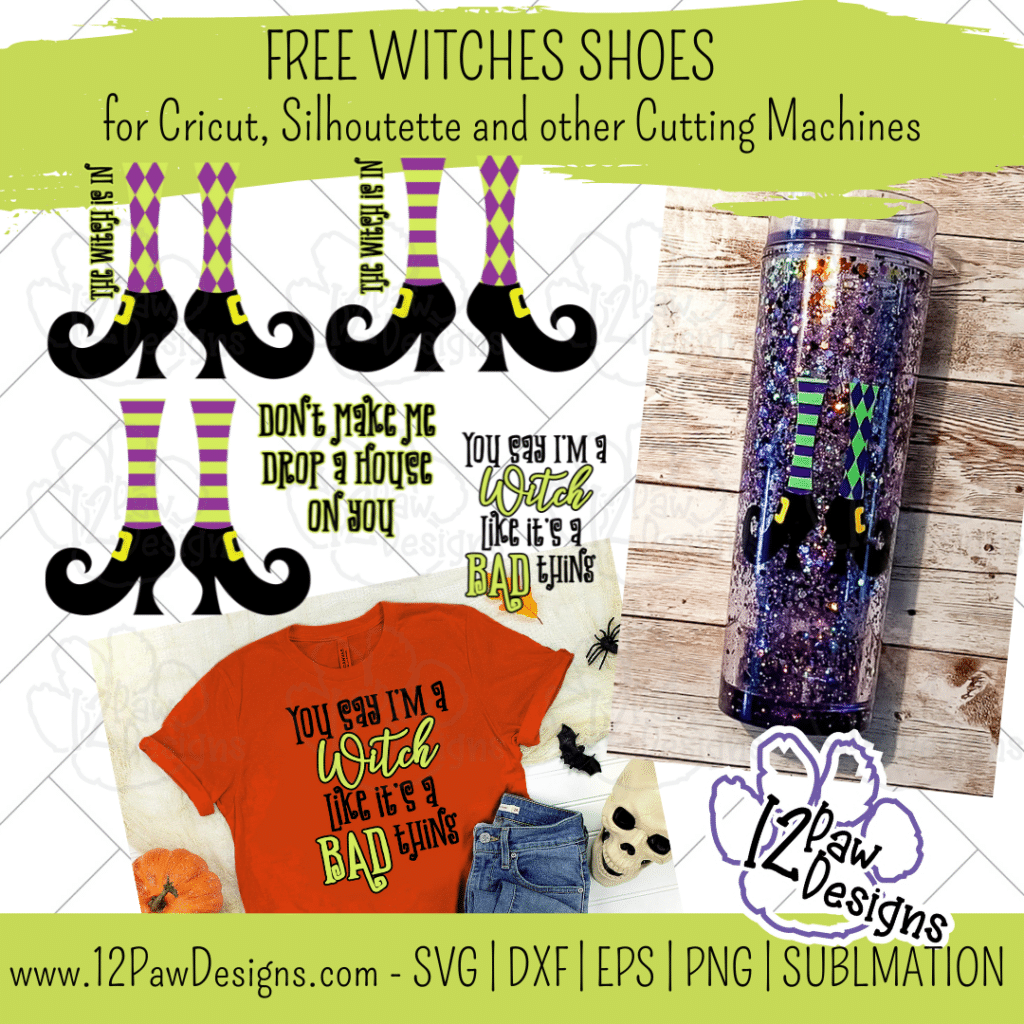
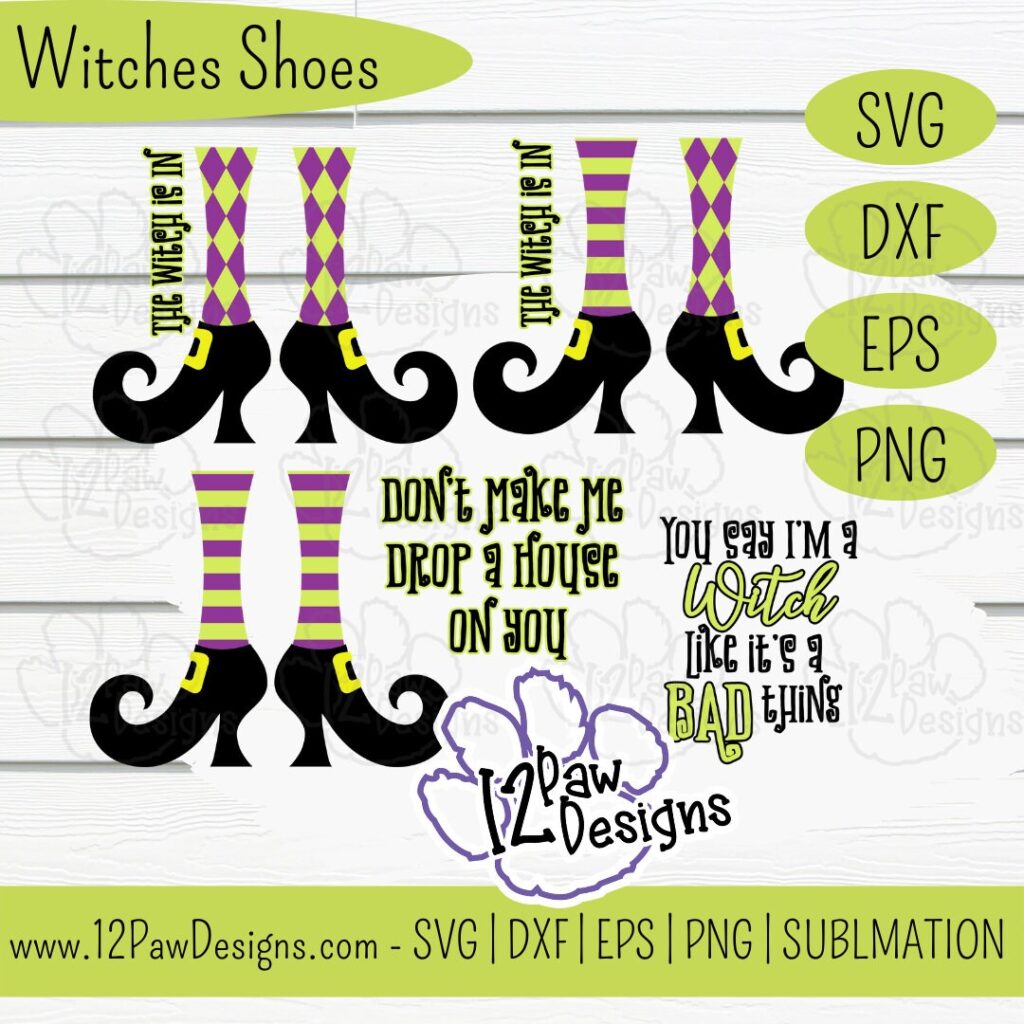
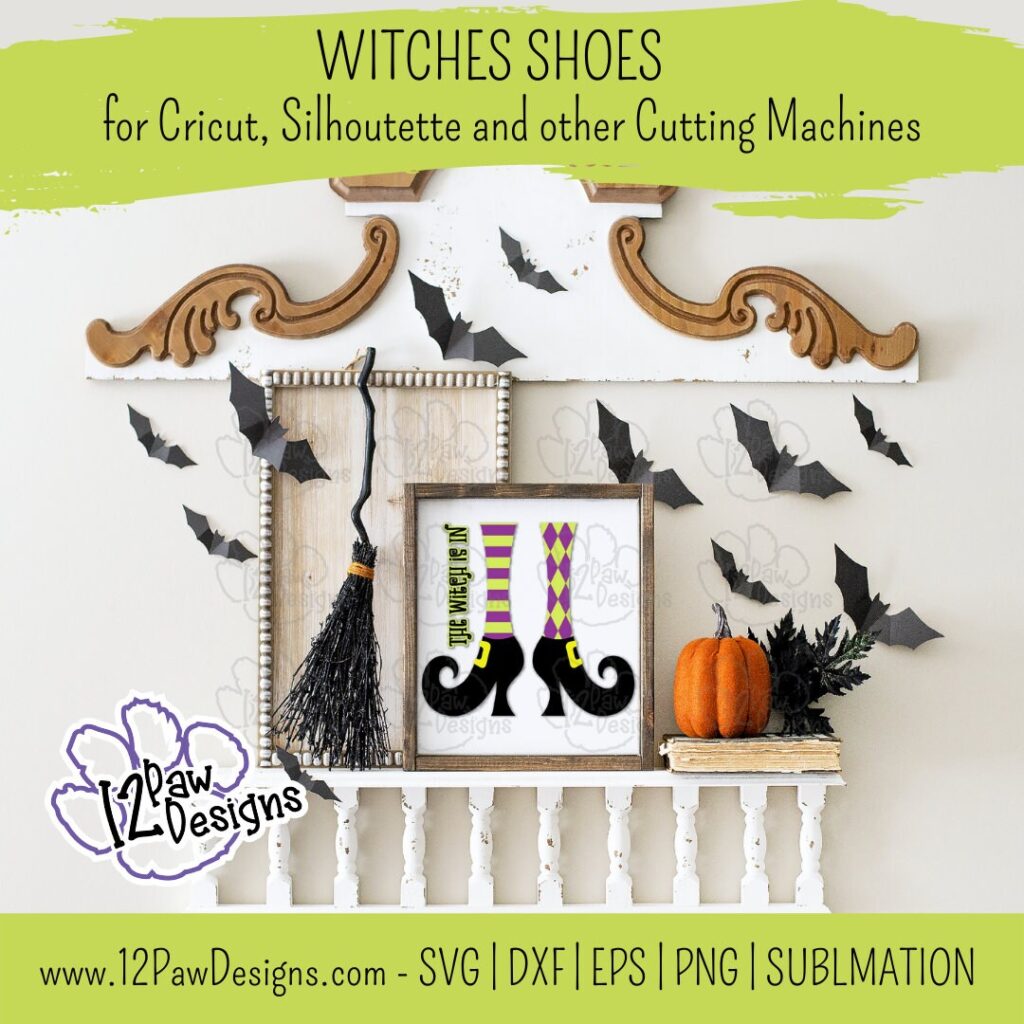
I love decorating with Witch legs and Witches Shoes during Halloween. It just reminds me that the Witch Is In! So I designed some fun shoes and leg patterns to help you decorate. Then add in some fun sayings: The witch is in, Don’t Make me Drop a House on you and You Say I’m a Witch like it’s a Bad Thing and you are sure to have some whimsical fun options to decorate with or wear!
Witches Shoes can be used on a shirt, a trick or treat bucket, sign, etc. I made an acrylic glitter tumbler with the files. There are so many possibilities.
This weeks FREE Witches Shoes PNG/SVG/cut file can be found in the Freebie Library. File number is 55 (remember the password is always in the bottom of your weekly email from me). I have also created a video tutorial along with some directions (a lot of don’t 😉 ) below on how I made this tumbler. I can’t wait to see your projects!!
Remember to join our Facebook Craft Group!!!
I am so excited to let you know that I started a Facebook Craft Group. The goal of the group is to welcome ALL crafters. I craft in different mediums, styles and type. Wood, vinyl, paint, sublimation, tumblers, etc. No matter what you do this group is for you. Come and join us!!! Click the link! Crafty Paws for All Cricut Silhouette Glowforge Sublimation and More
Baby Oil is an option – You do not need the water and Glycerin then
UV Resin and Light
Glitter – I used a mix of fine and chunky
Parchment Paper
Weeding tools, scissors, cutting knife, transfer tape, etc
Rubbing alcohol
Cotton pads
Scrapper
Plastic mix cup, popsicle stick, gloves
Syringe or condiment bottle from the dollar tree
Video Tutorial – Witches Shoes Tumbler
Here are the steps I took to make my tumbler
Step 1 – Open the file in your favorite cutting software. Cut vinyl to the size you need for your project.
Step 2 – Take your double wall tumbler and your drill and drill a hole into the bottom. NOTE: Care to only go through the first layer!! Reverse the drill to get it out and keep particles out. Also, make sure you are doing it to the edge of the tumbler to help get the glitter and liquid in,
Step 3 – Mix your glitter up. Now, there is such a thing as too much glitter. When I made my cup I put way to much in and had to work on getting some out. I save you from having to watch that part!
Step 4 – Now add the glitter to the tumbler. Couple of things I found that could be helpful is to tape a “glitter shield” around the cup. Just a piece of typing paper taped. It would help keep glitter spill to a minimum. Then a small funnel would help. I used paper. However, it was not working. So this is were the shield would help and then I did a taping motion to get the glitter in.
Step 5 – Now for the liquid mixture. I started with a vegetable glycerin and distilled water mix. However, because i had too much glitter it was not floating. I ended up working to get some out. I did grab another tumbler and added glitter and the glycerin\water mix and that seem totally fine. Back to my original tumbler…I ran out of vegetable glycerin and thought I would try baby oil. This works too, it is just a slower float. To add your liquid to the tumbler I used a large syringe. However, you could use condiment bottles from the Dollar Tree. Tilt your cup to get the air bubbles out and get as much liquid in as you can. Put your finger over the hole and shake it and tip it to make sure it is the way you like it.
I also added a mica powder to the glycerin\water mix. It tends to sink with the glitter so I don’t think I would do it again. However, it all is about what you like and what you want it to look like. I am sharing things i tried to help you along the way.
Step 6 – Once your tumbler is the way you would like clean off the bottom with alcohol and a pad. Next take your UV Resin and cover the hole. Then put the light over it. Repeat. Make sure the cup sits flat also. I ran my light a few times to make sure it was sealed.
Step 7 – This is something extra I did. Just to make sure the bottom was sealed good. I took and covered the bottom with UV and then added fine glitter. Chunky can cause you issues to get it smooth so stick too fine. Use your popsicle stick, silicone brush, etc and smooth it out. Then again use the light multiple times to make sure it is sealed.
Step 8 – Clean the area of the tumbler where you are going to place the vinyl with alcohol and a pad. Set aside.
Step 9 – Now to weed our vinyl. I then used parchment paper to help me layer my vinyl. I used the mixed leg pattern and did the pattern over the legs. Then layered the legs over the shoes.
Step 10 – Apply the vinyl to the tumbler. Make sure you rub it on well.
Step 11 – Shake and play with the tumbler!!! Enjoy!
To get your FREE file please go to my Freebie Library, sign in (don’t worry if you are not a member yet, sign up and the password will be emailed to you!!! Also, remember I include it in the bottom of the weekly email too! 😉 ) and download Number 55 – Witches Shoes. The downloaded file will have multiple file options SVG, PNG, DXF (If you have the free version of Silhouette Studio you will need this file) and EPS.
I really hope you enjoy Frankenstein. Remember a ? Pinterest pin would be so appreciated! I can’t wait to see what you create. Please share with me. You can come back here and add a comment or add one to Facebook too!
DO NOT resell any of the files as digital download or any other form. DO NOT claim the files as your own. DO NOT modify and resell the files in any form.
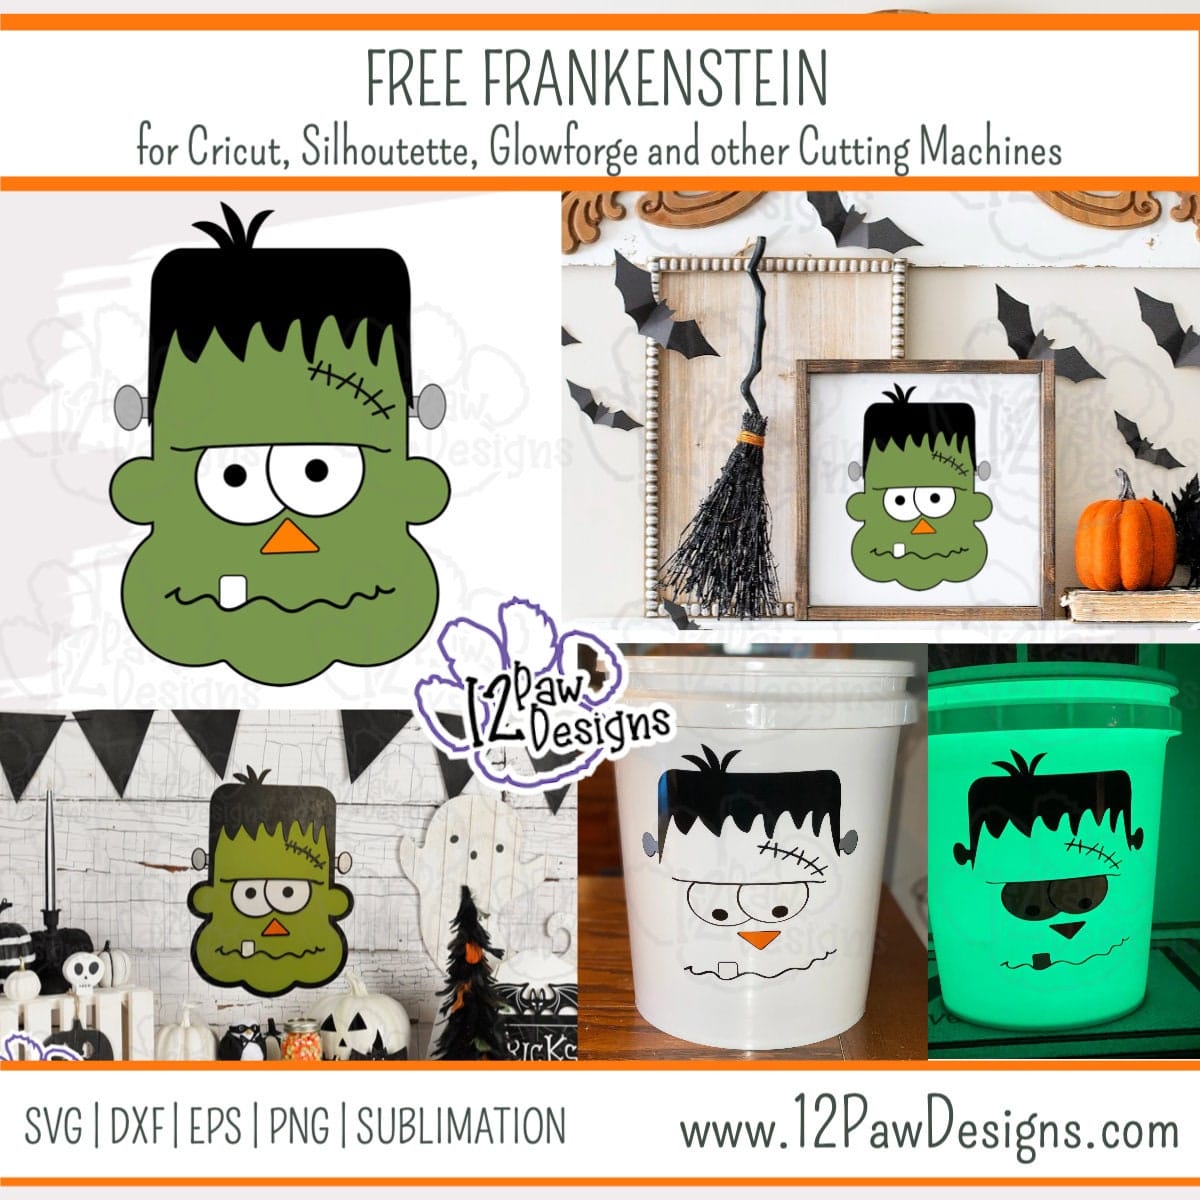
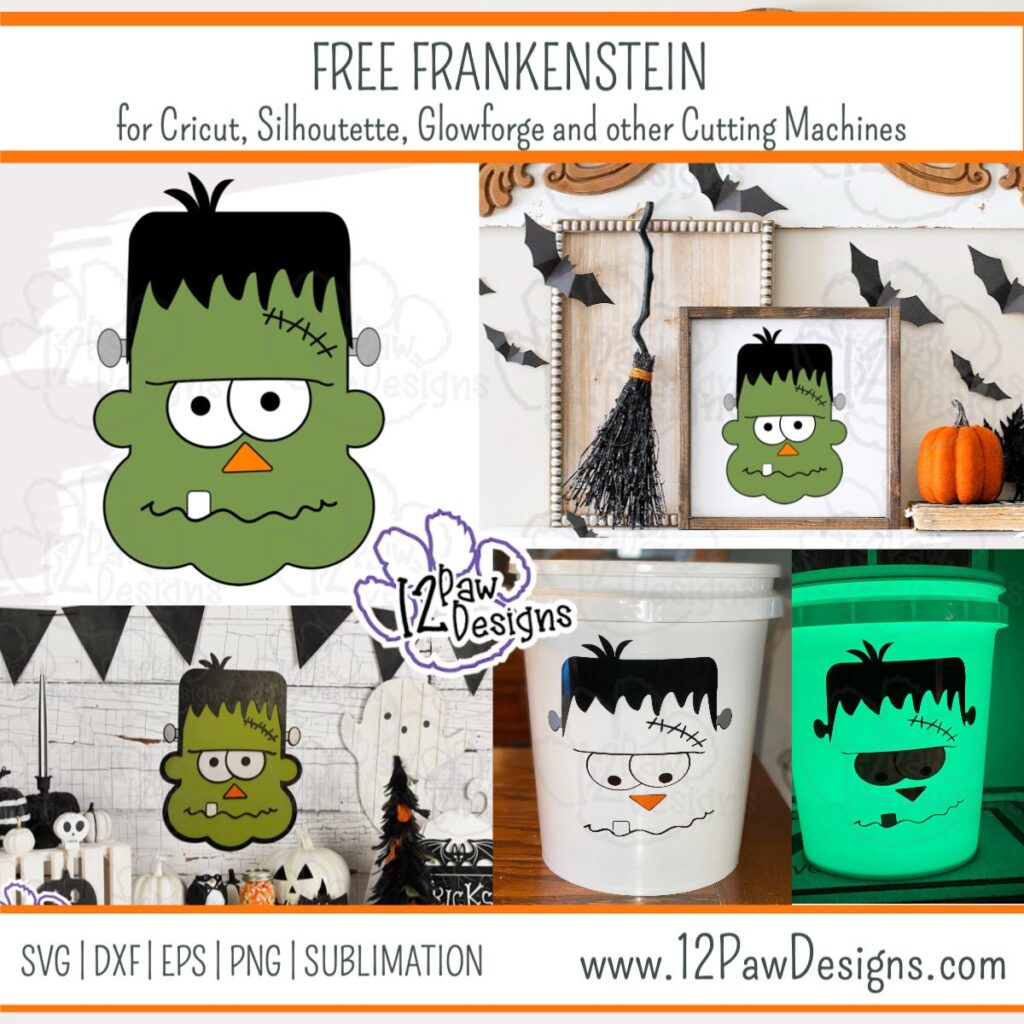
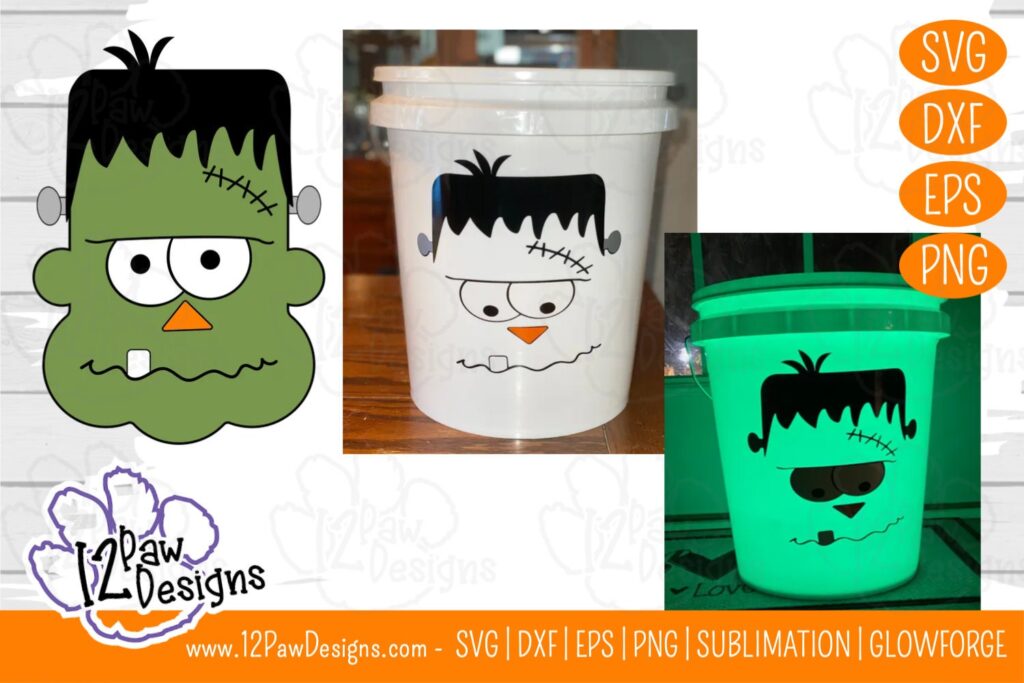
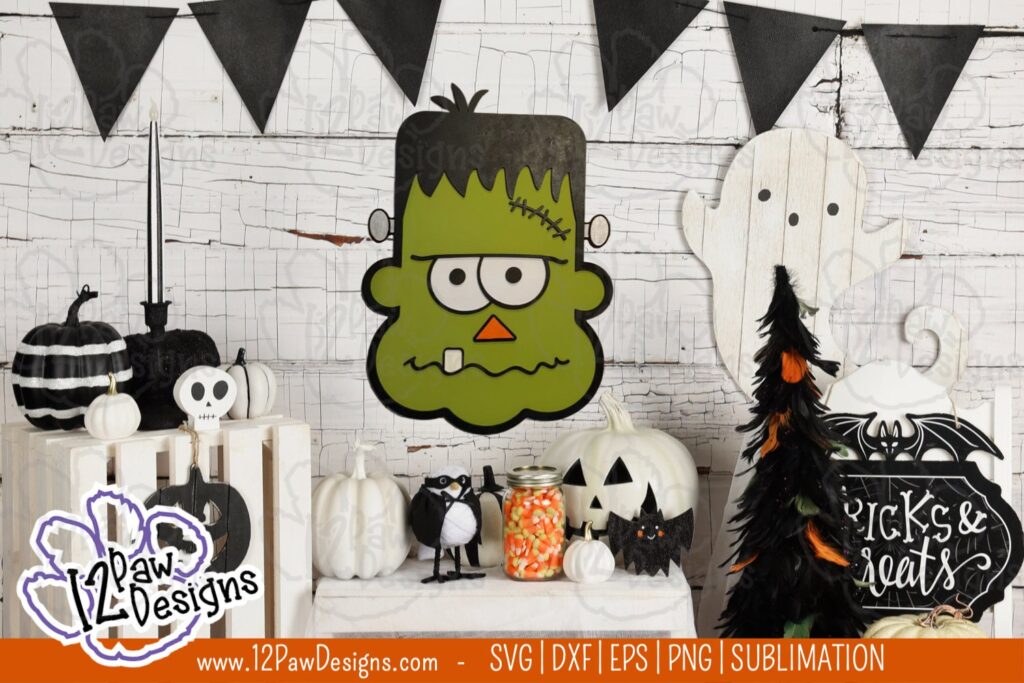
With Halloween only a few weeks away how about a cute lighted bucket for you front porch? Halloween Frankenstein can be used on the bucket, a shirt, a trick or treat bucket, sign, etc. He is just so Franken cute!!
I made a bucket and then I made a wood sign with the same file. He is so fun and versatile.
This weeks FREE Halloween PNG/SVG/cut file can be found in the Freebie Library. File number is 54 (remember the password is always in the bottom of your weekly email from me). I have also created a video tutorial along with some quick directions below on how I made this lighted bucket.. I can’t wait to see your projects!!
Remember to join our Facebook Craft Group!!!
I am so excited to let you know that I started a Facebook Craft Group. The goal of the group is to welcome ALL crafters. I craft in different mediums, styles and type. Wood, vinyl, paint, sublimation, tumblers, etc. No matter what you do this group is for you. Come and join us!!! Click the link! Crafty Paws for All Cricut Silhouette Glowforge Sublimation and More
Weeding tools, scissors, cutting knife, transfer tape, etc
Rubbing alcohol
Acetone
Cotton pads
Scrapper
Video Tutorial – Frankenstein Bucket
Here are the steps I took to make the Frank Buckets
Step 1 – Lets prep our Buckets! Scrape the stickers off the lid and the bucket. I used a scrapper to get mine off. I found if i could lift a section and then get under I could lift the sticker off and remove. Use the acetone and cotton pad to remove any residual parts. Once that is done use the Alcohol and a pad to clean and prep your surface. Set aside to dry. I reused a bucket so this was already done.
Step 2 – Now load your free file into your cutting software and cut it out in your vinyl of choice.
Step 3 – Now to weed our vinyl
Start with weeding vinyl – I find a pin pen helps to remove the small pieces of vinyl from the center of the words. I also like to use weeding boxes too.
Apply transfer tape for the face. When I cut my vinyl out I put the hair, stitches and eyes together. Then i could place the rest of the facial features as I wanted.
Peel off vinyl backing off.
Now apply the face to the bucket. I did a hinge method. The hinge method is where you take part of the backing away from the vinyl. Apply that half. Then fold over and apply the other half.
Next apply the nose base and mouth.
Time for the Eyes and tooth. I used parchment paper to do this part. Apply the transfer tape to the eye balls and pull the backing off. Lay your parchment paper on the bucket. Now line your eyes up. Once you have it where want it. Attach the transfer tape to the bucket. Then lift it up, remove the parchment and lay the eyes and transfer tape down.
Repeat to do the tooth and nose center.
Step 4 – Assemble and add your light. You could use double sided tape or hook and loop if you want your light to stay in one spot.
Step 5 – Play with the fun lights, I turned my to green for Frank and enjoy!!!
To get your FREE file please go to my Freebie Library, sign in (don’t worry if you are not a member yet, sign up and the password will be emailed to you!!! Also, remember I include it in the bottom of the weekly email too! 😉 ) and download Number 54 – Frankenstein. The downloaded file will have multiple file options SVG, PNG, DXF (If you have the free version of Silhouette Studio you will need this file) and EPS.
I really hope you enjoy Frankenstein. Remember a ? Pinterest pin would be so appreciated! I can’t wait to see what you create. Please share with me. You can come back here and add a comment or add one to Facebook too!
Happy Fall PumpkinsFrankenstein, Halloween Frankenstein, So Franken Cute
DO NOT resell any of the files as digital download or any other form. DO NOT claim the files as your own. DO NOT modify and resell the files in any form.