Tag: handmade

  • FREE Conversation Hearts Cutting File

    FREE Conversation Hearts Cutting File

    Conversation Hearts Table
    Conversation Hearts

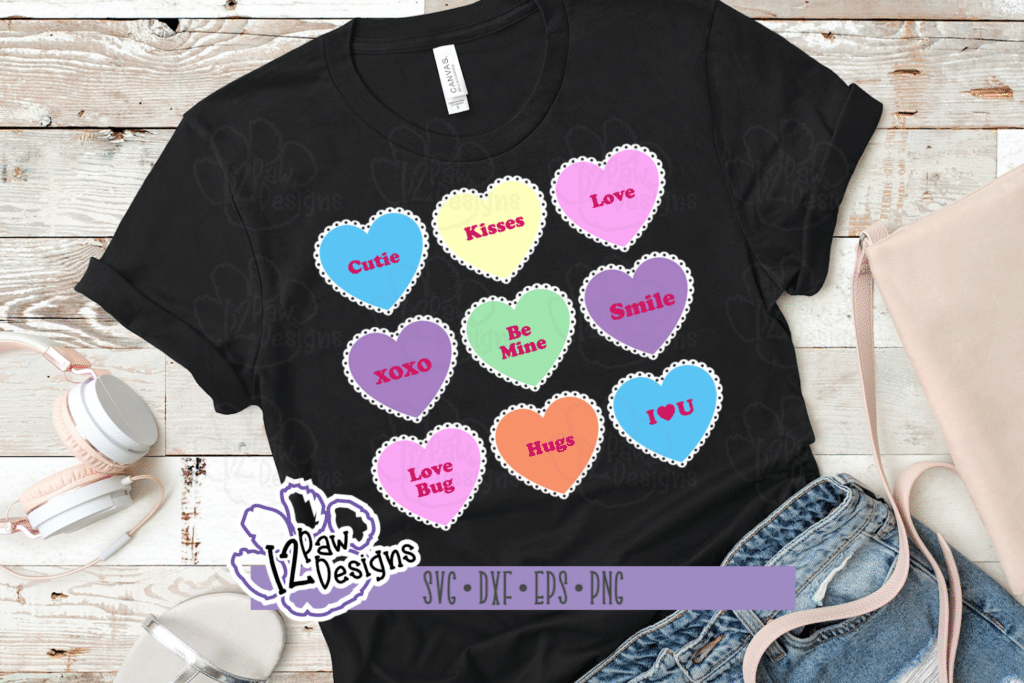
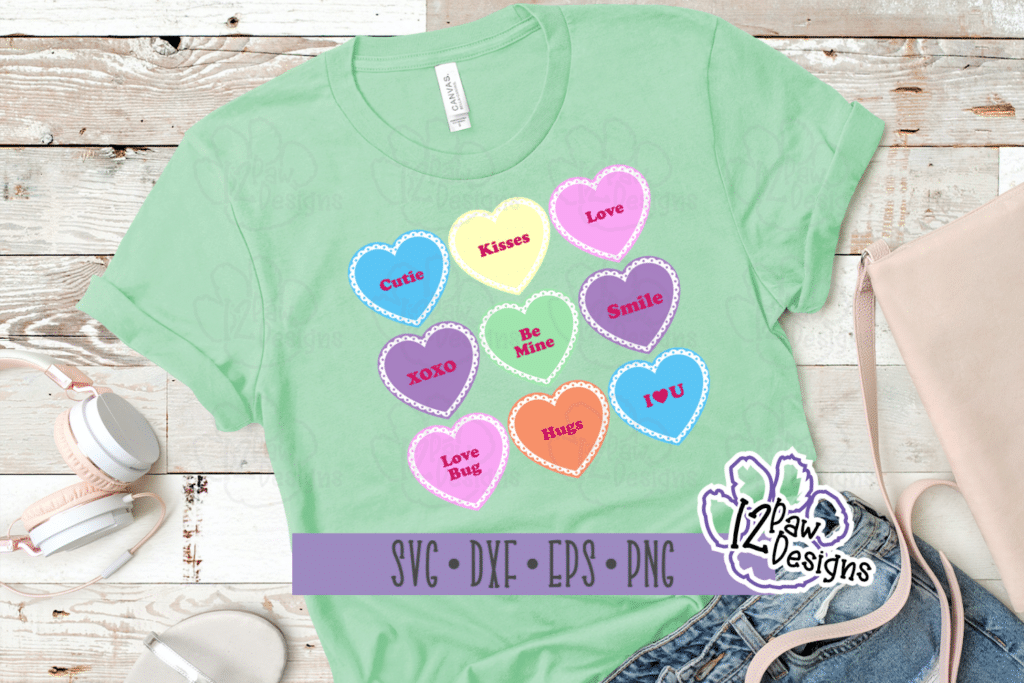
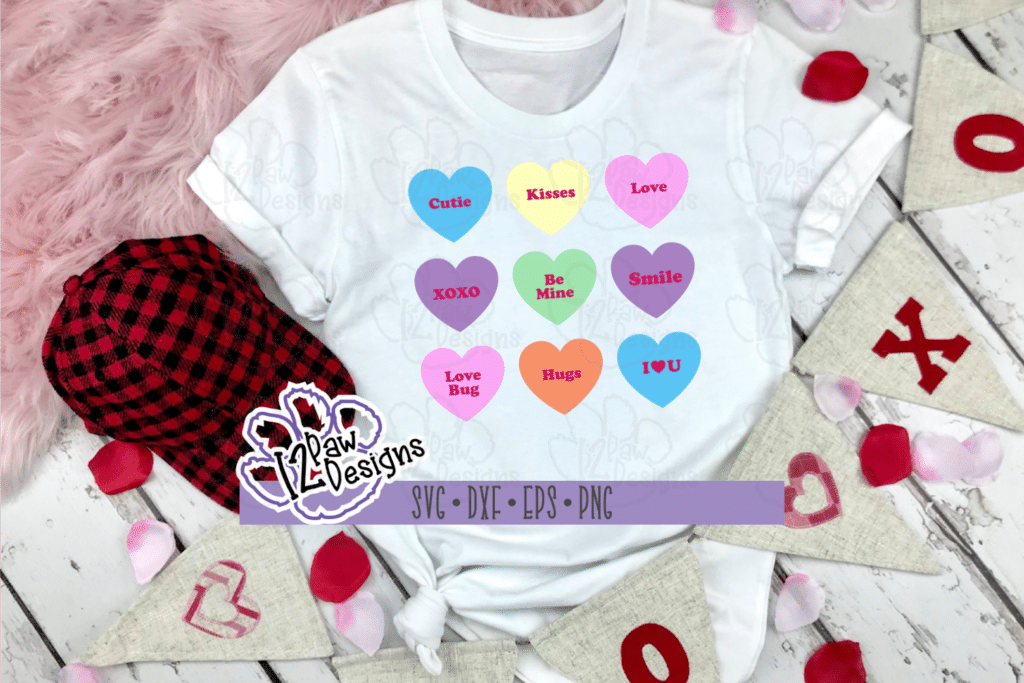
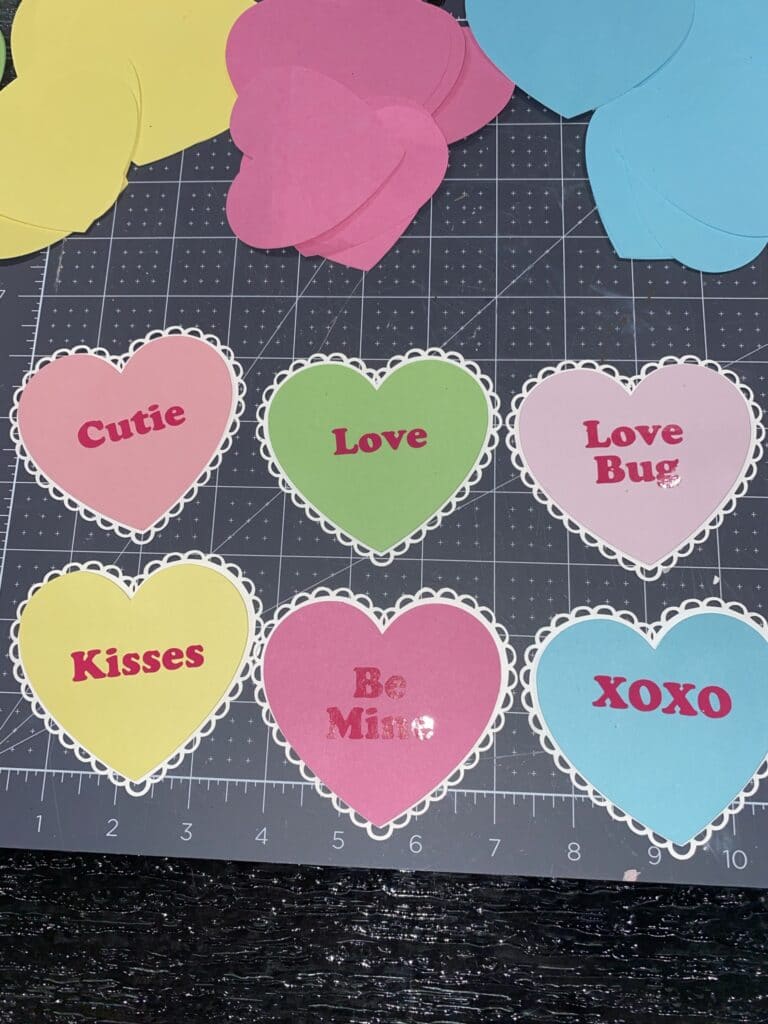
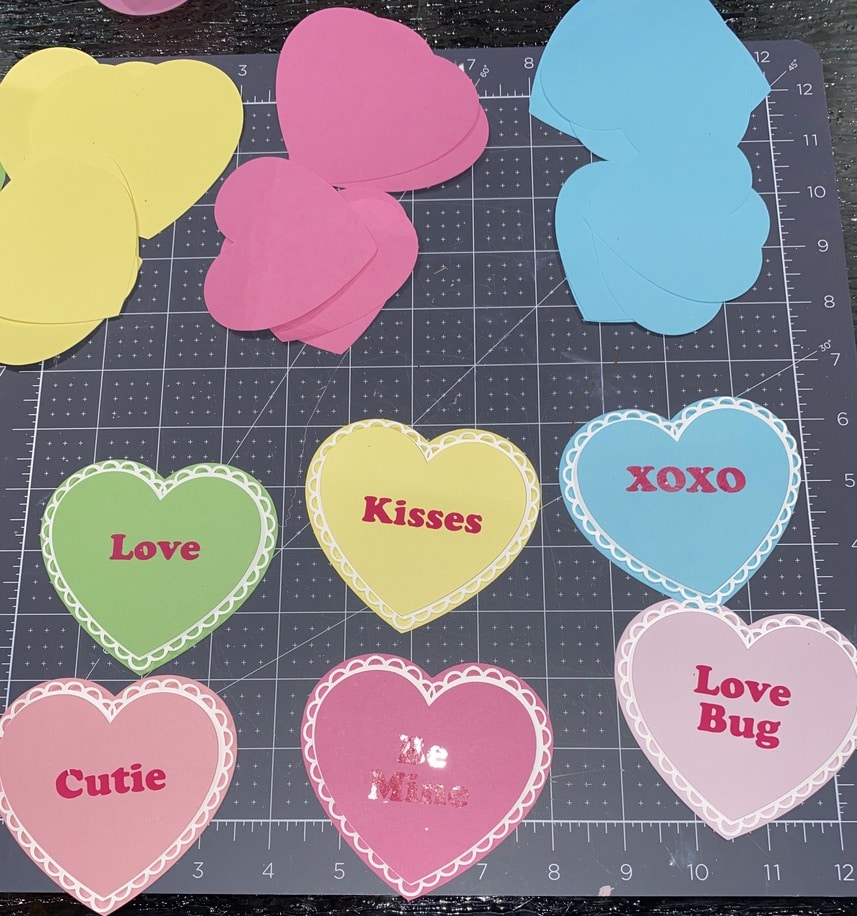
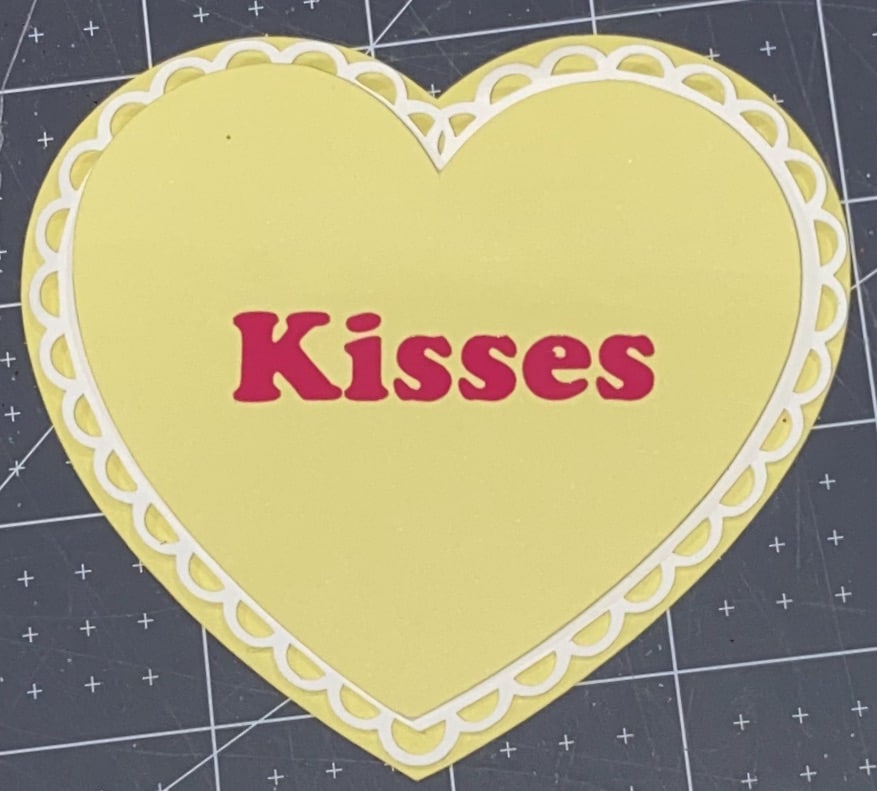
    Hello to Sunday Funday! So hard to believe this is the last day of January! So have some fun with this weeks FREE file. The Conversation Hearts FREE Cutting File reminds of the hearts we use to exchange on Valentine’s Day at school. It was always so much fun to read the messages. To get your FREE file head please go to my Freebie Library, sign in (don’t worry if you are not a member yet, sign up and the password will be emailed to you!!!) and download Number 9. In the zip file you download will be 4 files.  They are SVG, PNG, DXF (If you have the free version of Silhouette Studio you will need this file) and EPS. The file actually has 4 groupings for you. One is the words, the second is the smaller heart that the words are on. Then i made a really cute lace that has dots in it. Then l created a larger heart for it all to sit on. If you would like to use print and cut or sublimation i have included 3 versions of the png for you. Take a look and have some fun!!

    If you enjoy the weekly FREE Cutting Files please make sure you are pinning my blog posts. This really helps me!! Also, please stop back and leave a comment with what you made. It is so much funny seeing that creative energy!

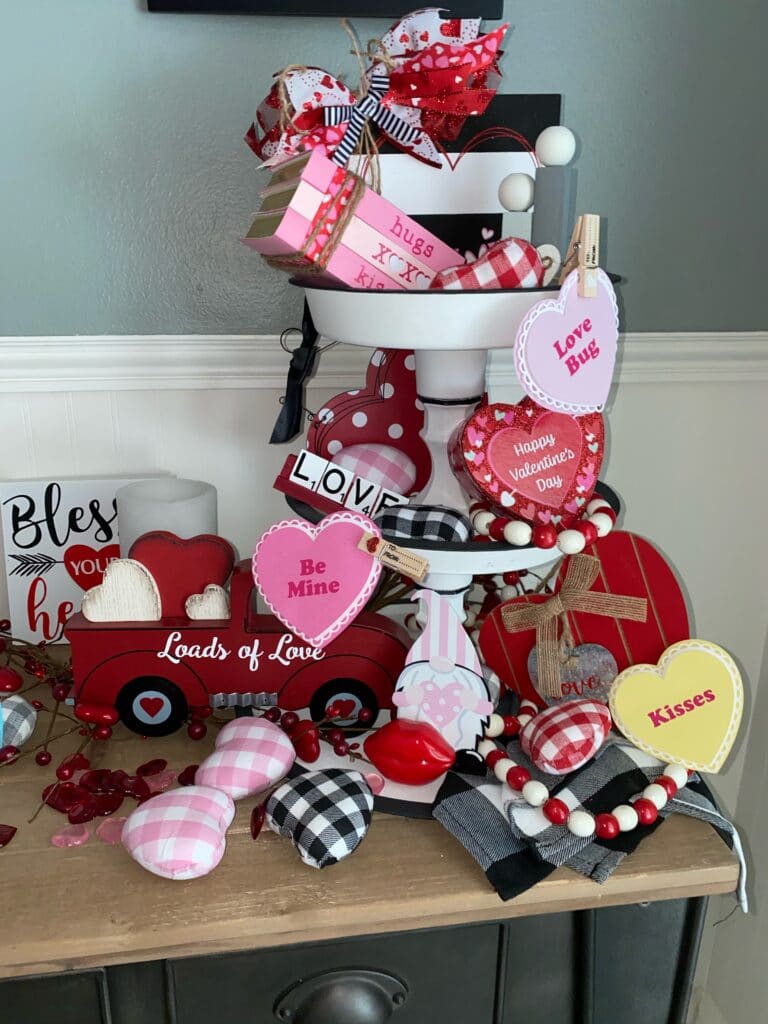
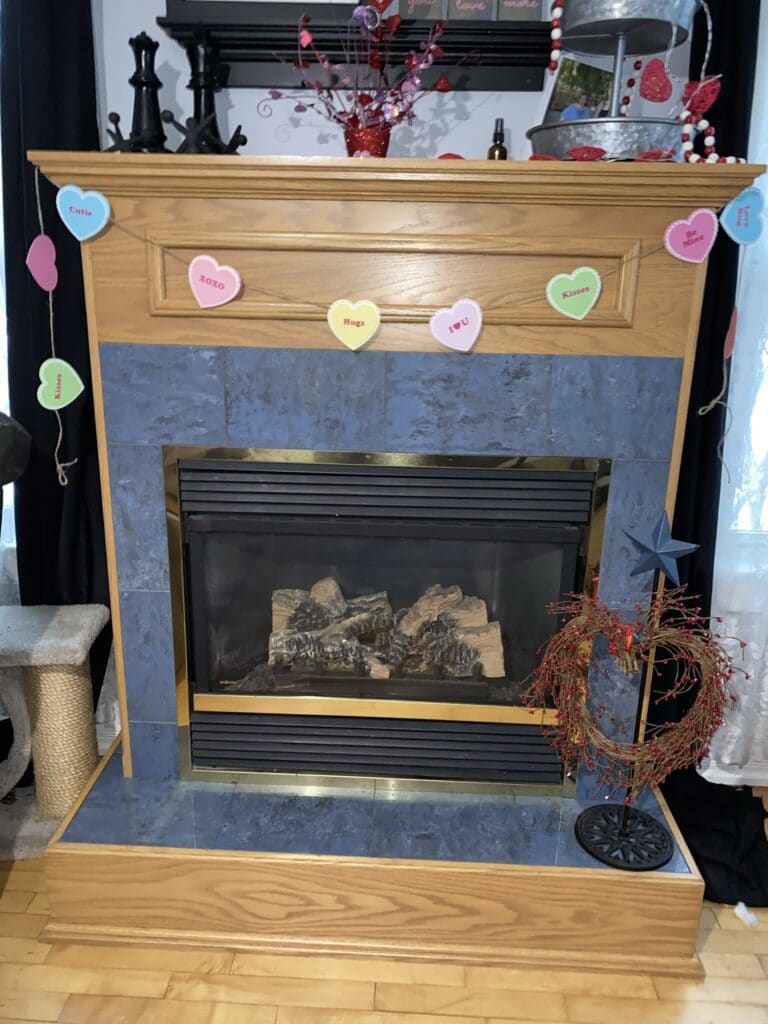
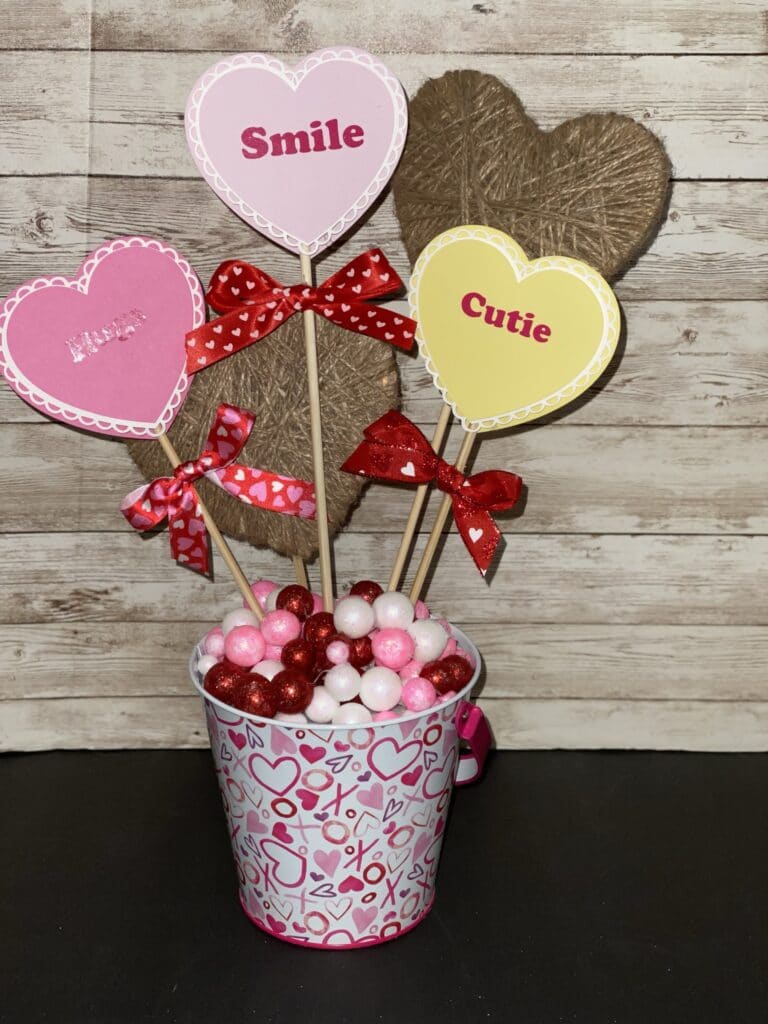
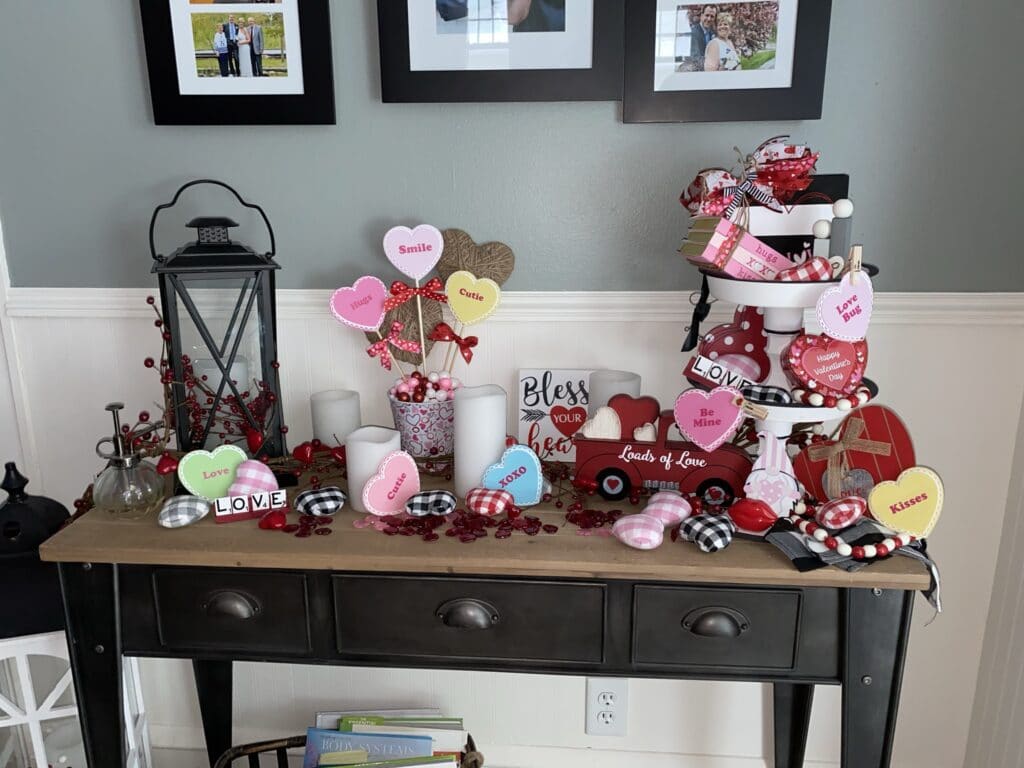
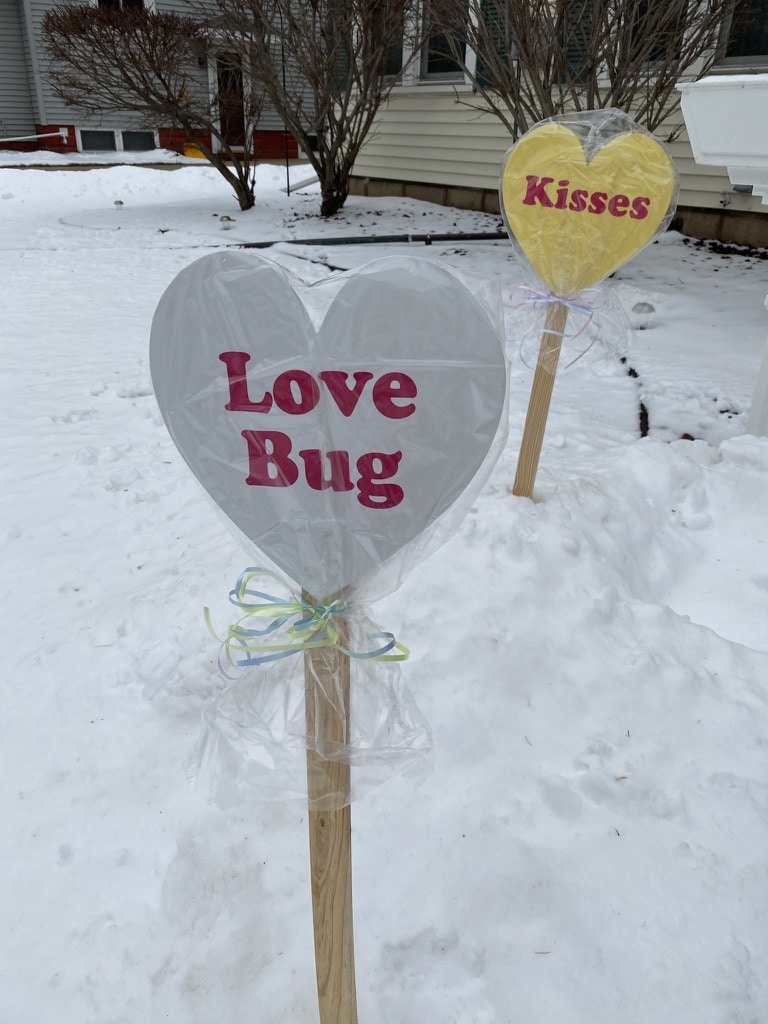
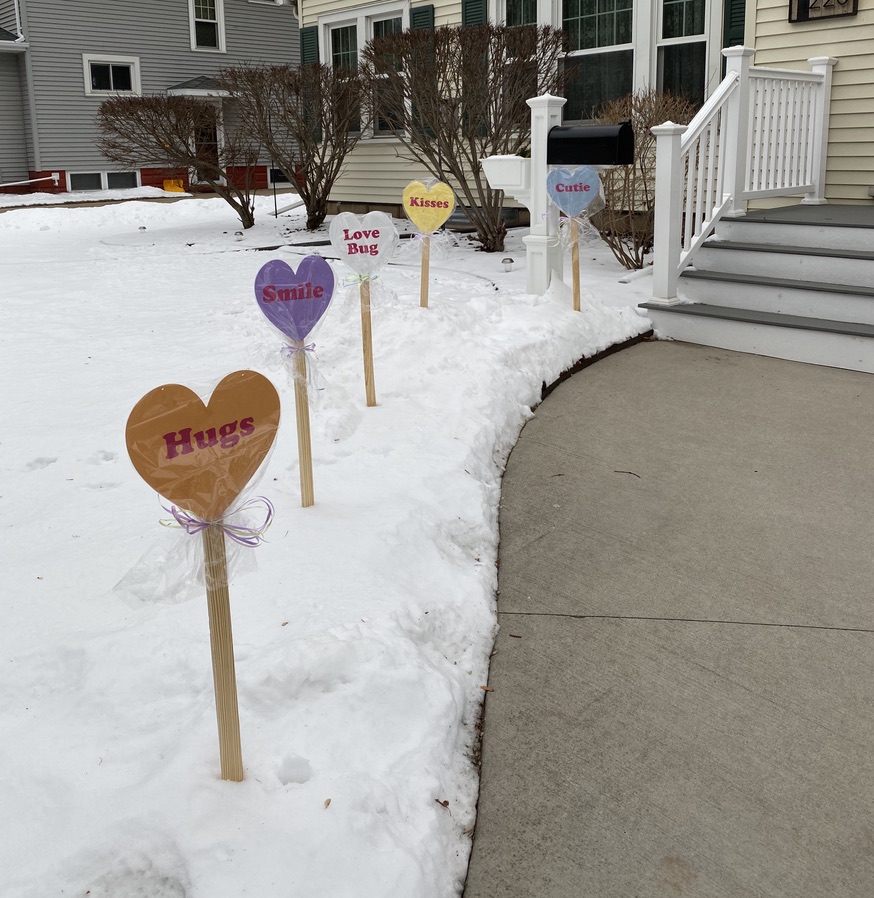
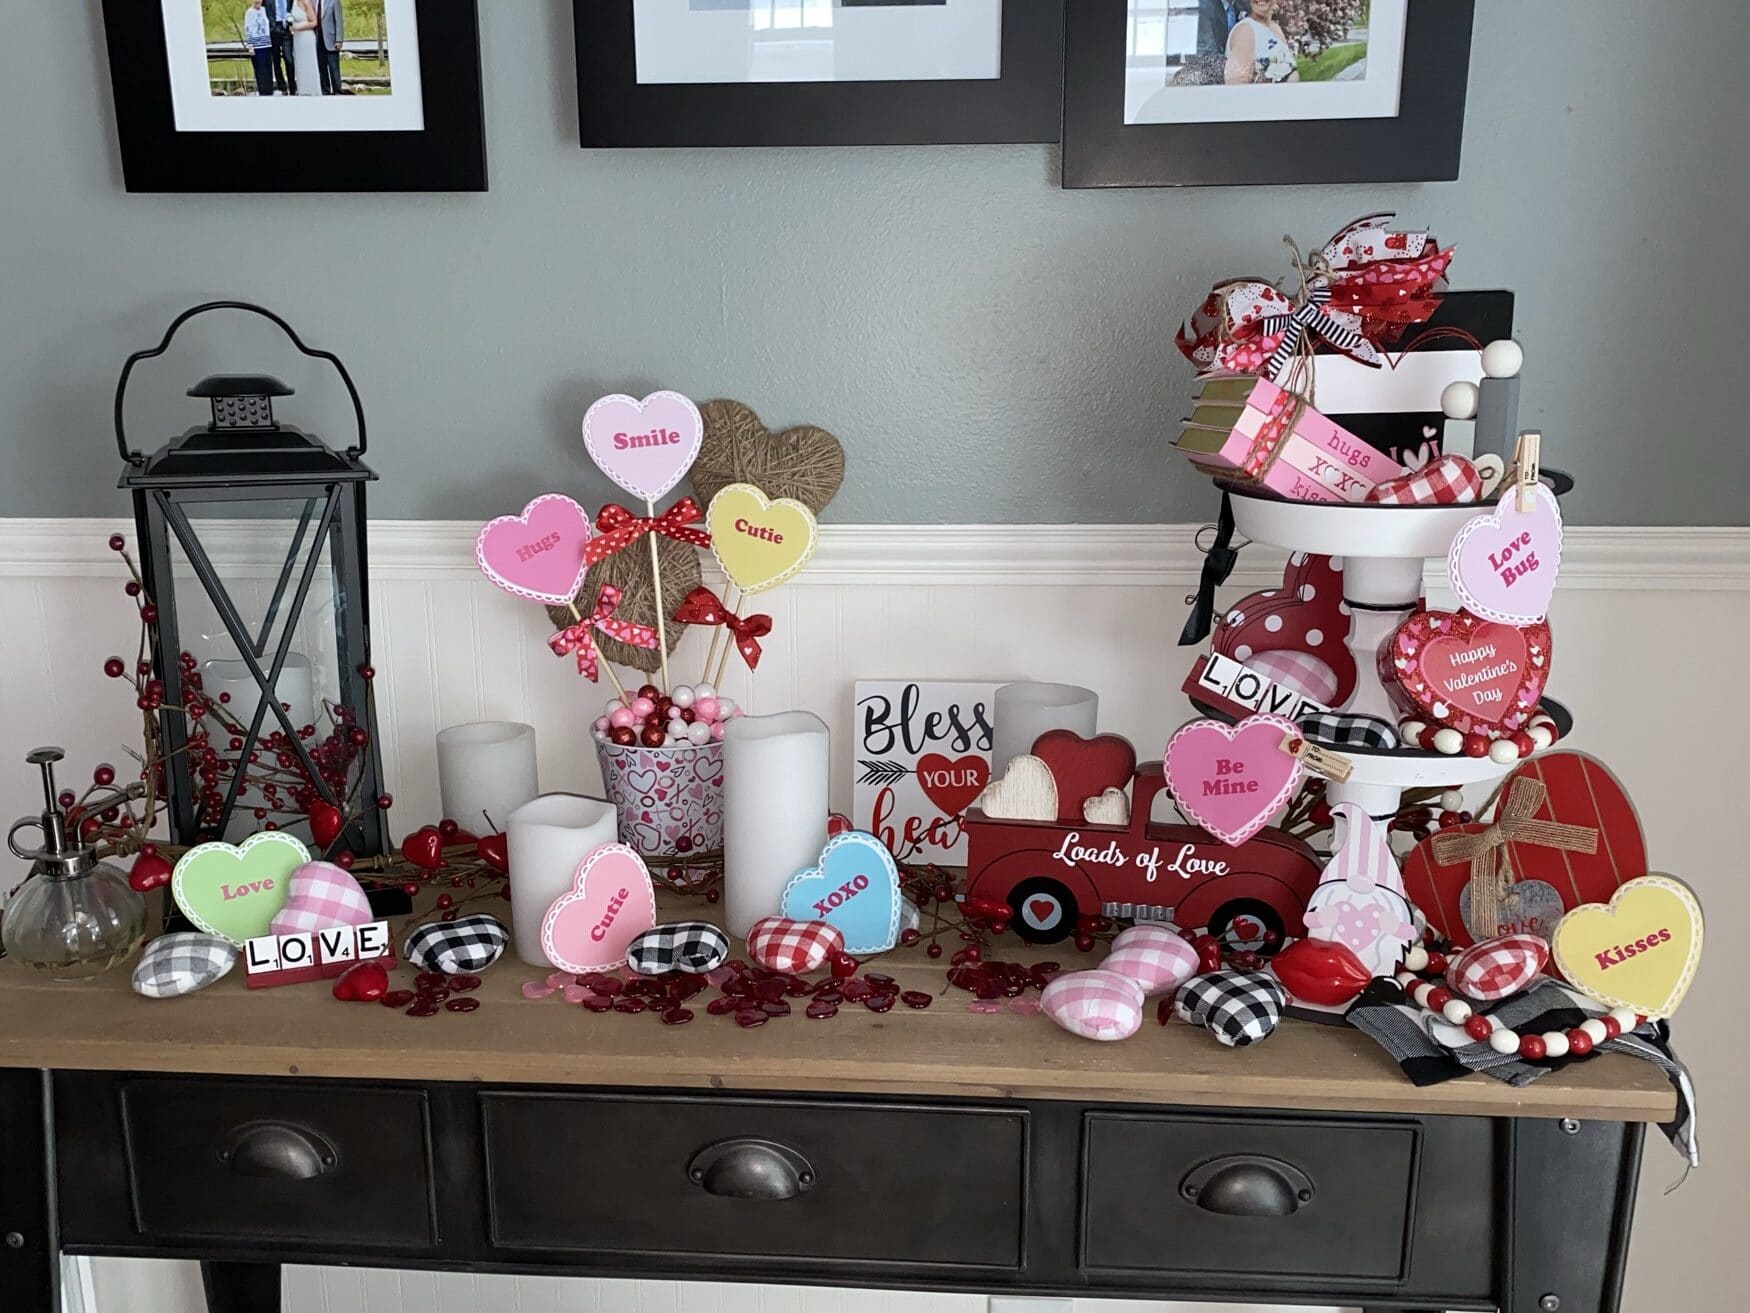
    I made quite a few things. First i made lollipops. These were made from wooden hearts from the Dollar Tree, posts are from Home Depot and then vinyl and paint I already had on on hand. I then grabbed some basket bags from Dollar Tree and put those over them. They were so fun to make. However, in Wisconsin I have to stick them in a snow bank! Then i made a fun garland for the fireplace. Using card stock and foam tape to layer the hearts and string them on jute. Super Simple!! Next was this fun heart bucket. I used the same hearts I used for the garland, put them on skewers and then added some twine hearts to give it an extra twist. I then just stuck some in my tiered trays. Something simple, easy and fun. These would be cute for the kids to make valentines with too!!!
    From a supply stand point.
    Card stock that I had on hand for the hearts
    Foam tape to layer the hearts
    Jute to make the garland
    Wood Hearts from Dollar Tree for the lollipops
    Stakes from Home Depot
    Vinyl I had on hand
    Paint I had on hand. I used both acrylic and chalk paint.
    e6000 Glue to glue the heart and stake together
    Basket bags from Dollar Tree to go over the hearts
    Metal bucket from Dollar Tree
    Floral Foam from Dollar Tree
    Decorations to cover the bucket area
    Skewers from Dollar Tree
    Jute hearts – I made these with a a 4 heart wood garland from Dollar Tree and wrapped them with twine/jute

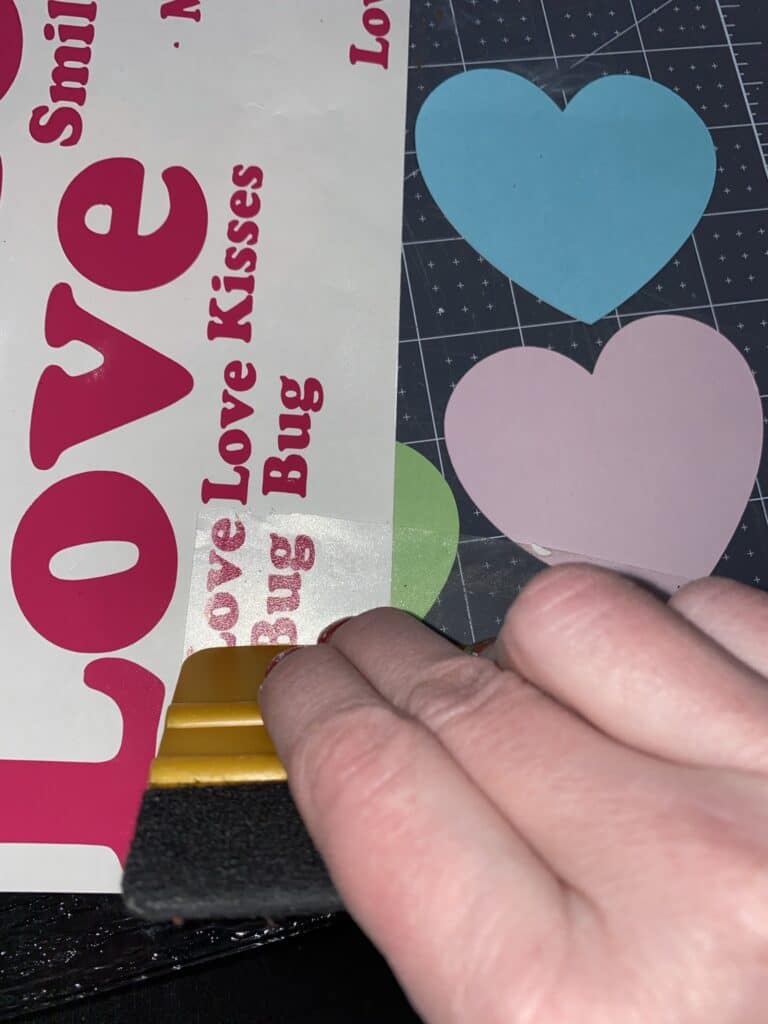
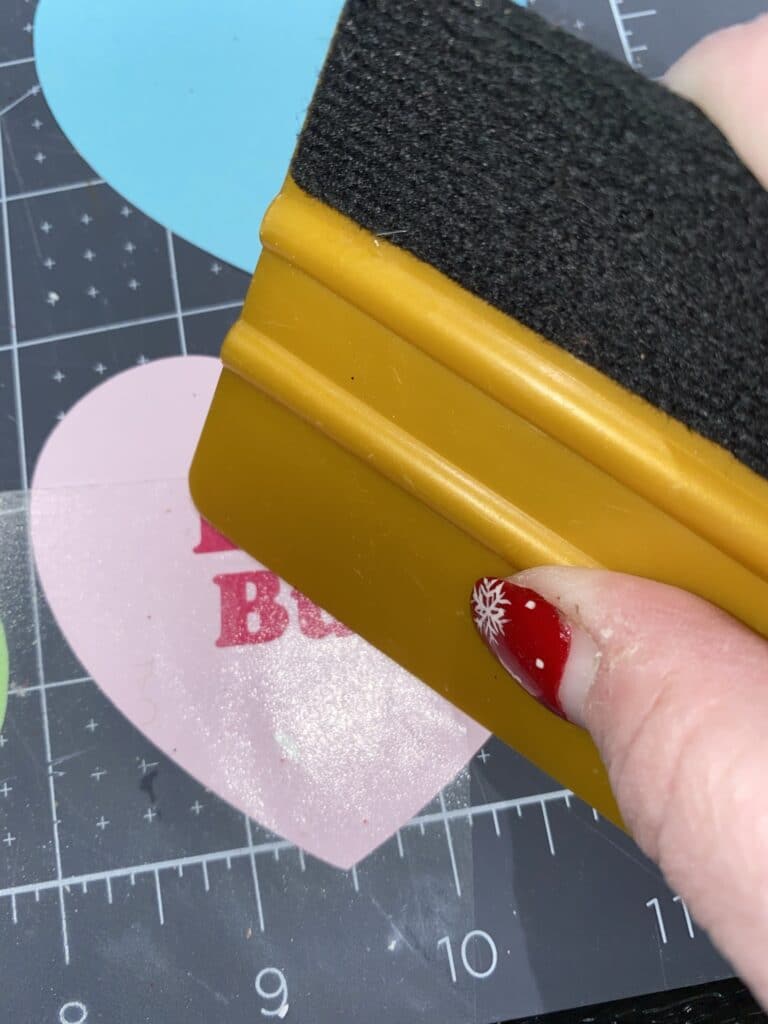
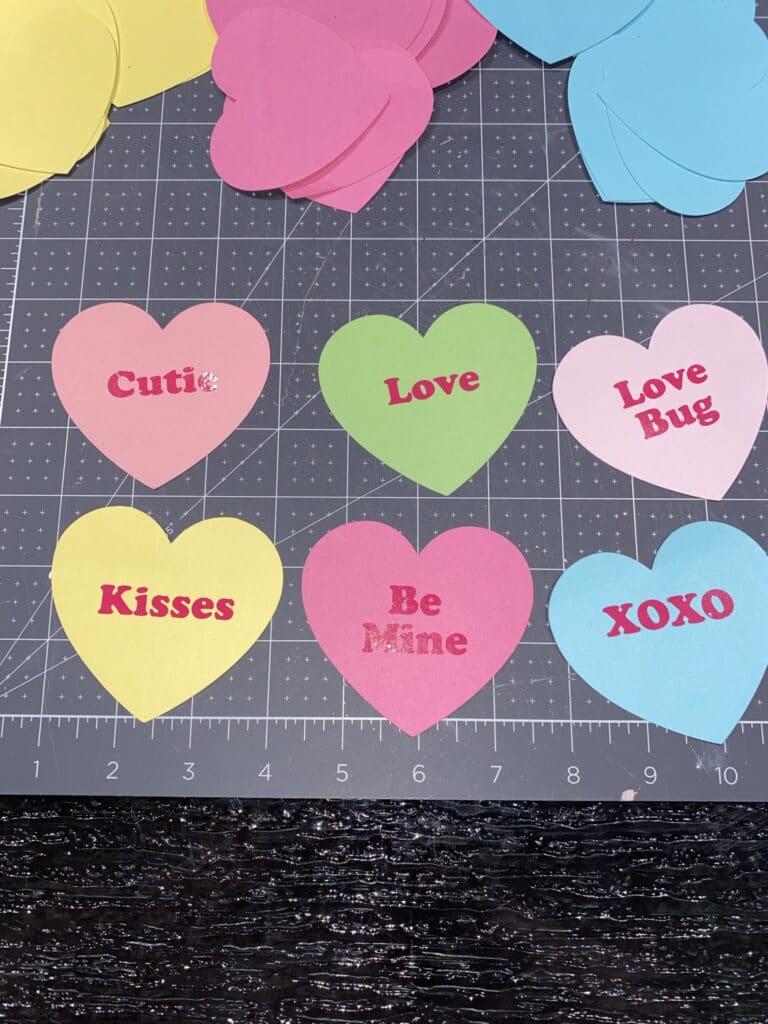
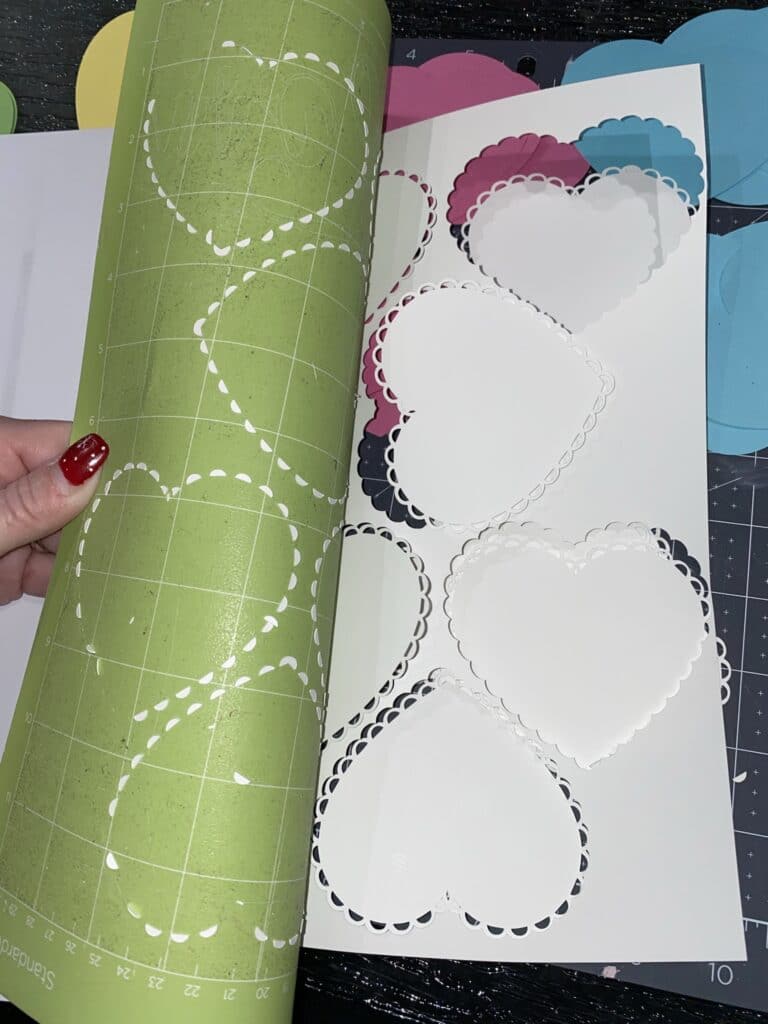
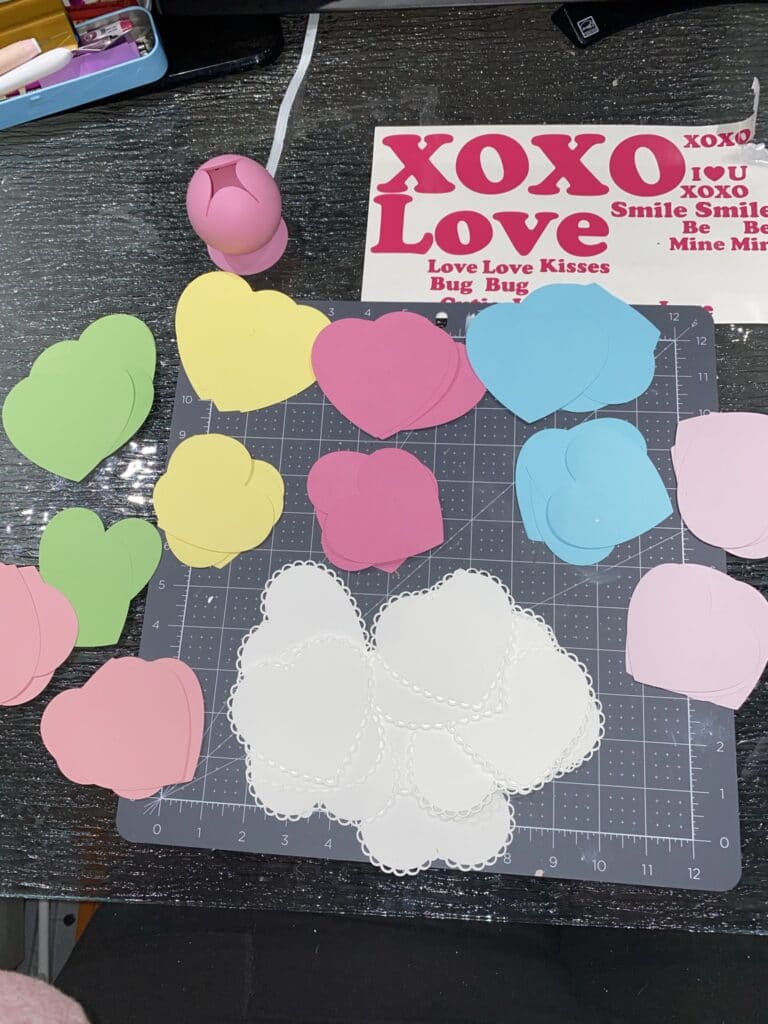
    For the cardstock Conversation Hearts I cut everything out. The words are cut out of vinyl. Then applied to the cardstock. I cut everything out. Applied the words with transfer tape. You want to make sure it is not to sticky otherwise the cardstock will tear. Next I applied foam tape to the layers to give it dimension.
    ENJOY!!! Thank you again for stopping by and being part of my dream and 12 Paw Designs! Have an absolutely amazing day!!! Remember a Pintrest pin would be so appreciated!

    https://12pawdesigns.com/shop/
    Here are somethings that have been added to the shop…..
    If you have any questions or run into an issue please let me know!!!

    Lorri

    Lorri@12PawDesigns.com

    Want to connect more with 12 Paw Designs???:
    • Website: https://12pawdesigns.com
    • FB Page: https://www.facebook.com/12pawdesigns/
    • Instagram: https://www.instagram.com/12pawdesigns/
    • Pinterest: https://www.pinterest.com/12PawDesigns

    DO NOT resell any of the files as digital download or any other form.
    DO NOT claim the files as your own.
    DO NOT modify and resell the files in any form.

  • FREE Heart Subway Tile Cutting File

    FREE Heart Subway Tile Cutting File

    Heart Subway Tile
    Heart Subway Tile

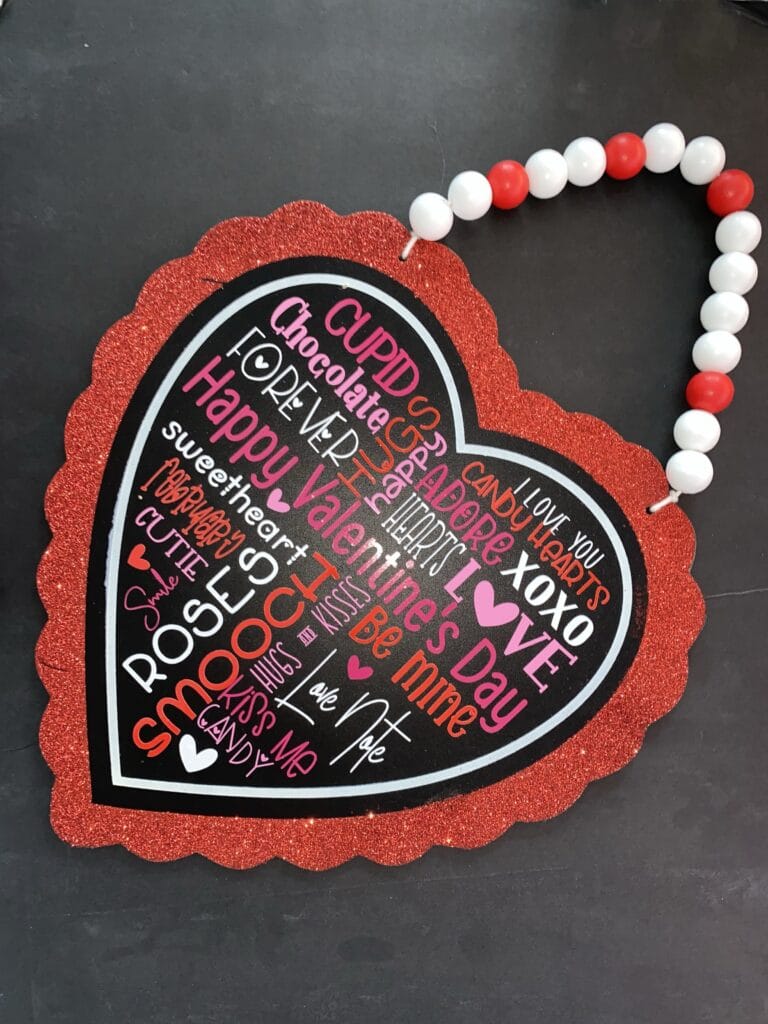
    Happy Sunday Everyone!! We are snowy here in Wisconsin so it’s a perfect day to do some crafting! Today I am sharing with you my FREE Heart Subway Tile Cutting File.  I designed it to be use a Dollar Tree Heart. This helps keep the costs down and a perfect use for that chalk board center! To get your file head over to the Freebie Library, sign in (don’t worry if you are not a member yet, sign up and the password will be emailed to you!!!) and download Number 8! In the zip file you download will be 4 files.  They are SVG, PNG, DXF (If you have the free version of Silhouette Studio you will need this file) and EPS.  Also, before you go and download your file I would appreciate the Pinterest save on this blog post! That helps me so that I can keep sharing free files!! You can also follow me on Instagram, Facebook and Pinterest! Again, I am small business and this support is HUGE!!!  Thank you!

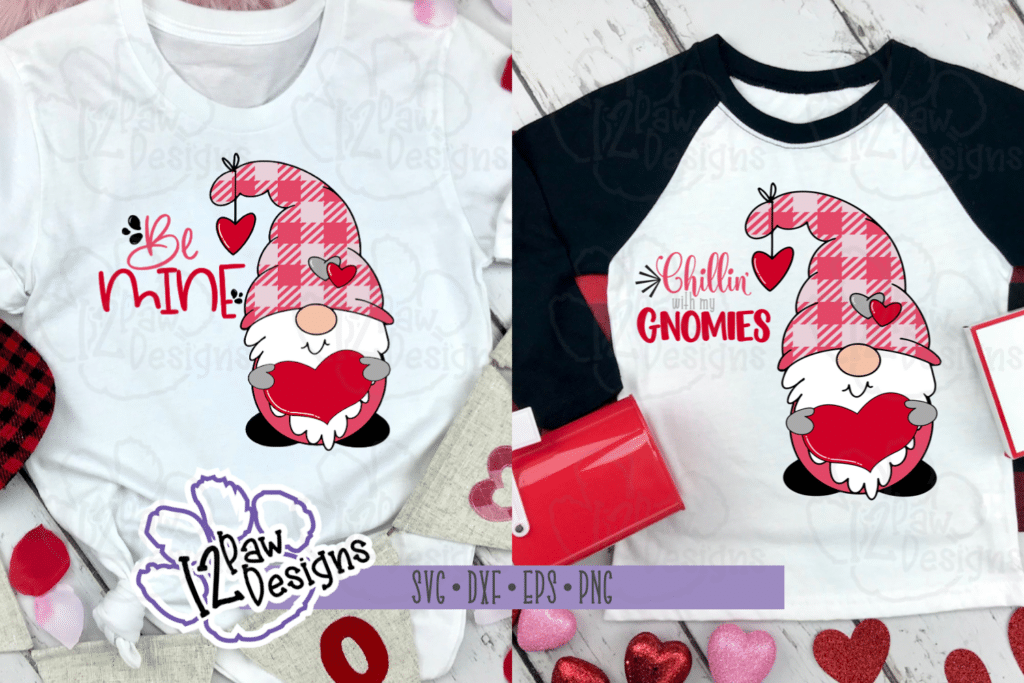
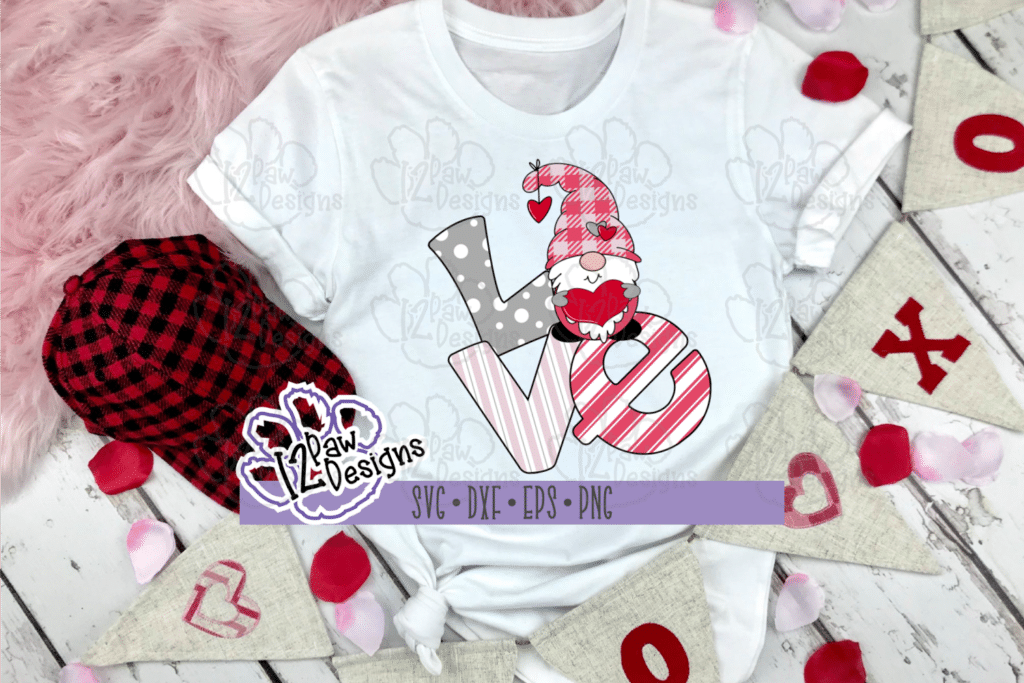
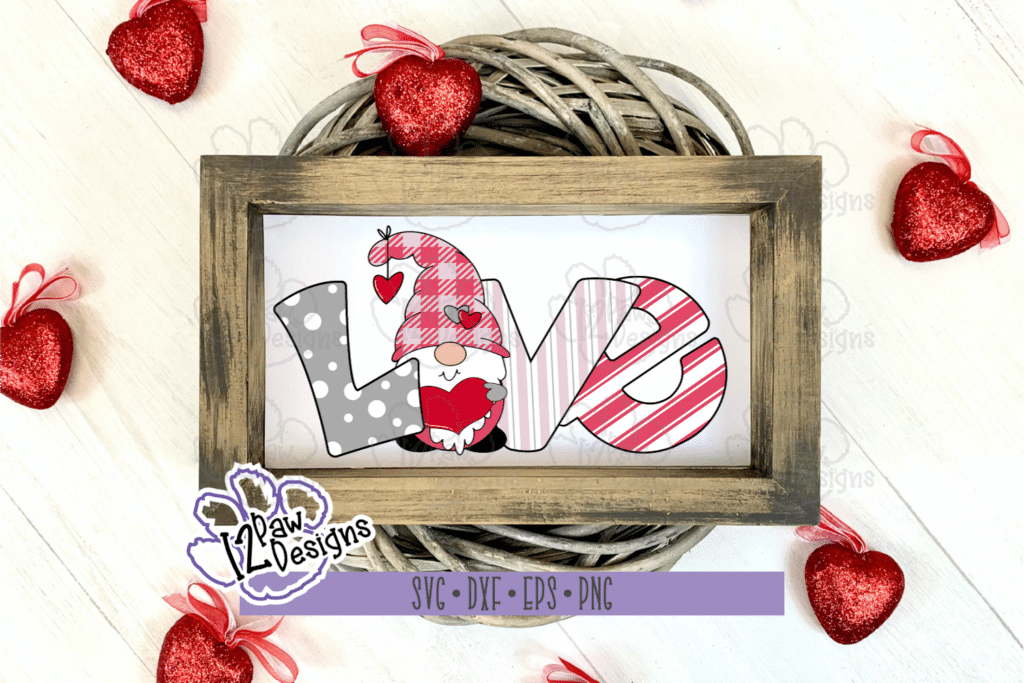
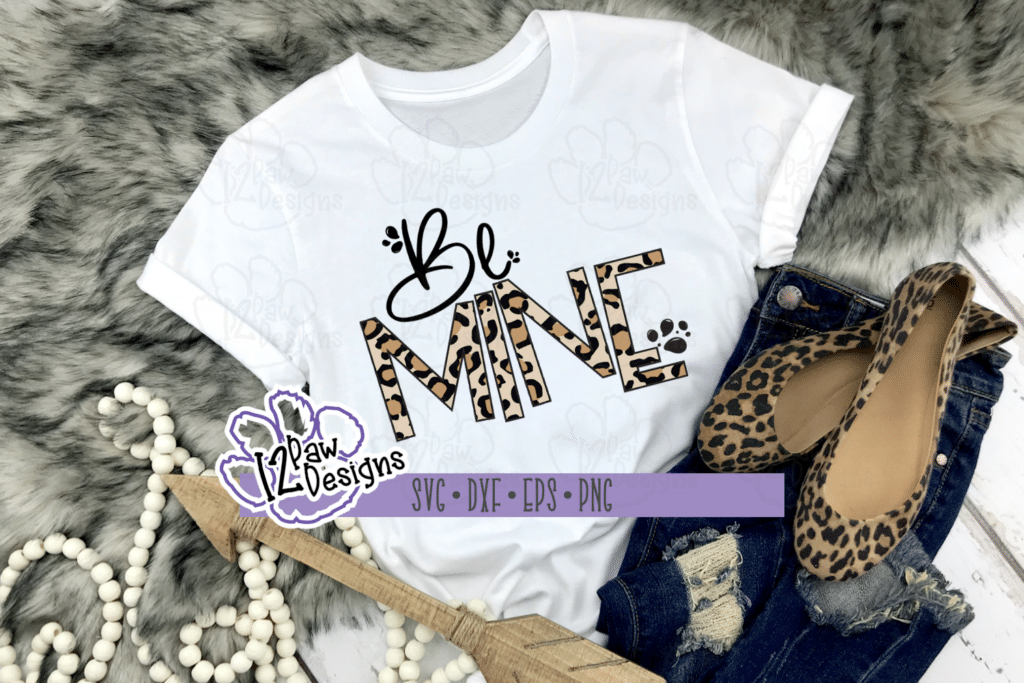
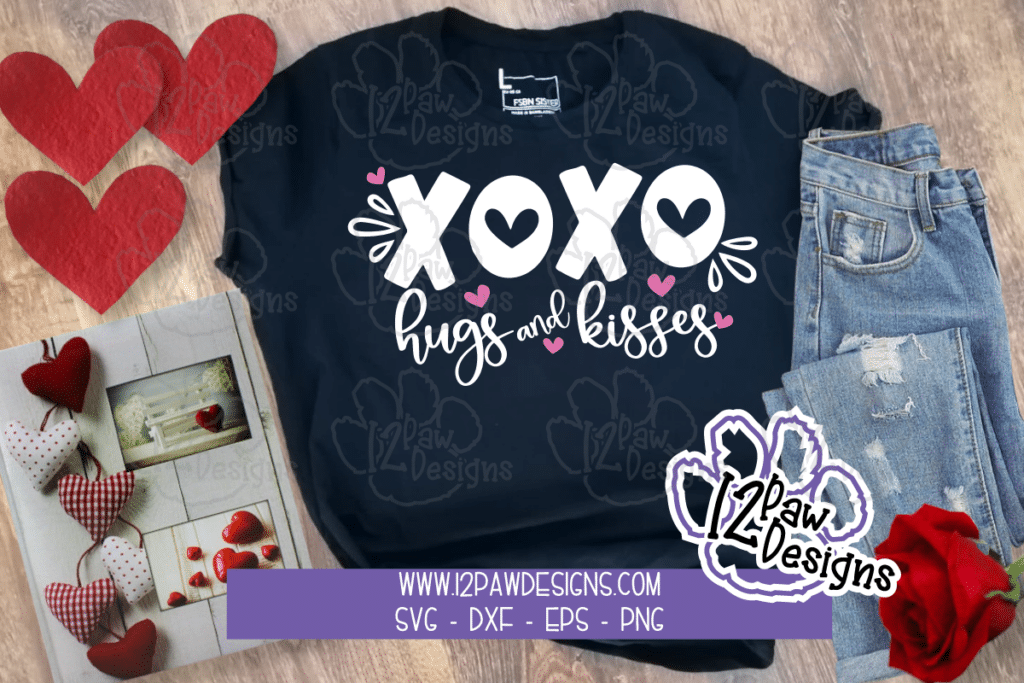
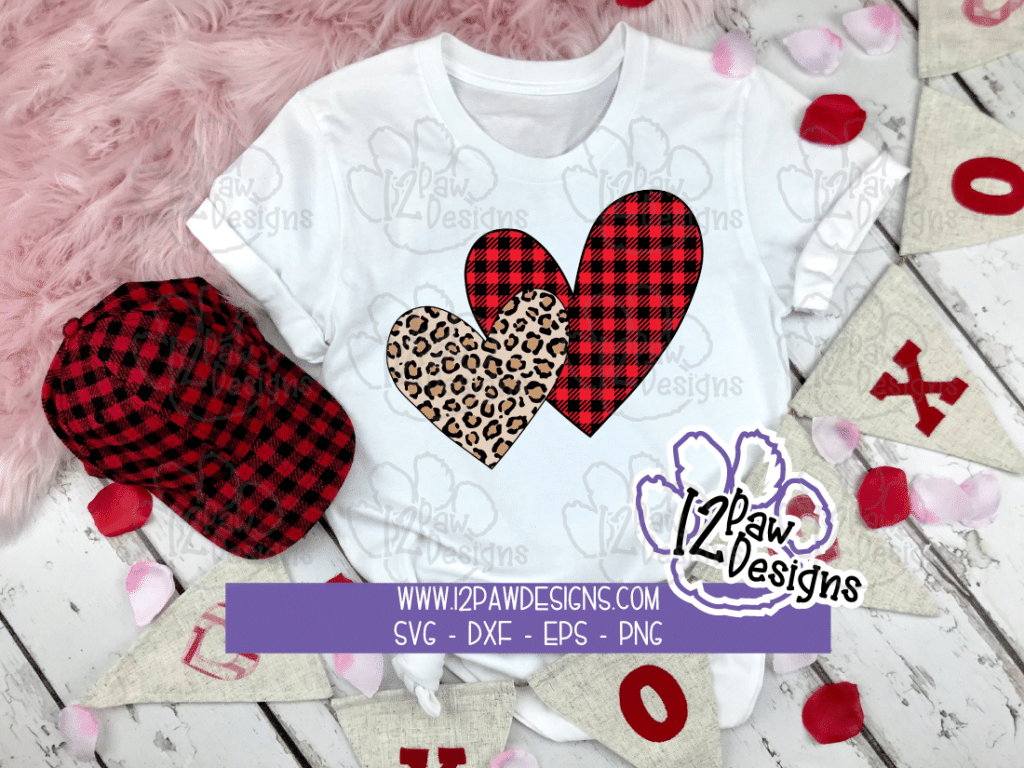
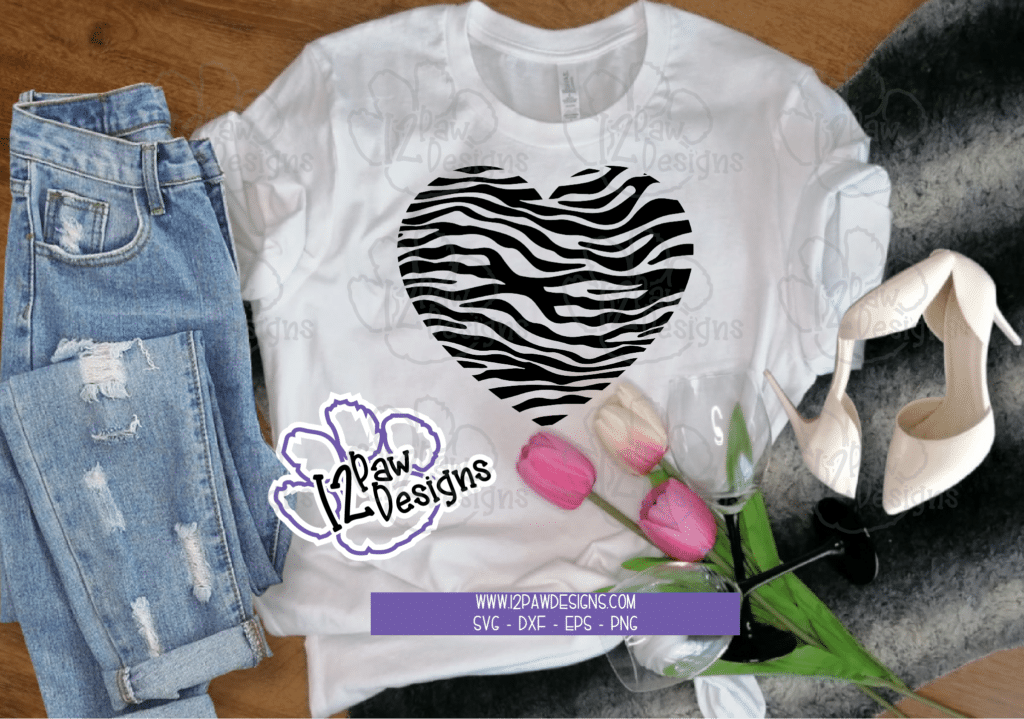
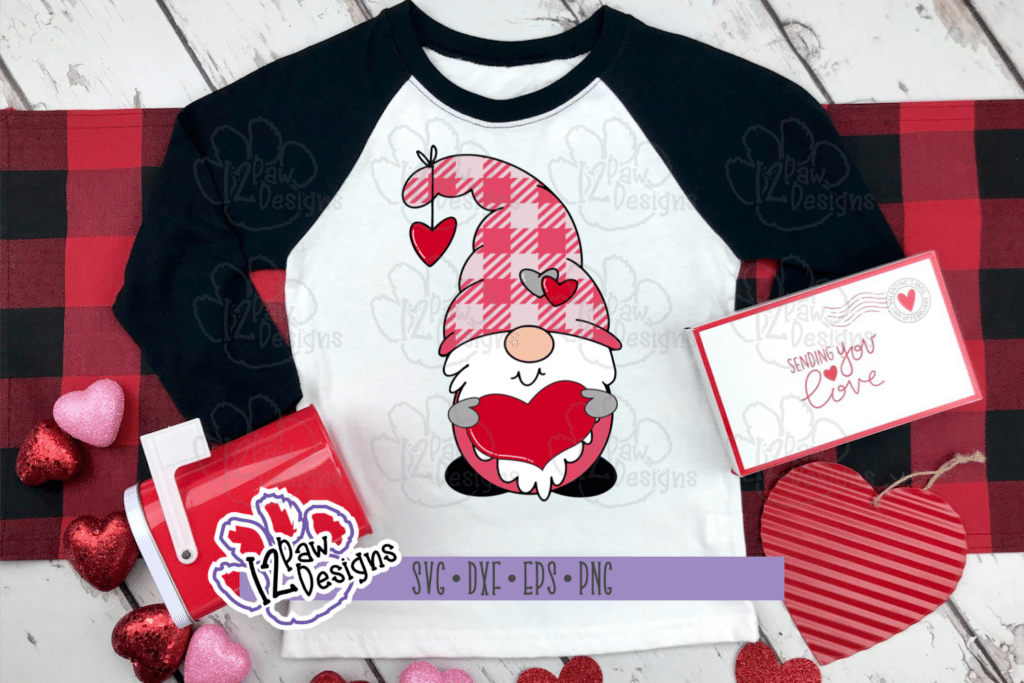
    I have also uploaded to my shop some really cute Valentine’s files. There is some cute gnomes, leopard and other animal prints, etc.  Also, keep on the watch for a pink gnome valentine truck design that would be great as a print and cut or sublimation!!!

    Now, back to the Heart Subway Tile….
    Here is the list of supplies that used to make it:
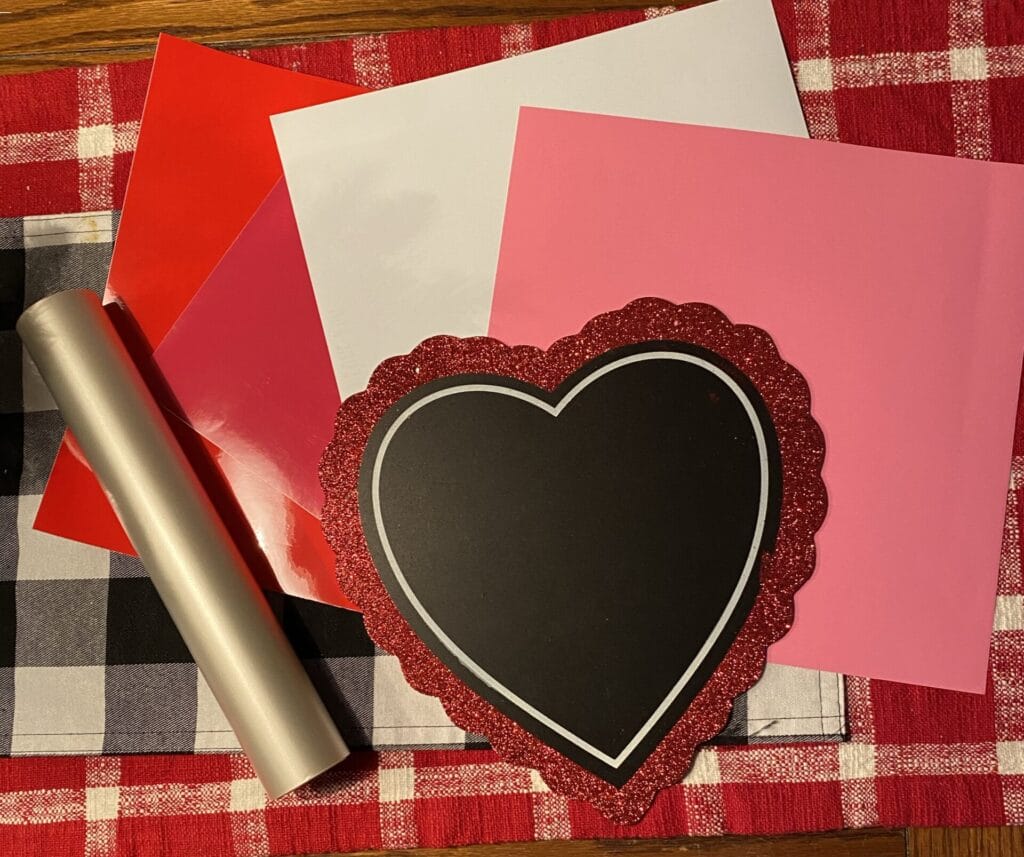
    – Dollar Tree Chalkboard Heart
    – 4 Different colors of vinyl.  I used Red, White, Dark Pink and a light pink. 
    – Transfer Tape
    – Scrapping tool
    – Cutting Machine and software
    – Heart Subway Tile File from the Freebie library

    Heart Subway Tile - Supplies
    Heart Subway Tile – Supplies

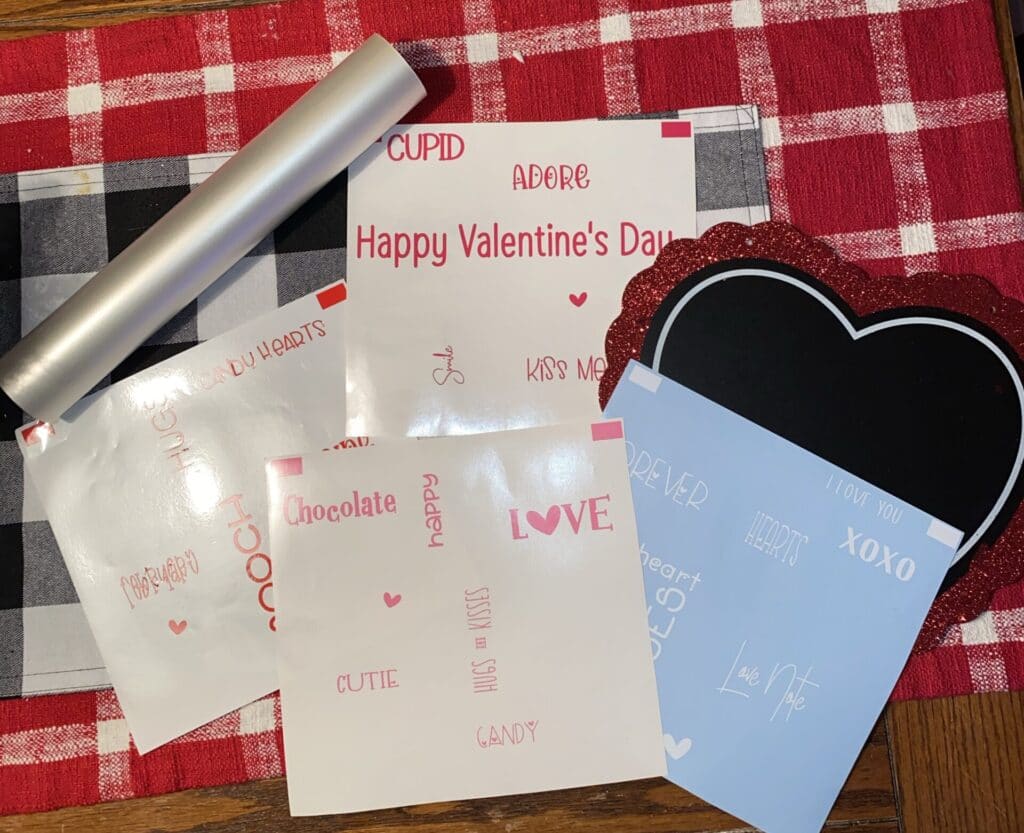
    Load the file into your cutting software.  I have designed and grouped the file for you into the four different colors.  When I uploaded the SVG to my cutting software I did add registration marks on the top to help me line things up. I also added a cut box around the image.  This helps save on vinyl so you know where the perimeter area is.  I then cut all four pieces of my vinyl. One thing I also like to do before pulling my mat out of the cutting machine is confirm that everything is cut.  I normally will weed out the center of a few letters to confirm this.  This way if something didn’t cut all the way I can send it back through without wasting any vinyl!

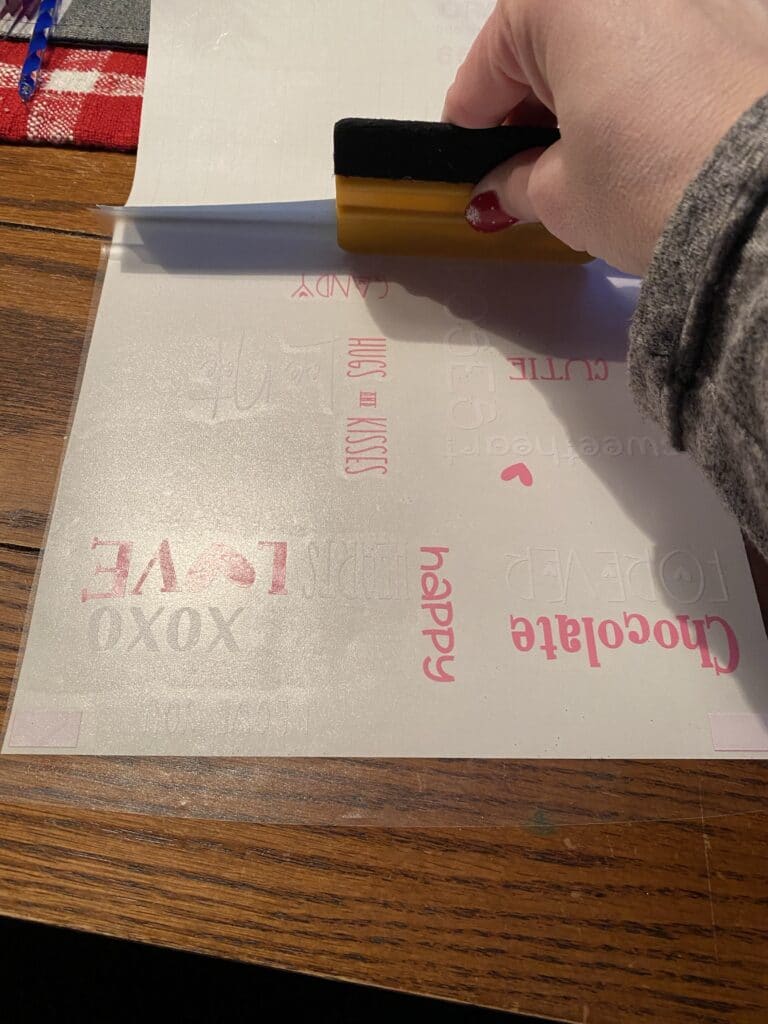
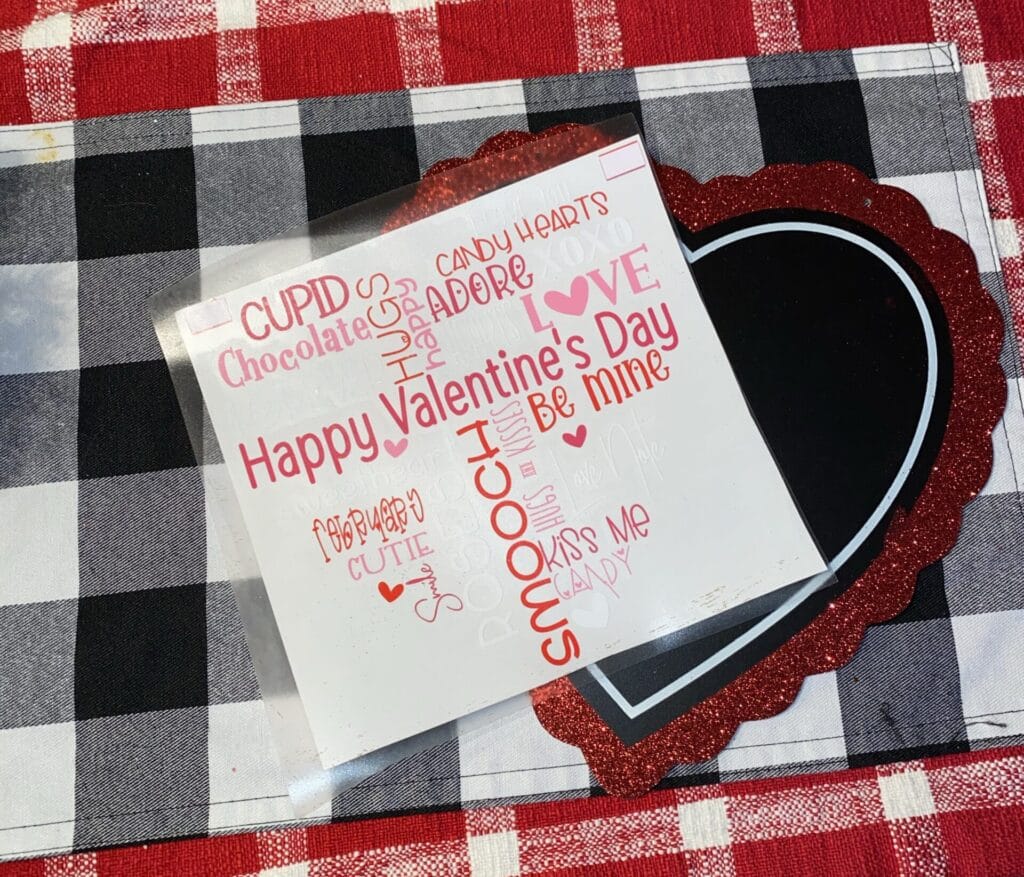
    I then weed all 4 pieces of vinyl. Next up, I take my transfer tape and lay it over the biggest area.  I do this so I have the back I can put back on the weeded design.  I use my scrapping tool and rub the transfer tape onto the vinyl.  I pull the back off from the vinyl.  Expose the registration marks and then put the backing back on the rest of the design.  I then take the next piece of weeded vinyl, line up the registration marks.  Once that is done I then start pulling the backing away and rubbing the transfer tape over the new piece.  I continue this process for all 4 pieces.  Once that is done I pull the registration marks from the transfer tape and apply the design to the heart. Using my scrapper I rub everything well.  I then I pull the transfer tape.  I keep the transfer tape close to the design as I peel it off so it comes off easily.

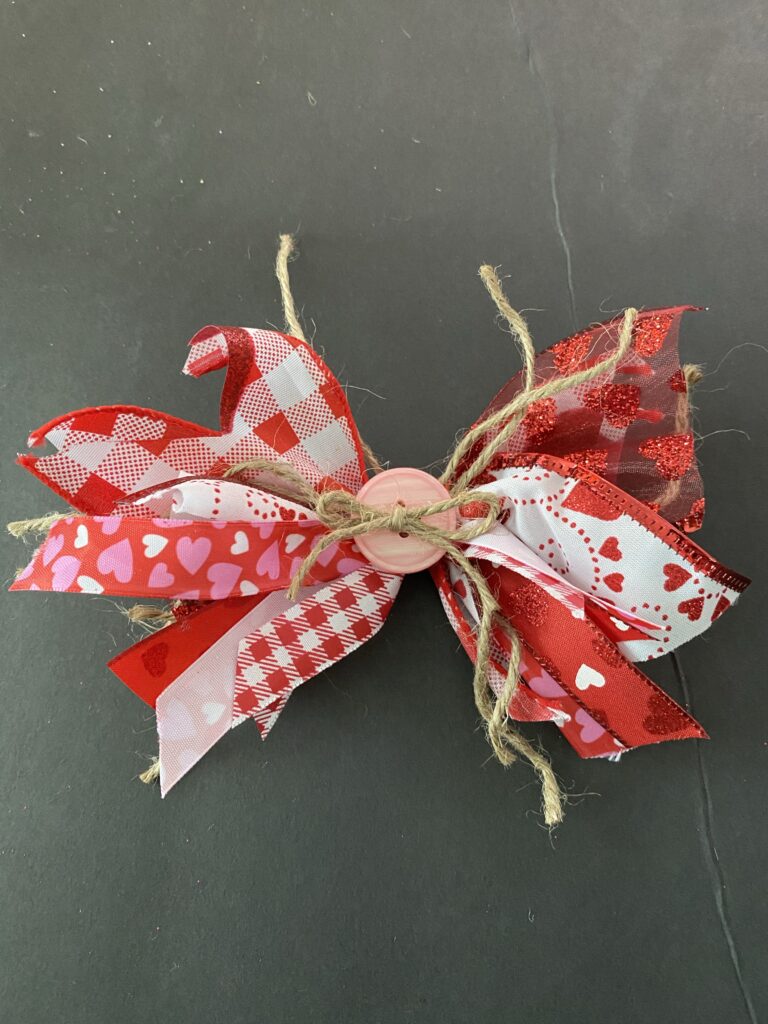
    Now you can add your own finishing touches!!!  I added a messy bow of ribbon and jute (all from the dollar tree) and then add some beads that I had on hand.  I actually had all items on hand in my stash.  This was a great project to use what I had!!!! 

    I would love to see your creations. Please come back and share in the comments.  I truly love seeing what people have made with my designs.  It is like watching kids grow up.  So please share with me.  AGAIN, I would also love a pin share! Yes, I do happy dances for this.  Small business owners do love these connections. I would share the happy dance I make…but nobody needs to see that.  HEHEHE!  Just know it happens.

    Thank you again for stopping by and being part of my dream and 12 Paw Designs! Have an absolutely amazing day!!!

    https://12pawdesigns.com/shop/

    If you have any questions or run into an issue please let me know!!!

    Lorri

    Lorri@12PawDesigns.com

    Want to connect more with 12 Paw Designs???:
    • Website: https://12pawdesigns.com
    • FB Page: https://www.facebook.com/12pawdesigns/
    • Instagram: https://www.instagram.com/12pawdesigns/
    • Pinterest: https://www.pinterest.com/12PawDesigns

    DO NOT resell any of the files as digital download or any other form.
    DO NOT claim the files as your own.
    DO NOT modify and resell the files in any form.

  • Sunday Funday Heart Lines Free File

    Sunday Funday Heart Lines Free File

    FREEBIE FILE

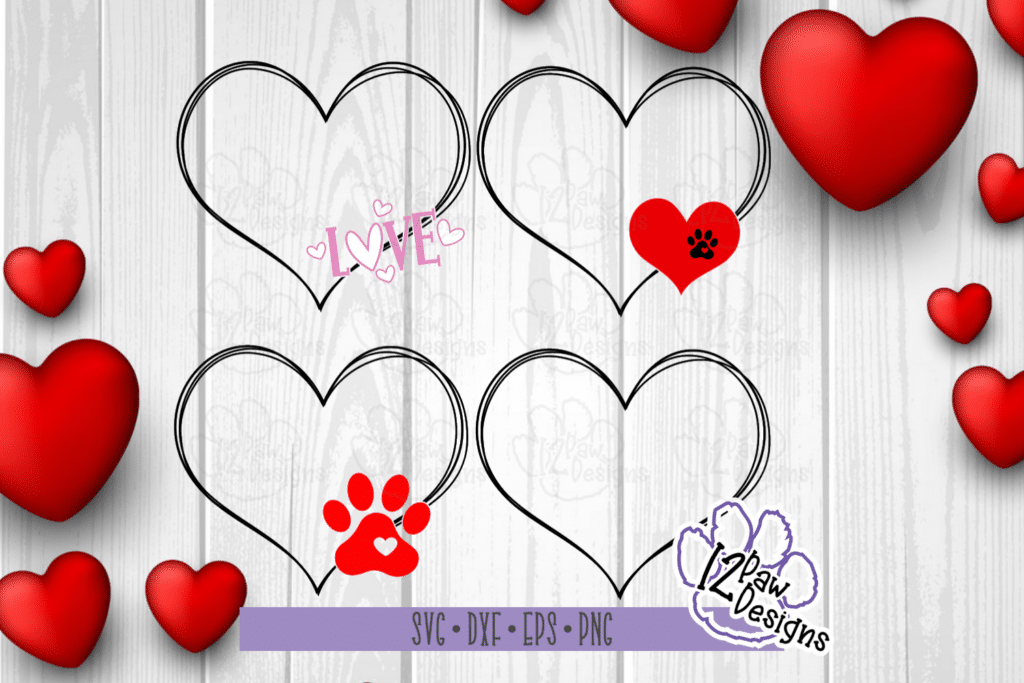
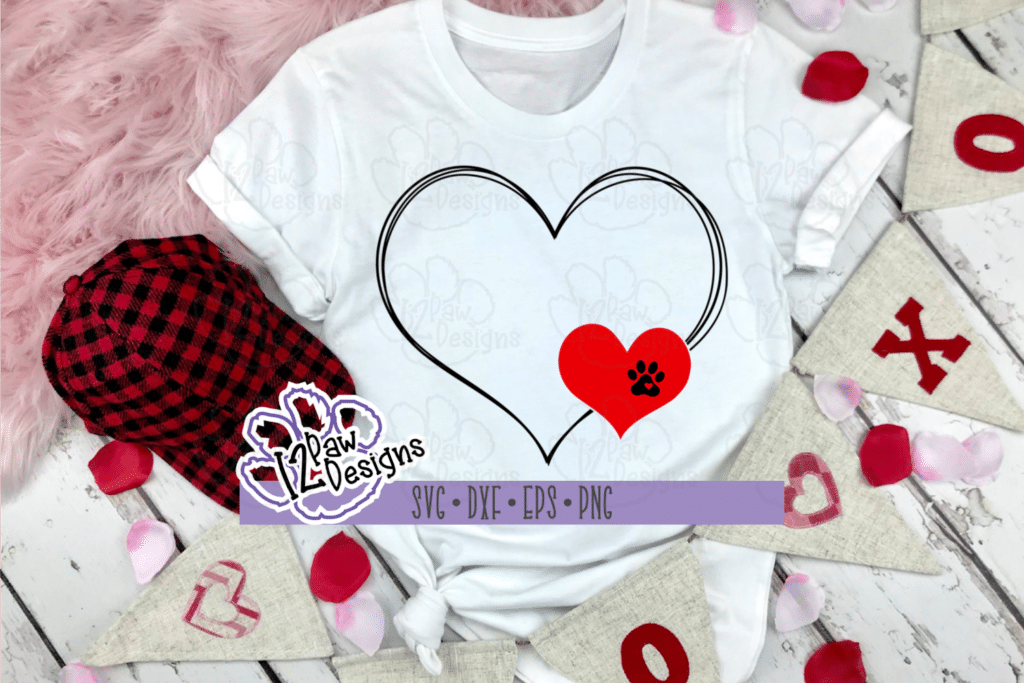
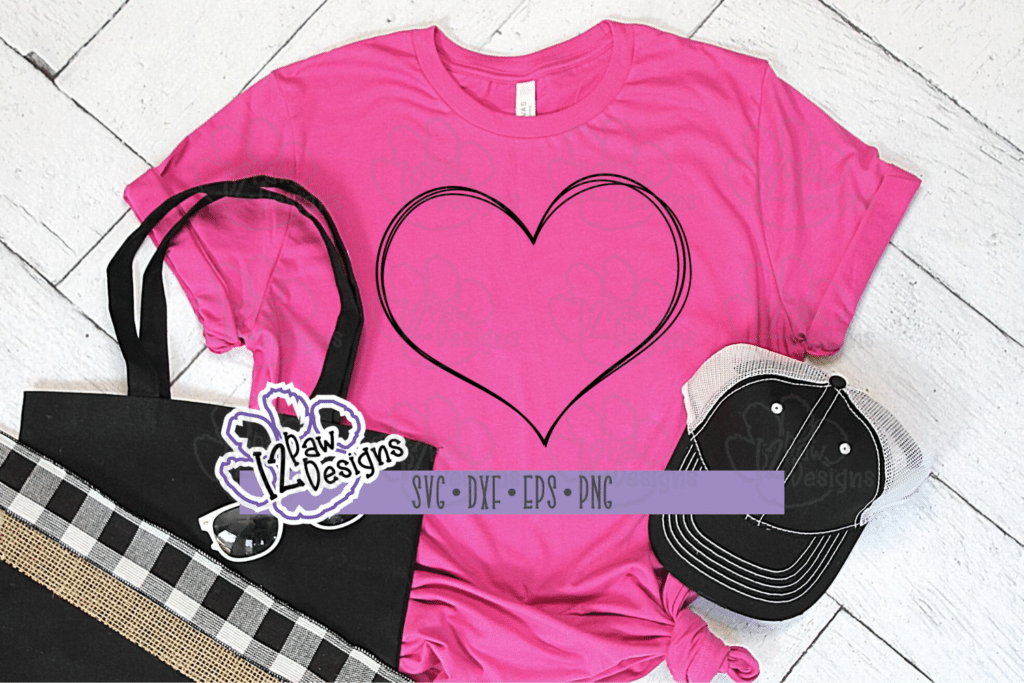
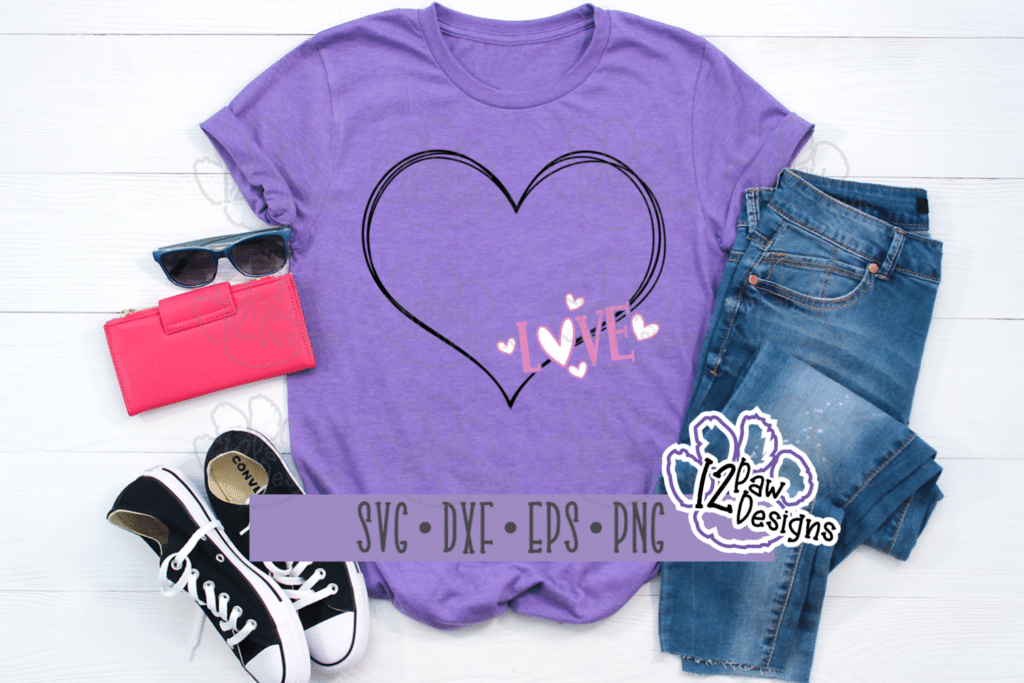
    Happy Sunday Funday! So let’s have some fun with these Heart Lines Freebie File cutting file to start our week off! I have designed 4 cut files for you in this bundle. The design is Heart Lines that I then added either the word Love with hearts, a Heart with a paw print (you can leave the paw off too!), a paw print or plain. Let your creativity go!!! You will also see the project I made with the Love cut file and the steps I took to create it. To get your file head over to the Freebie Library, sign in (don’t worry if you are not a member yet, sign up and the password will be emailed to you!!!) and download Number 7! Also, I would appreciate the Pinterest save! That helps me so that I can keep sharing free files!! You can also follow me on Instagram, Facebook and Pinterest!

    12PD Heart Lines Bundle
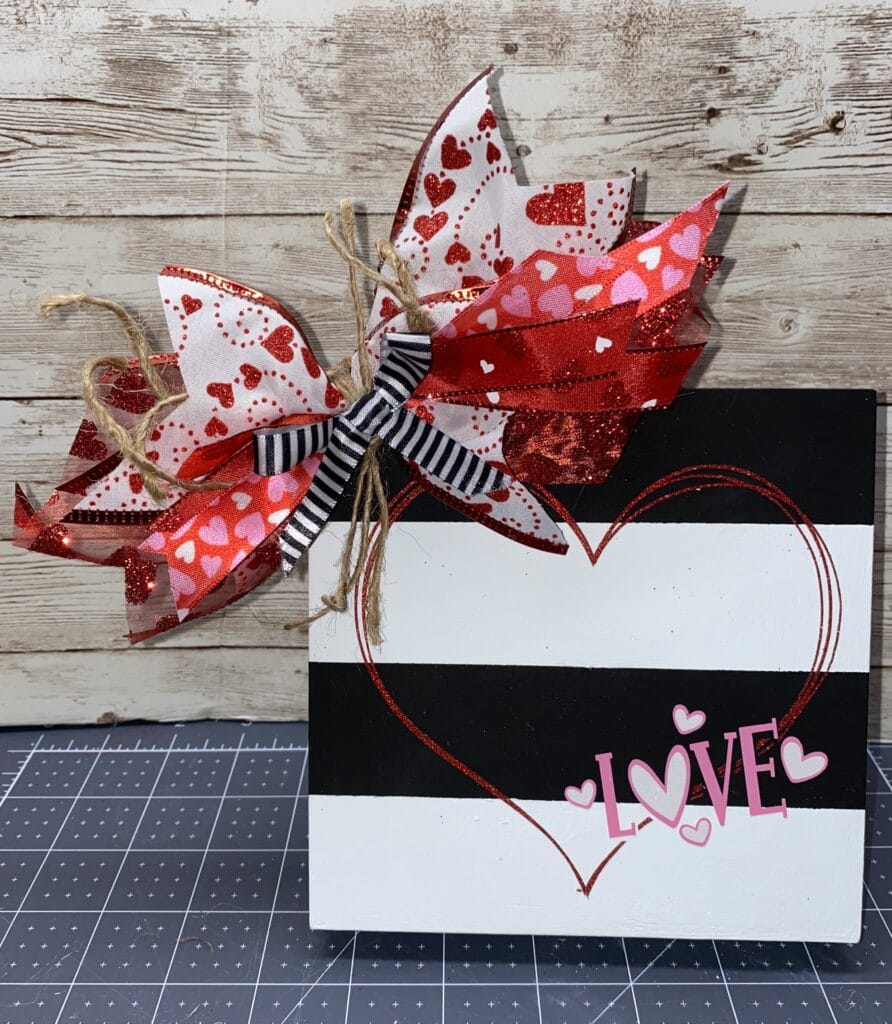
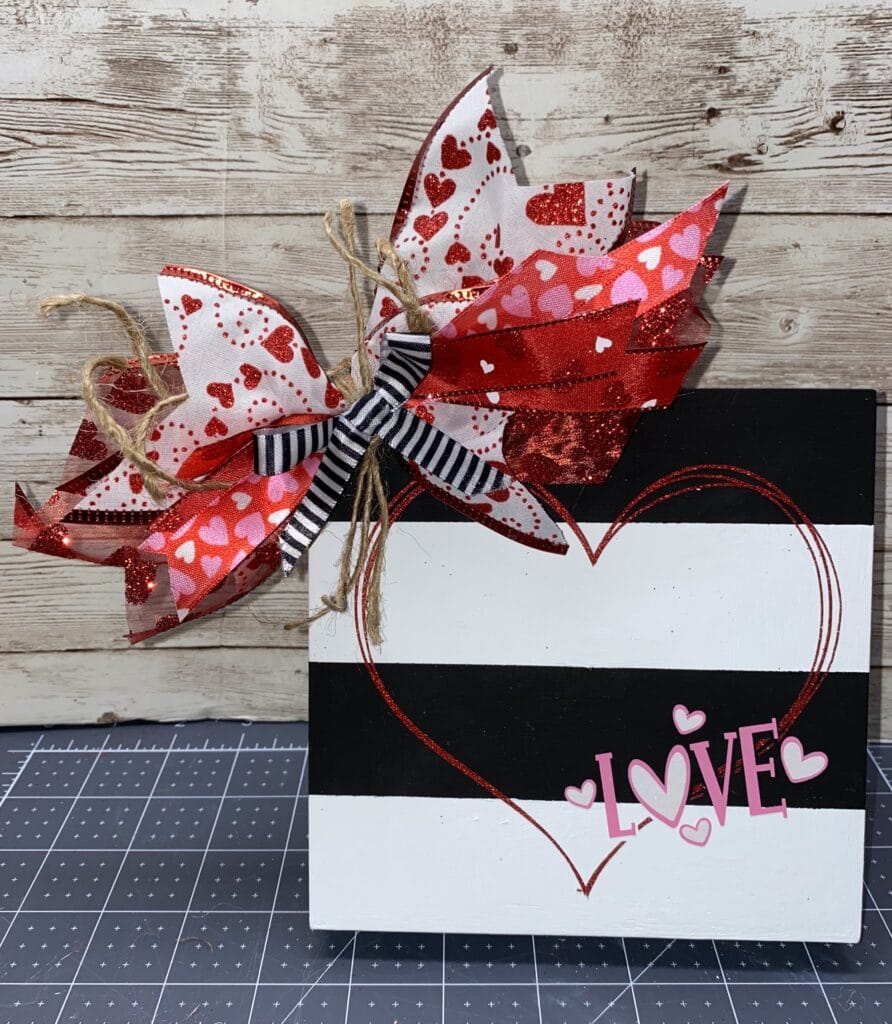
    Here is the cute sign I made with the Love

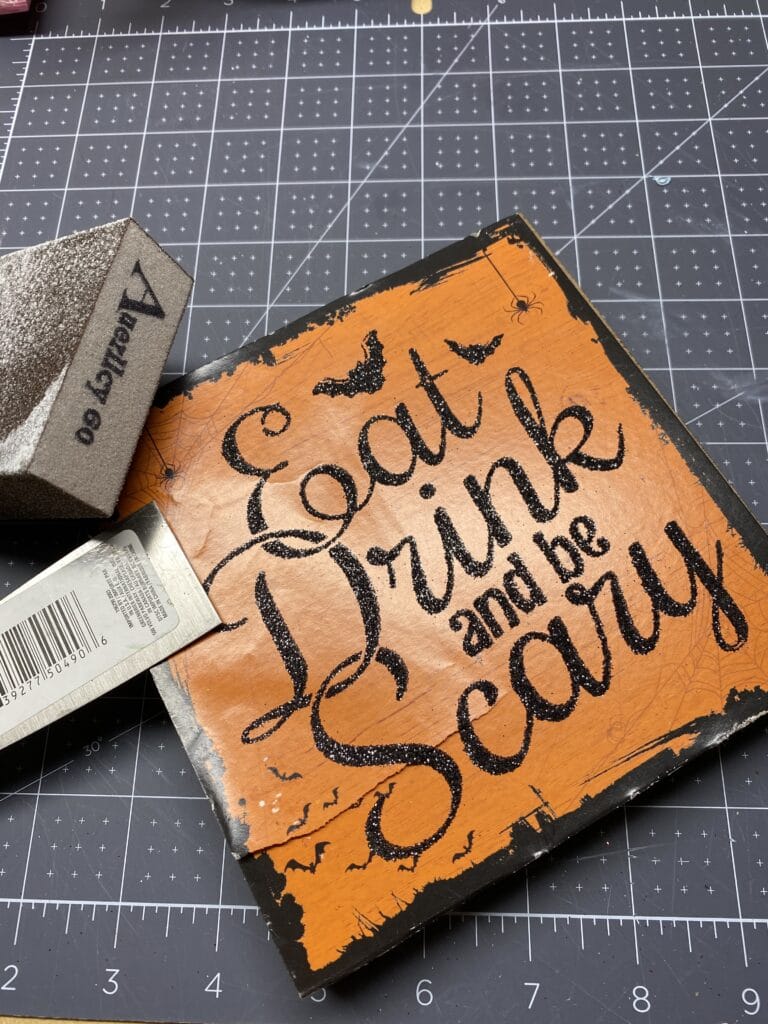
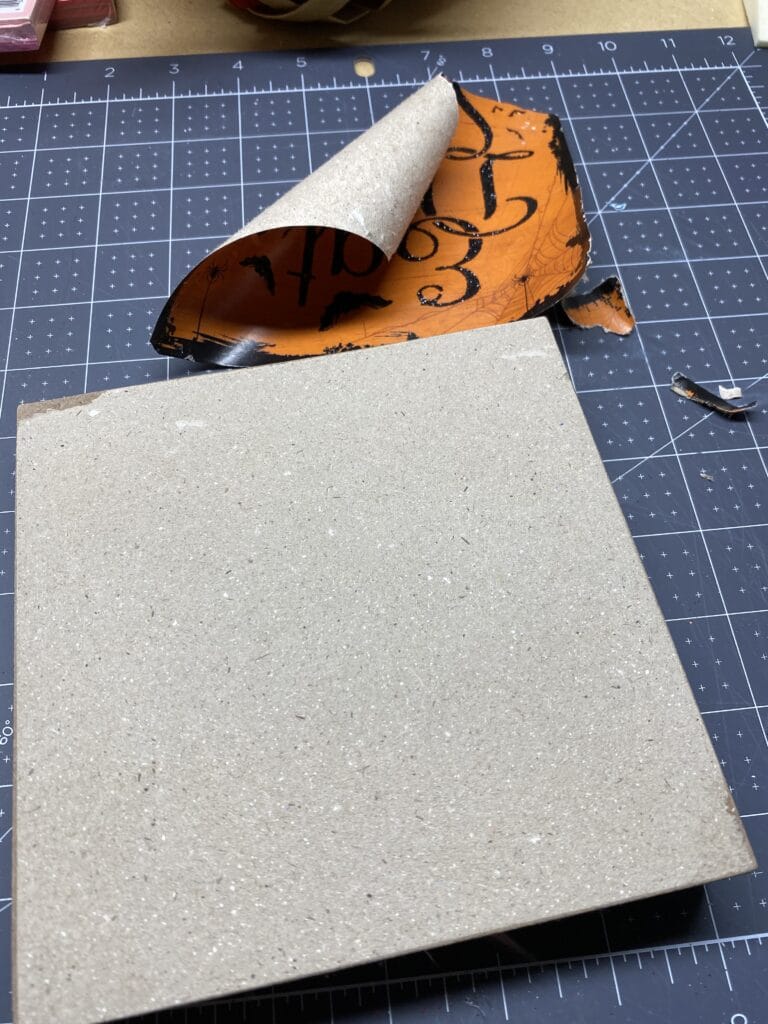
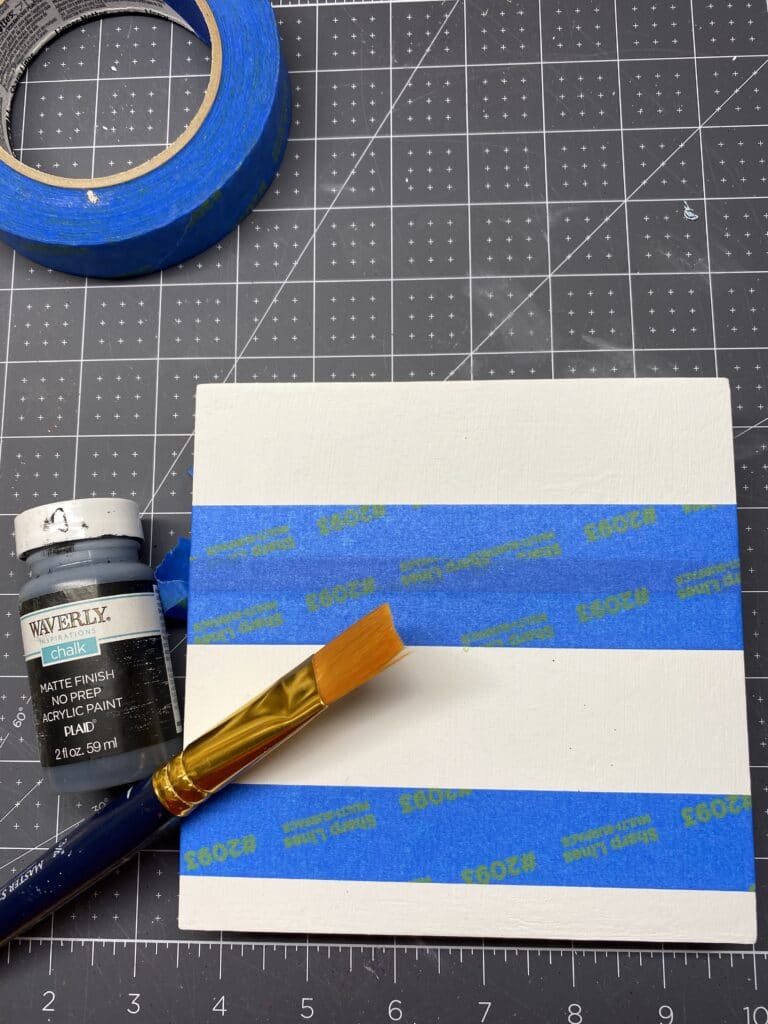
    To start with I use a Dollar Tree sign I bought at halloween time. It is 6″x6″ in size. I pealed the paper word part off and then gave it a good sanding to get everything off. Next I used chalk paint and applied 2 coats on it. You can use acrylic paint as well or whatever you have at home. I did do a light sanding between coats. Next I took some painters tape and placed it on the board about 1 ½” apart and painted those stripes black. It also would have been cute in grey! Again, let the creativity go!!! While the black was still wet I peeled the tape off to make sure to help eliminate bleed. Below i have my initial steps.

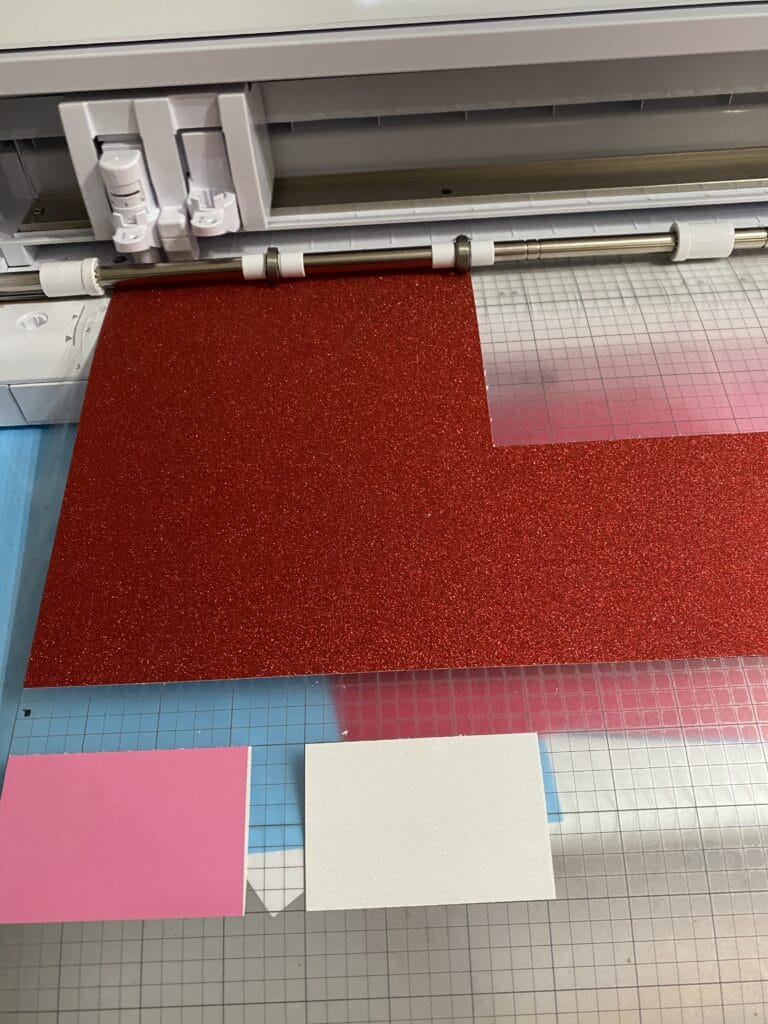
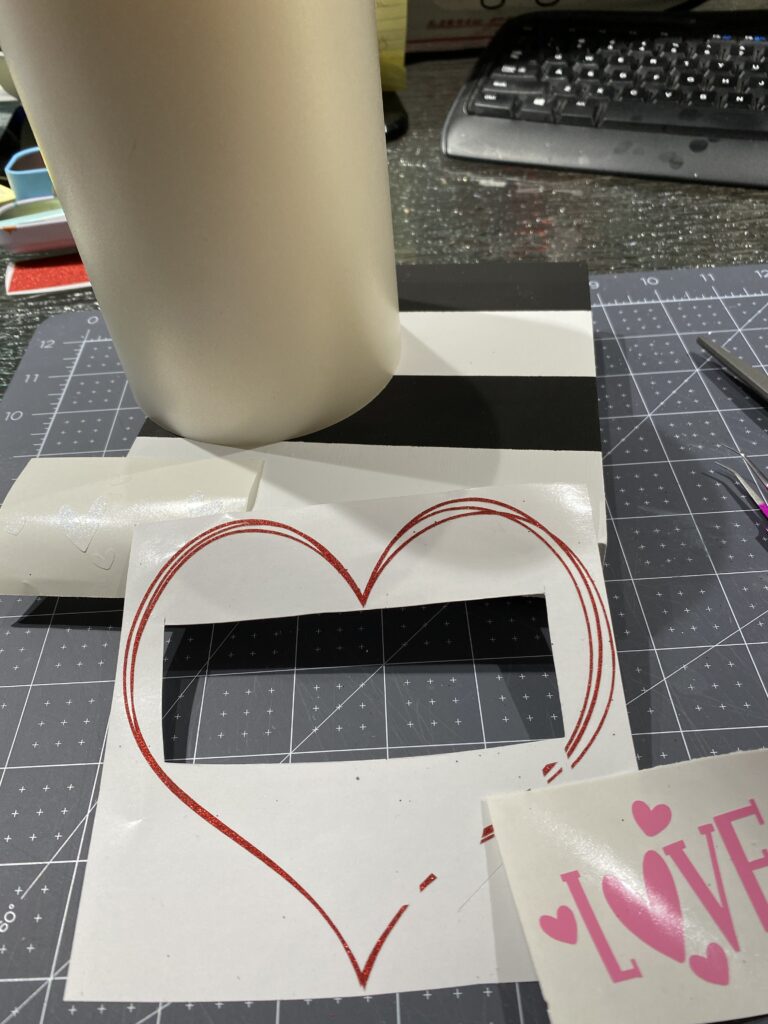
    Next I uploaded my file into my favorite cutting software. I ungrouped the heart i was going to use and then picked my colors. I used red glitter for the heart, pink for LOVE and the heart base and then white glitter vinyl for the hearts on top. I like to save time and cut my 2 glitter vinyls together and then cut my glossy vinyl. Cut out your vinyl and then weed out the pieces you don’t want. If you noticed on the red glitter, I cut out the extra before weeding so i could save some for a future project. Once I had everything weeded I then needed to grab a stickier transfer paper for the glitter vinyl. I then applied my vinyl to the sign. You want to make sure your sign is nice and dry. I will let mine sit over night. However, I am normally impatient and I will use a heat gun, hair dryer or put it in front of the heater or fireplace (I live in Wisconsin). I applied the heart first, then Love and then the white glitter hearts on top.

    Then to finish it off I added a messy bow. A mess bow is layered cut ribbon on top of each other and tie in the center. I then glued it onto the sign.

    Please share what you make with these files! I love to see the creativity!!!

    Here are some other ideas for you!

    Happy Sunday!

    Also, check out the shop for other fun design files. I upload some great new Valentine designs. Have a suggestion for a design??? Let me know!

    https://12pawdesigns.com/shop/

    If you have any questions or run into an issue please let me know!!!

    Lorri

    Want to connect more with 12 Paw Designs???:
    • Website: https://12pawdesigns.com
    • FB Page: https://www.facebook.com/12pawdesigns/
    • Instagram: https://www.instagram.com/12pawdesigns/
    • Pinterest: https://www.pinterest.com/12PawDesigns

    DO NOT resell any of the files as digital download or any other form.
    DO NOT claim the files as your own.
    DO NOT modify and resell the files in any form.
  • FREE “You’re on Mute” File

    FREE “You’re on Mute” File

    New FREEBIE file

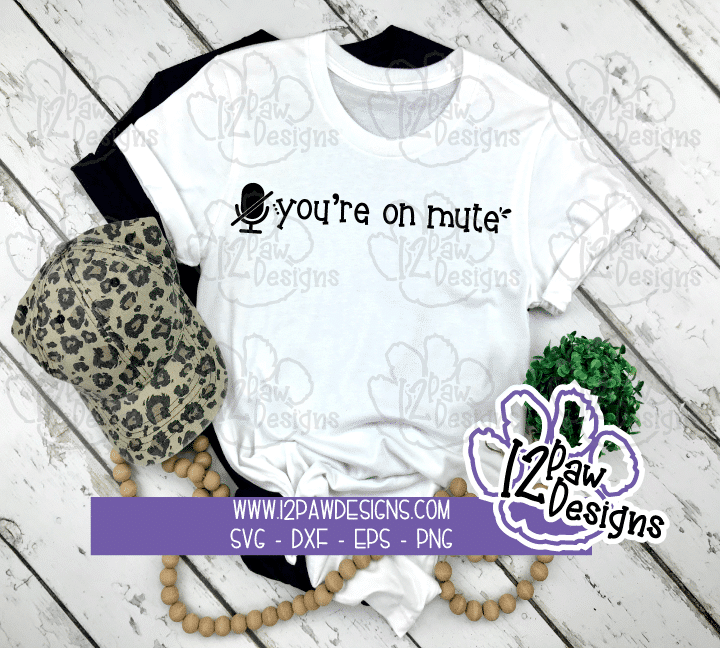
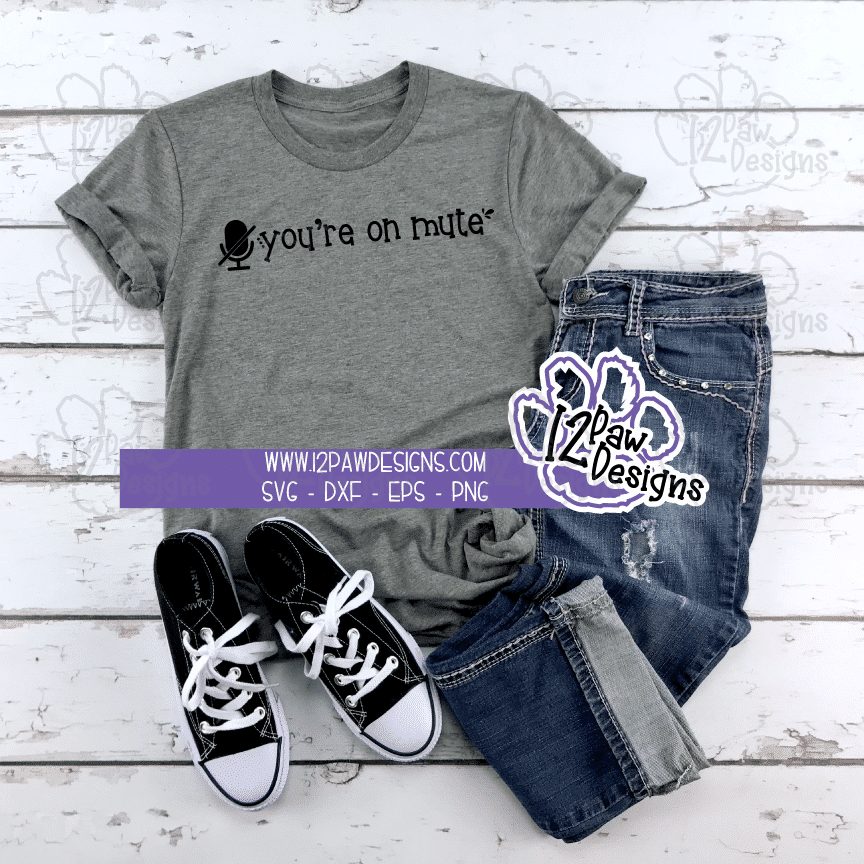
    Who hasn’t heard that in a meeting? With returning to work I find that in every meeting I am saying “You’re on Mute” to people. So, I thought I would design a fun design to wear on a shirt! This year I am THRILLED to announce that I have put in a FREEBIE Library! You will need to register and then the password will be sent to you. Also, don’t worry I will send a reminder of the password when I send out Paw Prints. Don’t worry I will not spam you with a lot of email. I respect your time and privacy. Paw Prints will be a scoop on what is going on with 12 Paw Designs, some new designs and of course FREEBIES. Just for signing up you will find some extra free files in there for your cutting machine, sublimation, etc.

    Go to the Library here. You can sign up and then watch your email. You will see a list of other free files in there for you to as well!

    You're on mute - Line
    You’re on mute – Line
    You're on mute - Line
    You’re on mute – Line

    I hope you enjoy! I do ask that you leave a review and pin my designs to pinterest. It helps me to keep designing free files for you! The best way to help a small business and it doesn’t cost you anything. Thank you for your support on that!

    Also, check out the shop for other fun design files that are available for purchase…….

    https://12pawdesigns.com/shop/

    If you have any questions or run into an issue please let me know!!!

    Lorri

    Want to connect more with 12 Paw Designs???:
    • Website: https://12pawdesigns.com
    • FB Page: https://www.facebook.com/12pawdesigns/
    • Instagram: https://www.instagram.com/12pawdesigns/
    • Pinterest: https://www.pinterest.com/12PawDesigns

    DO NOT resell any of the files as digital download or any other form.
    DO NOT claim the files as your own.
    DO NOT modify and resell the files in any form.
  • Free New Year’s Cut Files

    Free New Year’s Cut Files

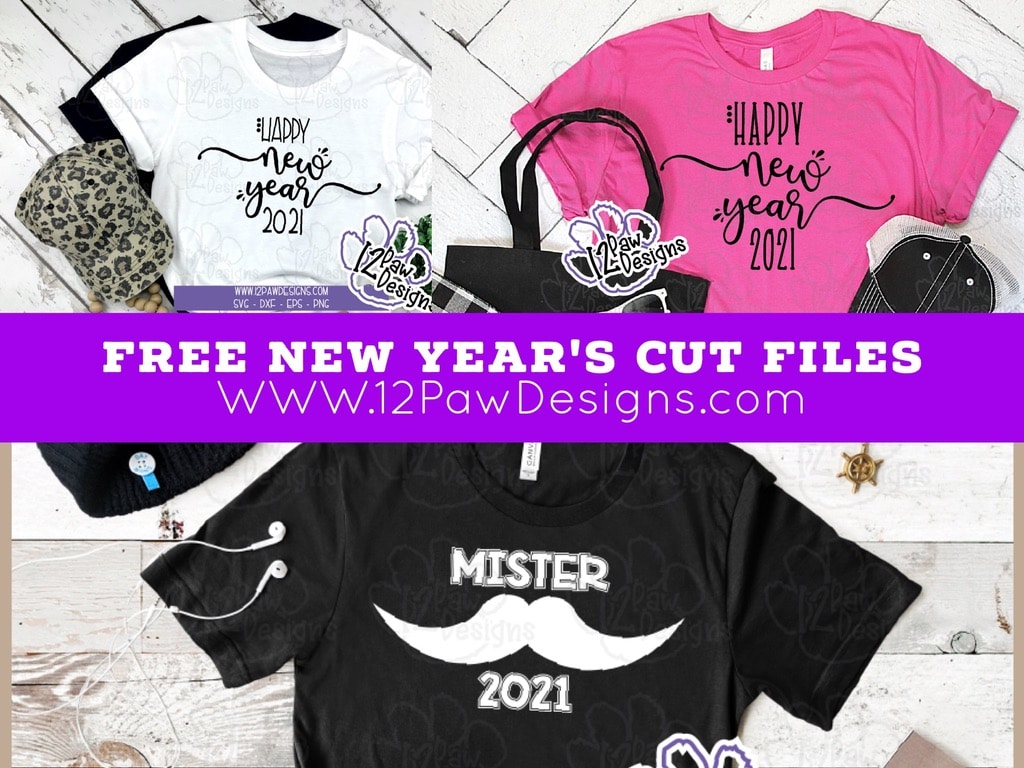
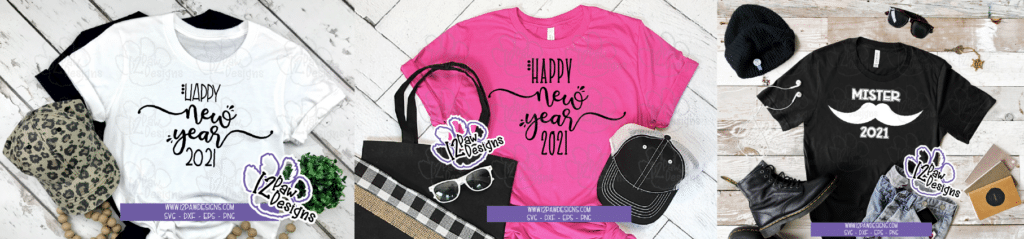
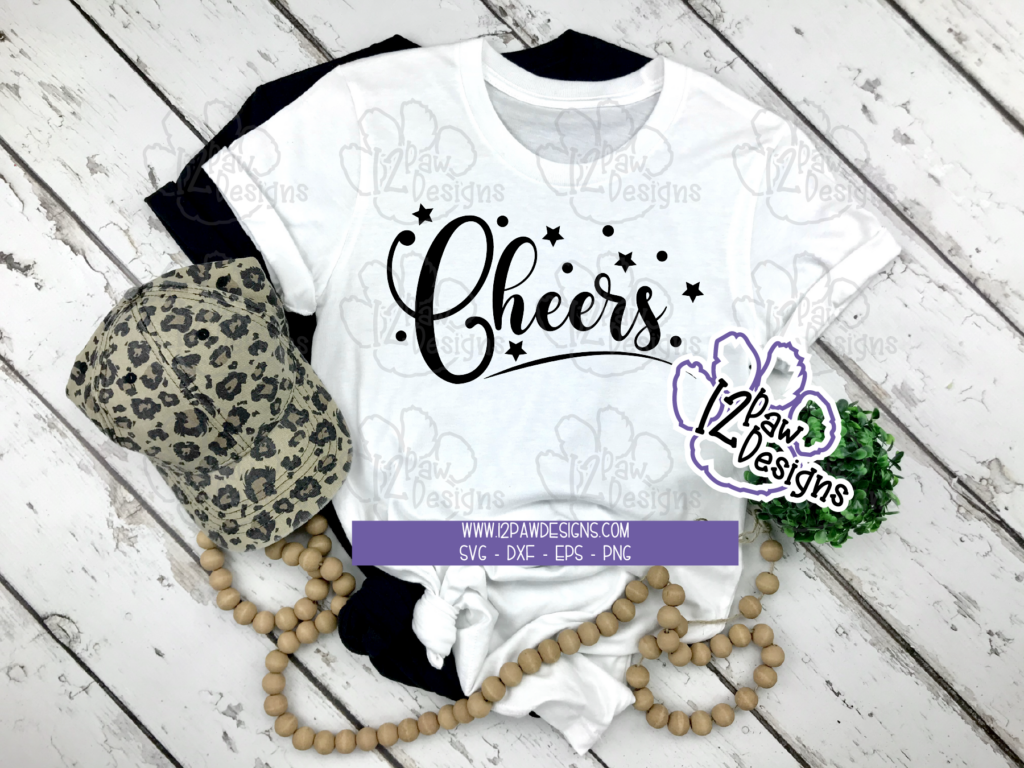
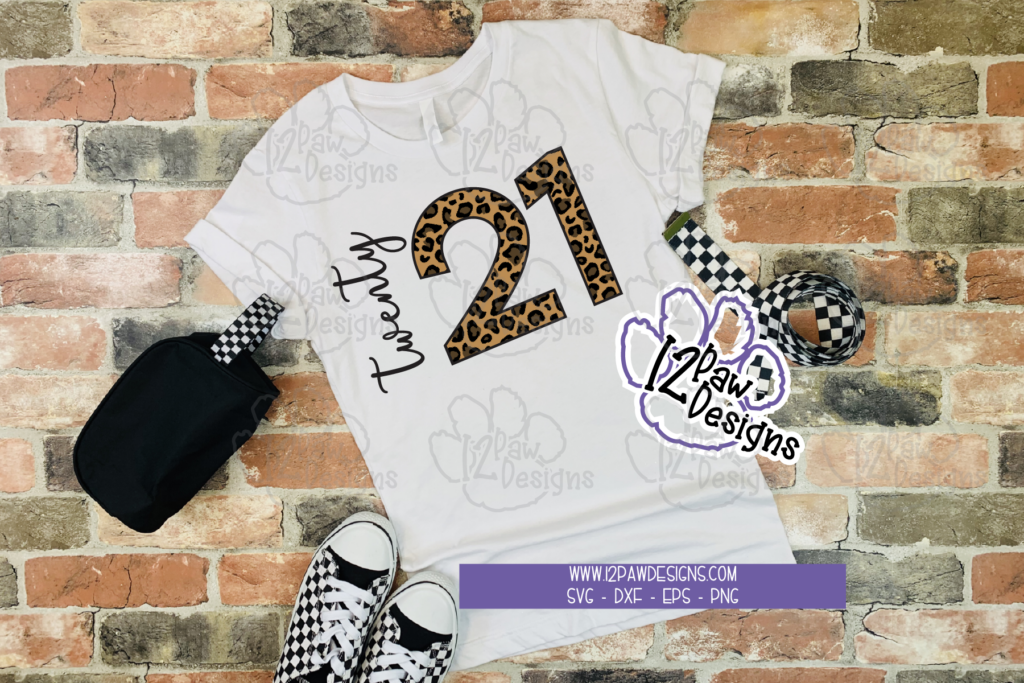
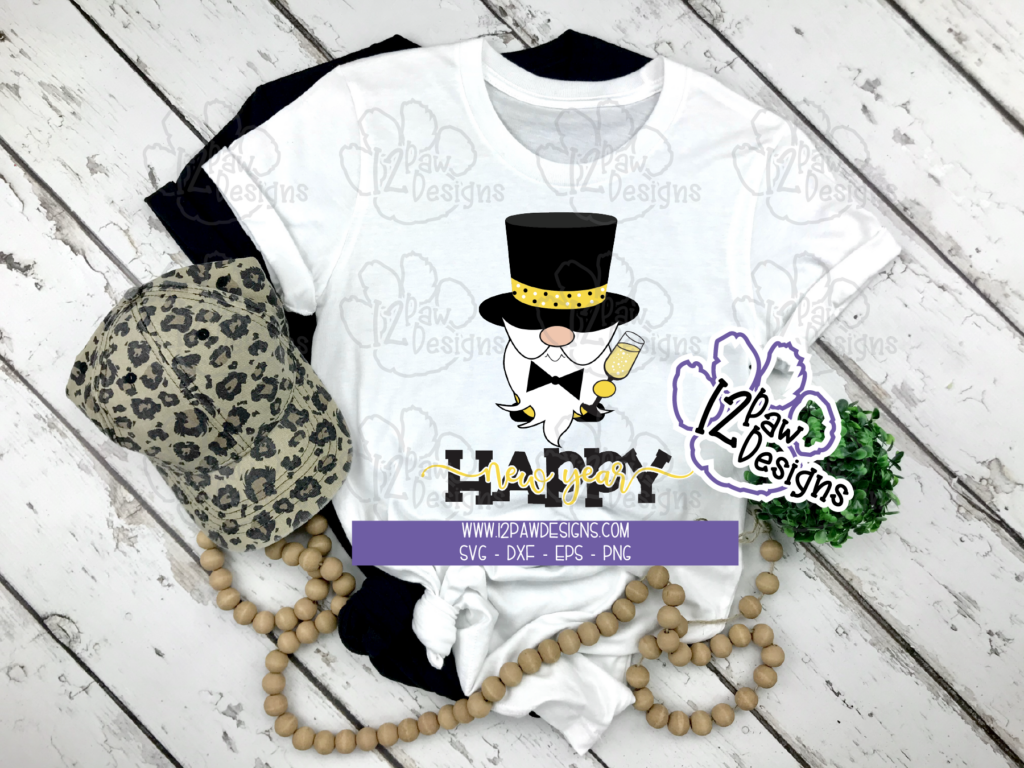
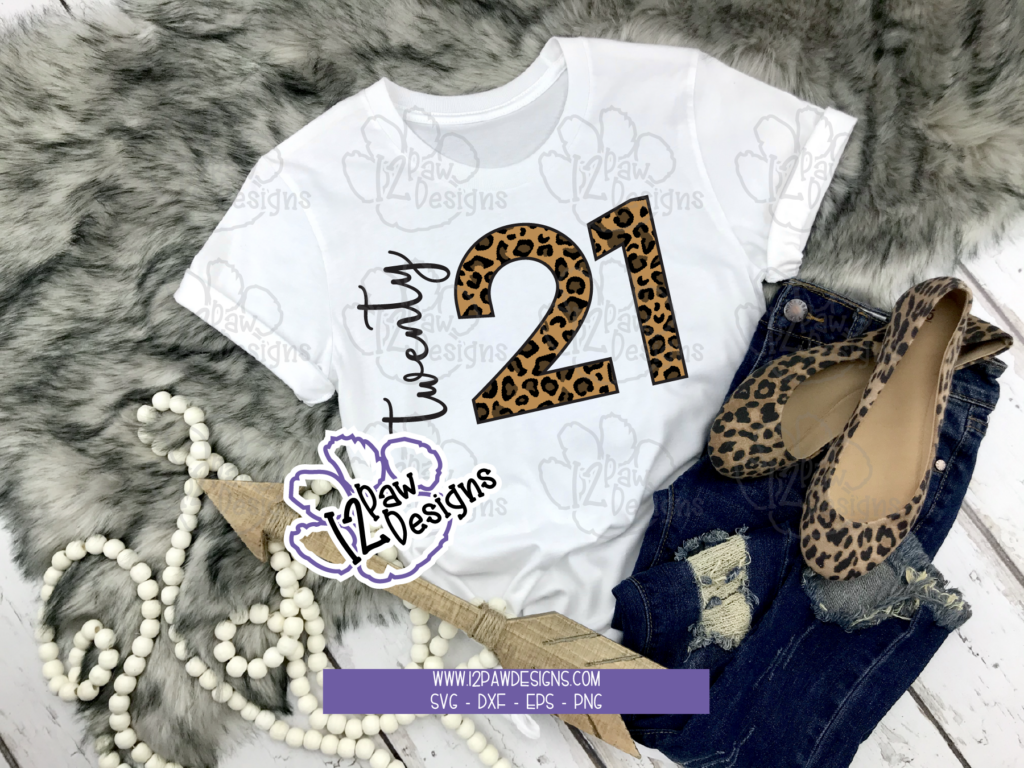
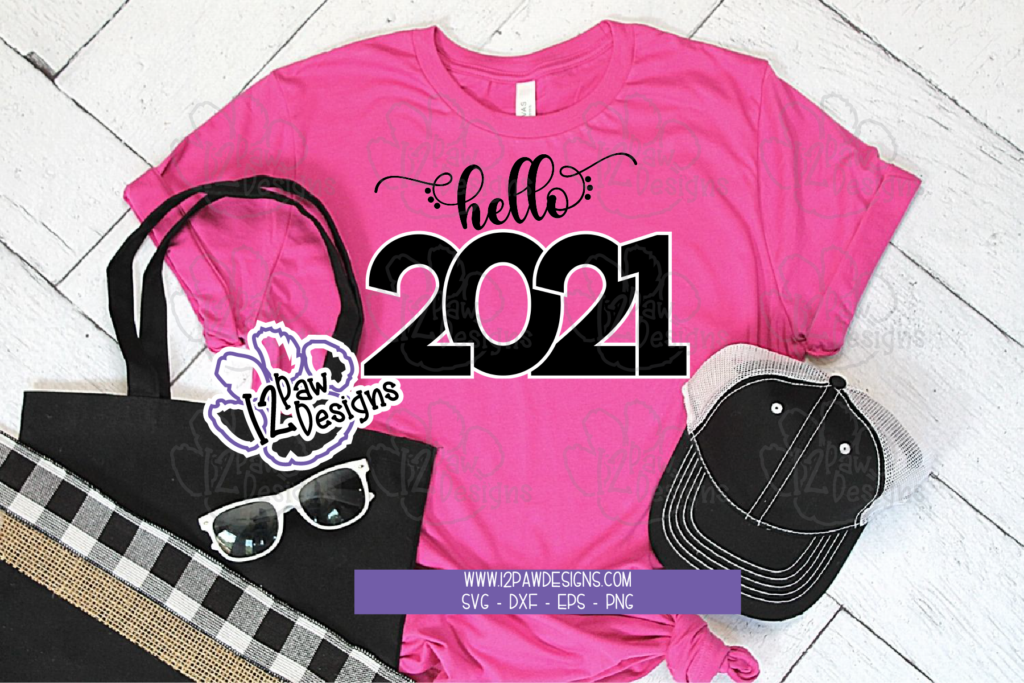
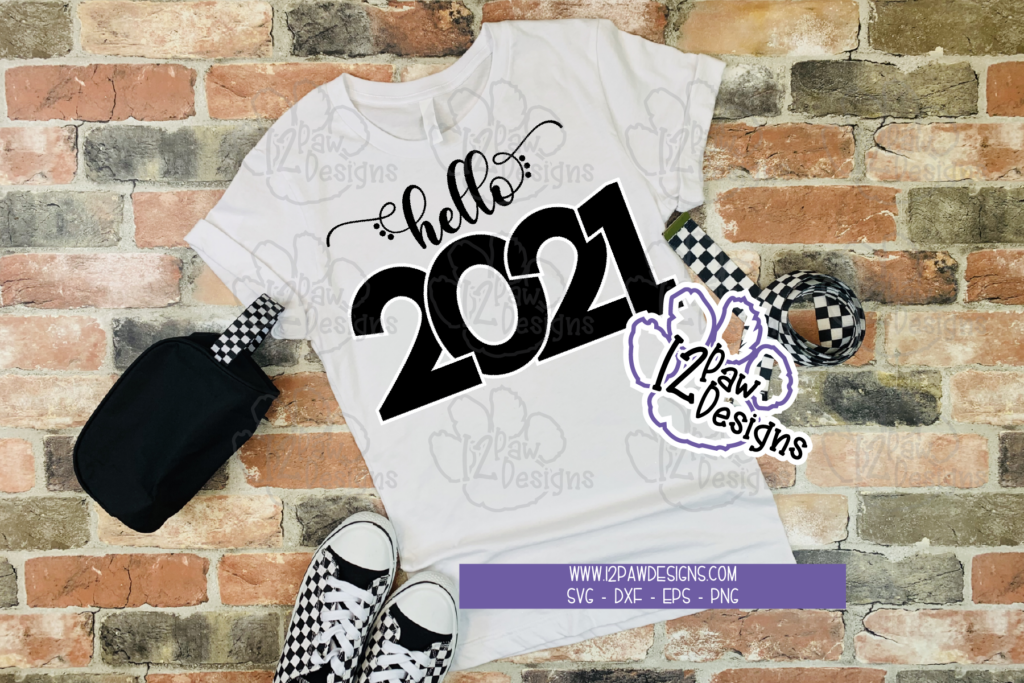
    Hello!! I hope everyone is have a wonderful and safe Holiday Season! Filled with love from family and friends near and far! With New Year’s our next holiday I have created Free New Year’s Cut files for you. This year I created something for both him and her!!! The one file has 2 options with it. The same words with different font pairings and then the Mister 2021. All files come with the mockups, DXF, PNG, SVG and EPS for your use. So click on the image and head over to the shop and add them to your cart! Once they are in your cart you View your cart to check out. You will see a link to to proceed to check out. Once you have everything filled out place your order and you will see the download link appear so you can download the two files.

    https://12pawdesigns.com/shop/

    Enjoy these Free New Year’s Cut files!!! I would appreciate comments and photos of you using these image!!! I love seeing my designs in use and people enjoying what I created!!! Also, if you have some fun ideas you would like to see please let me know! I am always looking for something fun to create.

    Also, check out the shop for other New Year’s files that are available for purchase…….

    https://12pawdesigns.com/shop/

    If you have any questions or run into an issue please let me know!!!

    Lorri

    Want to connect more with 12 Paw Designs???:
    • Website: https://12pawdesigns.com
    • FB Page: https://www.facebook.com/12pawdesigns/
    • Instagram: https://www.instagram.com/12pawdesigns/
    • Pinterest: https://www.pinterest.com/12PawDesigns

    DO NOT resell any of the files as digital download or any other form.
    DO NOT claim the files as your own.
    DO NOT modify and resell the files in any form.