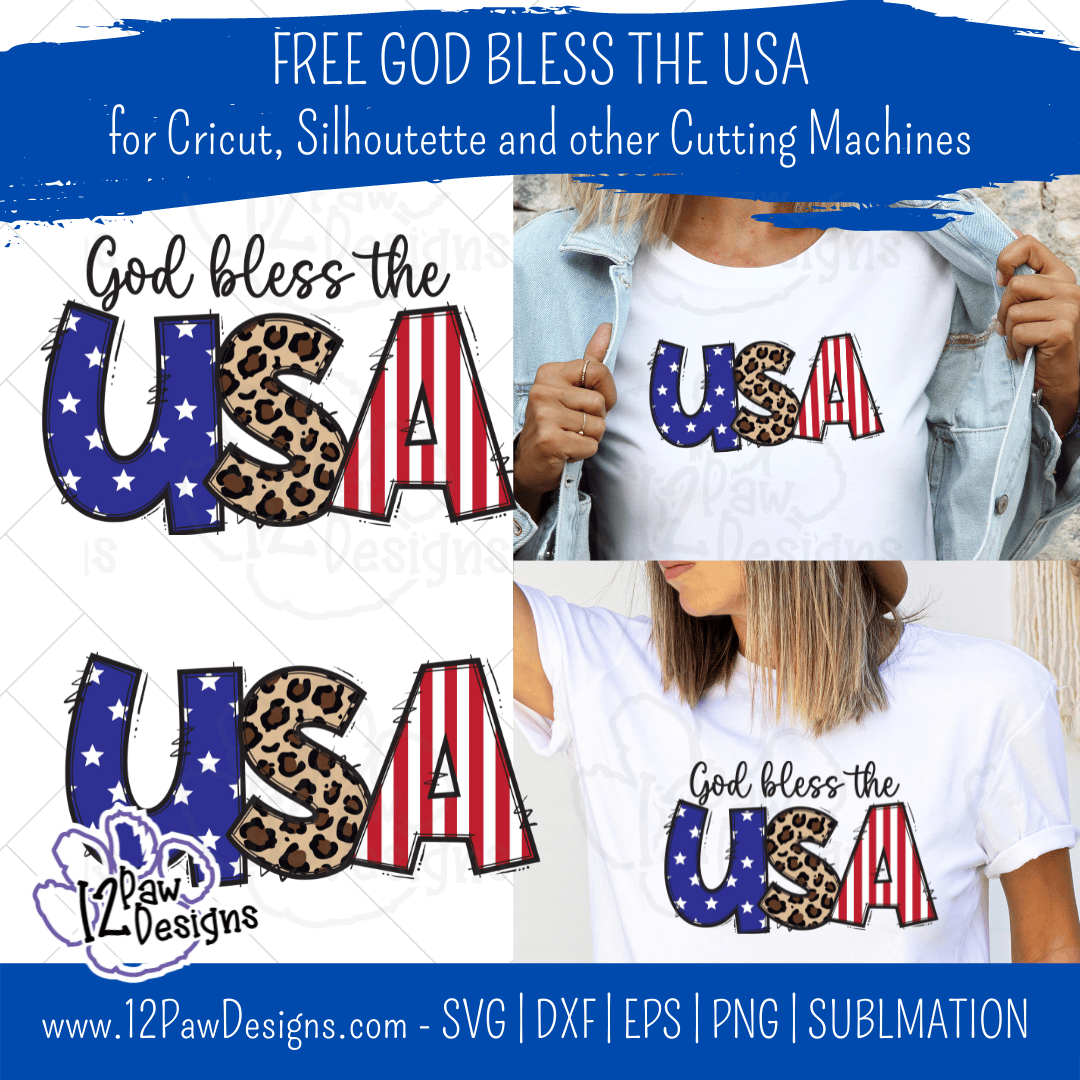
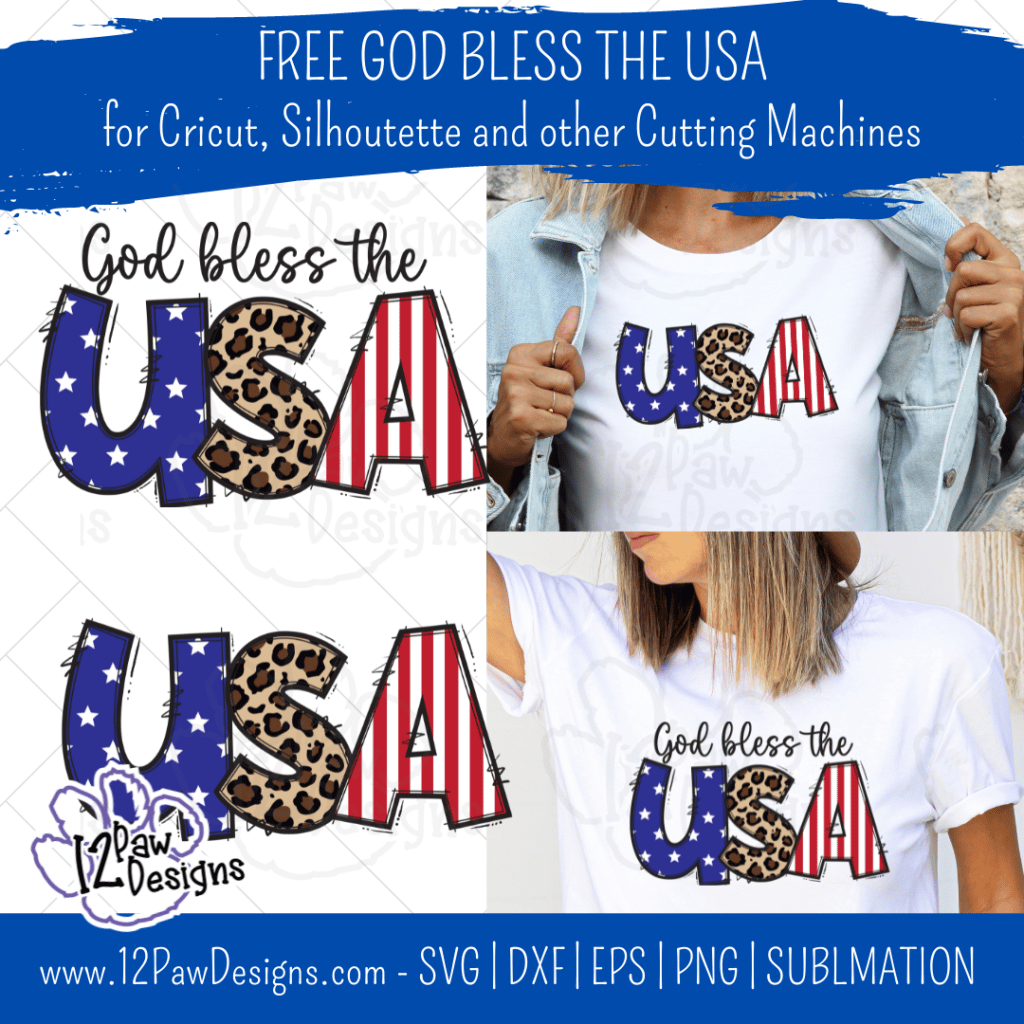
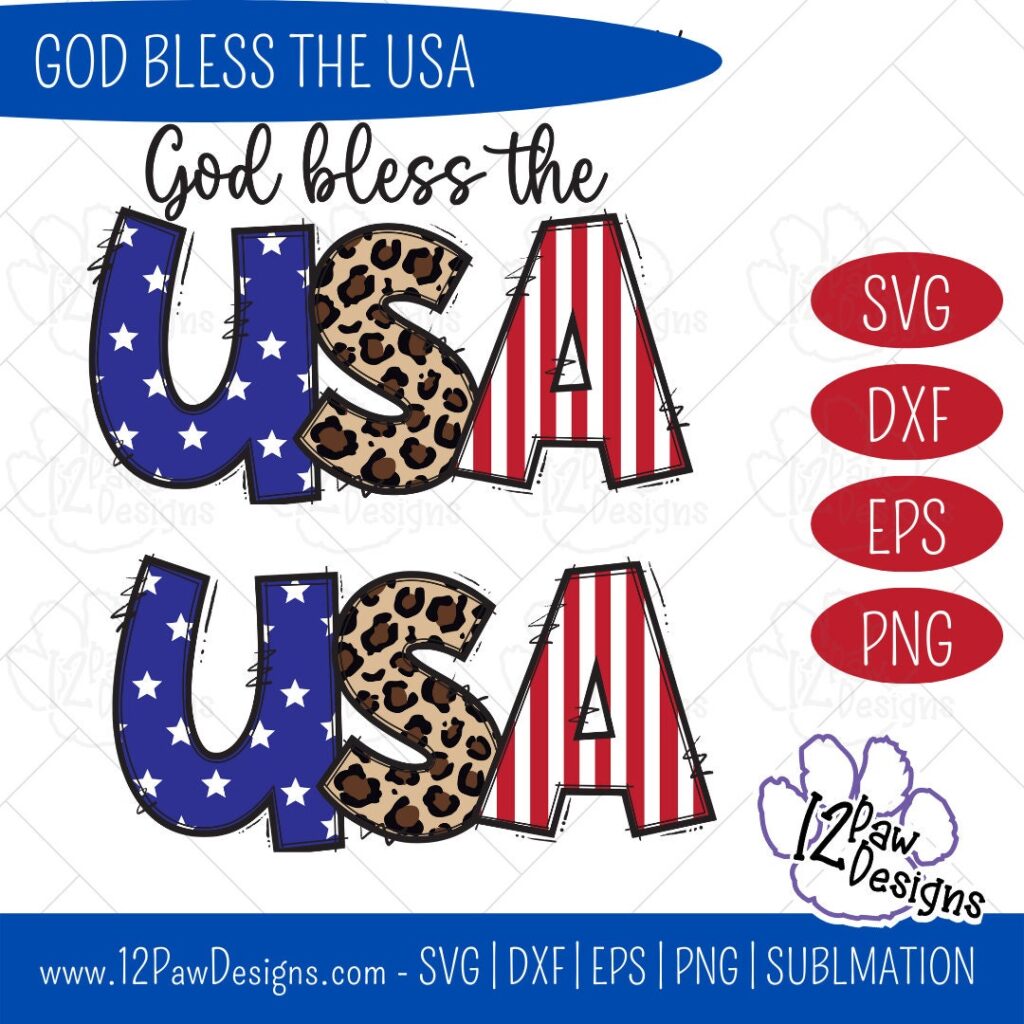
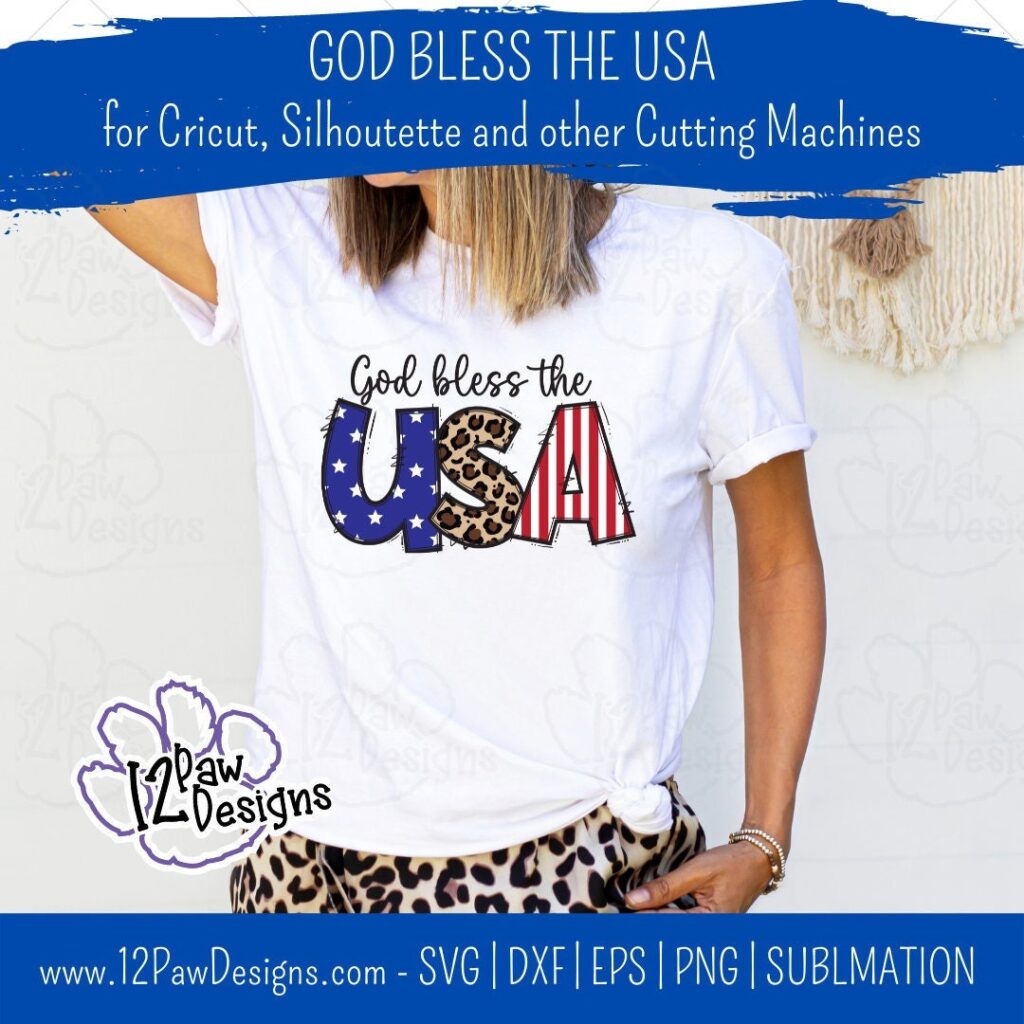
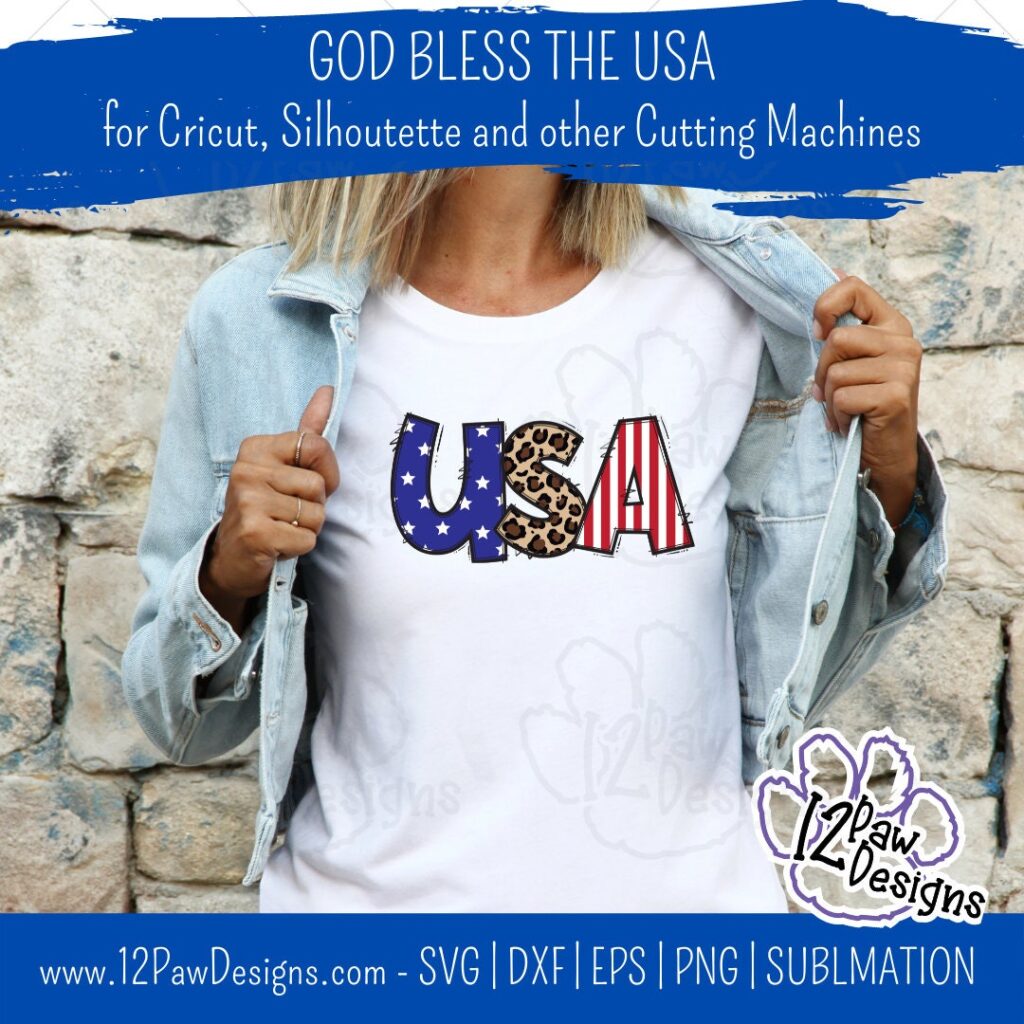
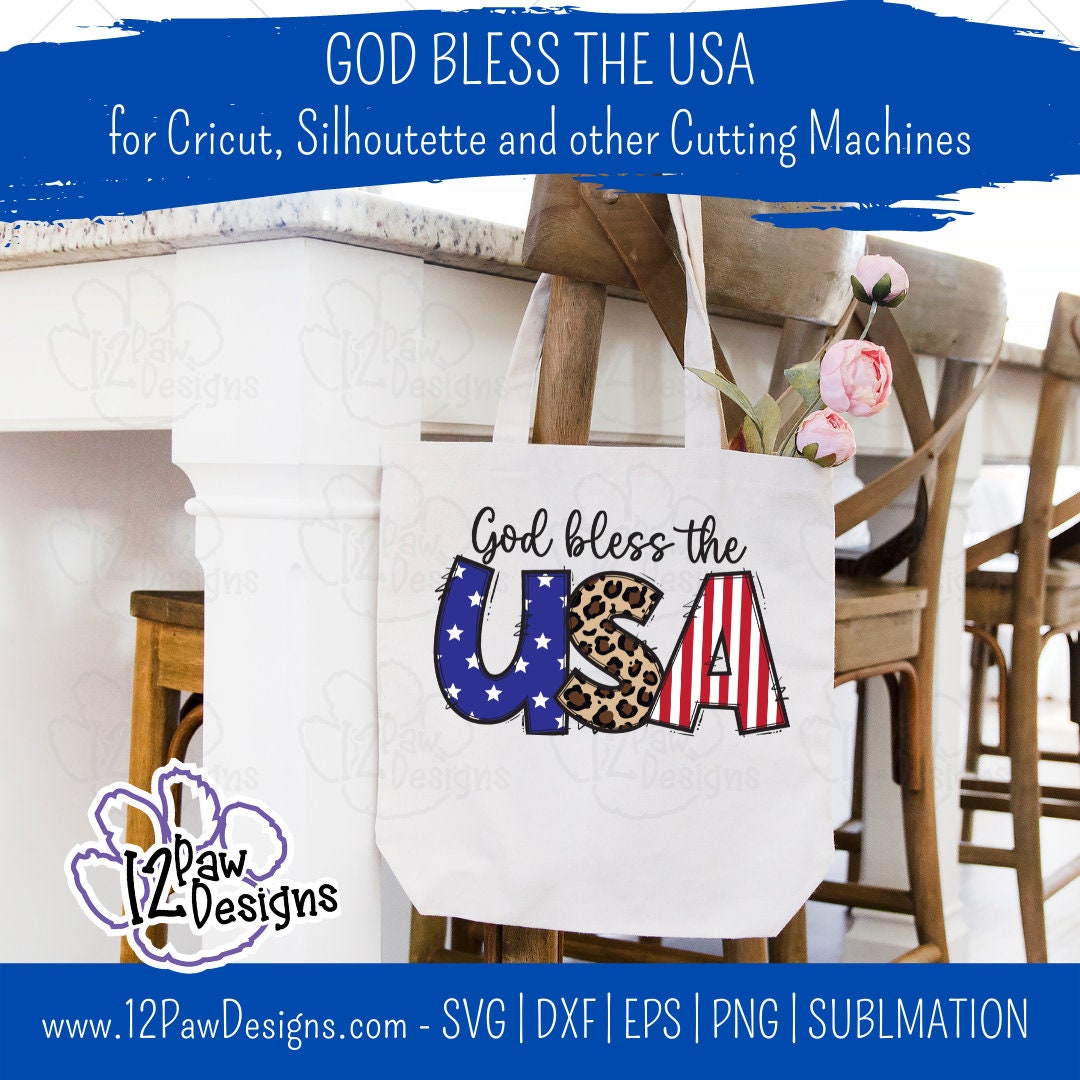
I love items with Red White and Blue. Also, ow America shows their patriotic support. So this weeks design I have done some fun USA letters with Stars in the Blue, Stripes in the A and fun leopard (because who doesn’t love lepard?) print in the S. There are 2 options for a design with God Bless the USA or USA. This is a great design for sublimation, print and cut or vinyl. The design is setup so that you can layer vinyl or use pattern vinyl. So many options!!
This weeks FREE God Bless the USA design PNG/SVG/Sublimation/cut file can be found in the Freebie Library. File number 84 (remember the password is always in the bottom of your weekly email from me).
To get your FREE file please go to my Freebie Library, sign in (don’t worry if you are not a member yet, sign up and the password will be emailed to you!!! Also, remember I include it in the bottom of the weekly email too! 😉 ) and download Number 84 – God Bless The USA. The downloaded file will have multiple file options SVG, PNG, DXF (If you have the free version of Silhouette Studio you will need this file) and EPS.
I really hope you enjoy the my Funny Sarcasm. Remember a Pinterest pin would be so appreciated! I can’t wait to see what you create. Please share with me. You can come back here and add a comment or add one to Facebook too!
God Bless The USA
God Bless The Usa, America, 4Th Of July, Patriotic, Cricut, Silhouette, Sublimation, Svg, Png, Digital Download, Cut FileGod Bless The Usa, America, 4Th Of July, Patriotic, Cricut, Silhouette, Sublimation, Svg, Png, Digital Download, Cut FileGod Bless The Usa, America, 4Th Of July, Patriotic, Cricut, Silhouette, Sublimation, Svg, Png, Digital Download, Cut FileGod Bless The Usa, America, 4Th Of July, Patriotic, Cricut, Silhouette, Sublimation, Svg, Png, Digital Download, Cut FileGod Bless The Usa, America, 4Th Of July, Patriotic, Cricut, Silhouette, Sublimation, Svg, Png, Digital Download, Cut File
DO NOT resell any of the files as digital download or any other form. DO NOT claim the files as your own. DO NOT modify and resell the files in any form.
I have a fun project today!! We are going to do sublimation and rhinestones with a Patriotic Star. We will do a faux sublimation tie dye effect and then add our saying and then lastly add a fun rhinestone Patriotic Star. Don’t do sublimation?? That is ok. I have the file setup so you can do the image with vinyl as well!!! In the free files this week is the sublimation png to do the faux tie dye, the rhinestone template for you and then the SVG\cut file option. So do you and select what you need!!! The star would be super fun in glitter or holographic too!!! One import note! If you are going to do the rhinestones do not resize the image. If you do it will throw the rhinestone templates off. So with this fun red white and blue design you will be all set for 4th of July!!
Red White and Blue – Patriotic Star Ideas….
Supply List to create our Sublimation and Rhinestone Patriotic Star
Rhinestone brush – you can get from Rhinestone World, however, its a paint pad brush
Heat press or Easy Press
Sublimation Shirt
Sublimation printer, ink and paper
Video Tutorial – Patriotic Star
Here are the steps to our Sublimation and Rhinestone Shirt
Step 1 – Now load your free file into your cutting software and cut out rhinestone templates from the magic flock. Remember not to re-size if you are doing rhinestones because it will affect the template. Make sure your cut settings are appropriate for your cutting machine.
Step 2 – Print our your designs on your sublimation printer. I have included the faux tie dye print as well for you. I have it set for 13×19, however, you your printer does not print that size you can size accordingly.
Step 3 – Lets do rhinestones!!! Take your magic flock material and stick it to your surface or mat. I choose mat so that I could scoop up the stones easier after I was done. Poor your stones on the flock and use the brush to move them around to fill the holes. Confirm all holes are filled and that they are going the correct direction. Then take your transfer tape and lay it over the rhinestones and press firmly to make sure all stones adhere. Carefully pull the transfers and stones from the template and put the white back on it. Return your flock template to the backing sheet. Repeat for the white stripe and red stripe. However, for the red stripe, I used the same transfer material that the white was attached to. I used parchment paper to line everything up and then adhered the red stones to the same tape.
Step 4 – Heat your press up to the sublimation temps. I use 400 for mine. Lay your faux tie dye image down on the surface. Then scrunch your shirt up on top of it. Next Lay the other piece on top. (Check video for placement). Then press. Once that is done flip over and do the back side
Step 5 – Once the tie dye is one apply your words. I should done the black words so it jumped out better. Make sure to use a cover sheet and i put a pressing pillow between. You can use butcher paper. Press again
Step 6 – Cool your press down to 325. Once it has cooled down to that temp apply your stripes to your shirt. Line everything up and use the blue to confirm all will line up. I did the stripes for about 8 seconds. Then pull the transfer sheet. Next, do the blue portion. This time I did the full 15 seconds. IMPORTANT note!!! Once you’re done with your rhinestones separate the front and back. The stones will try and glue through to all layers!!!
To get your FREE file please go to my Freebie Library, sign in (don’t worry if you are not a member yet, sign up and the password will be emailed to you!!! Also, remember I include it in the bottom of the weekly email too! 😉 ) and download Number 37 – Patriotic Star Subway Tile The downloaded file will have multiple file options SVG, PNG, DXF (If you have the free version of Silhouette Studio you will need this file) and EPS.
I hope you enjoy the FREE files. Thank you again for stopping by and being part of my dream and 12 Paw Designs! Have an absolutely amazing day!!!
DO NOT resell any of the files as digital download or any other form. DO NOT claim the files as your own. DO NOT modify and resell the files in any form.
You loved the Patriotic tray and cut files so much I wanted to share how to create this beautiful Sweet Land of Liberty Round. I will show you the stain method that I used and I also share the FREE Sweet Land of Liberty Round Cut file with you! I love the antique look of the USA Round Flag.
12PD Sweet Land of Liberty
Sweet Land of Liberty –
USA Round Flag Inspiration!
Supply List to Create the Beautiful Sweet Land of Liberty
These are the items that I used. However, have fun and use items you have!
Here are the steps I took to make Sweet Land of Liberty Flag Round
Step 1 – Lets prep our round! Lightly sand the round with the sanding block. Once that is done let us burn it!!! Now, you can use a kitchen torch or a butane torch. You might be able to get away using a high temp heat gun. Make sure you do this in a well ventilated area. You will have smoke and smell. Then run your torch over the circle until you receive the effect you are looking for.
Step 2 – Now load your free file into your cutting software and cut out your stencil material. I have included videos for cutting large than you mat for both Cricut and Silhouette. You do not need to mirror. Also cut out your saying. I have included and offset for it. You can choose to used it or not. Have fun with it!
Step 3 – Weed your stencil mask. Remember this is a mask. So we weed out the parts we want to stain. Once you have your weeding done apply your transfer tape. User your squeegee to make sure you get air bubbles out. Now peel the backing away from the stencil and apply it to your wood round. I did the stripe portion first. Make sure you are follow the grain of the round. Once you have the stencil on peel away your transfer vinyl. Take your time removing it. User your fingers and really make sure your seams are pressed down.
Step 4 – Now lets try the baby wipe staining technique. Mine were a little on the dry side so I needed a little extra water. However, be careful with how much water you use. I had some go under mask. Also, make sure you stain with the grain of the wood. Once you have the desired color pull your stencil material off.
Step 5 – Repeat the same process for the stars. Remember the stars are being laid down on the round because we are staining blue. Use the stripes to line the star area up. To help keep your edges crisp dab around the stars and go from the center out. Once that area is done pull your mask off.
Step 6 – I decided to take some brown and lightly “stain” over it to give it an antique look. This is totally optional! This is your project!!
Step 7 – Let your round dry
Step 8 – Now to add our words:
Start with weeding vinyl word and offset
Apply transfer tape
Peel off vinyl backing from the words
Now use parchment paper and attach it to the back of the words. Make sure you leave some transfer tape showing to attach it to the offset. Now use this technique to line up your words to the offset. Once you have it where you want. Push down the transfer tape and hinge method to pull the parchment out. Squeegee down your words.
To get your FREE file please go to my Freebie Library, sign in (don’t worry if you are not a member yet, sign up and the password will be emailed to you!!! Also, remember I include it in the bottom of the weekly email too! 😉 ) and download Number 33 – Sweet Land of LIberty. The downloaded file will have multiple file options SVG, PNG, DXF (If you have the free version of Silhouette Studio you will need this file) and EPS.
I hope you enjoy the FREE tiered tray file. Thank you again for stopping by and being part of my dream and 12 Paw Designs! Have an absolutely amazing day!!!
DO NOT resell any of the files as digital download or any other form. DO NOT claim the files as your own. DO NOT modify and resell the files in any form.
Time for the Red White and Blue! Memorial Day is a few weeks away then we have the 4th of July so lets show our love for our country by creating fun Red White and Blue Tiered Tray This Patriotic Bundle can be used for so much more than just a tiered tray! There is the fun banner, the USA Waving flag words, the signs, etc. They can be used for other piece or projects! The America with the star with look amazing on a shirt or a tank as well! Let your creativity flow!!! I have included the link to the free file location, created a video tutorial and gave a brief tutorial below!
Permanent Vinyl of your Choice – I use Starcraft from 143vinyl.com
Red, White and Blue Paint and paint brush
Patriotic Ribbon and twine\jute
Mini Rolling Pin
Sand paper or sanding block, Scrapper, Glue Gun, Parchment Paper
Dollar Tree items, 6×6 signs, mini wooden crates, tumble tower block, snake puzzle, 3 in 1 board game for the scrabble pieces or scrabble piece from Walmart
Wooden Tag – I purchased mine from Hobby Lobby
Wooden beads
White Card stock
Weeding tools, scissors, cutting knife, transfer tape, etc
Video Tutorial – Time for the Red White and Blue!
Here are the steps I took to make the Patriotic Tiered Tray
Step 1 – If you are using a sign from the Dollar Tree that has an image on it scrap it off. I found if I got it wet it came off real easy. Once that is done paint the items that need to be white white. On mine I painted the edges of the 6×6 signs white to start with and then painted them red and blue after. It helped cover up the green that i had on mine. After the white is dry paint the other things blue and red. For the scrabble tray I took 4 tumble tower blocks and glued them together to form the tray. I then painted it blue. I painted the bottom (actually top, but it will be flipped over) slat of the mini crate blue and the other end red. I painted the middle of the mini rolling pin red also.
Step 2 – While everything is drying. Open the SVG file in your cutting software (note: if you have the free version of Silhouette studio you will need the DFX files). Size the items according to the supplies you will be working with. Then cut out your vinyl.
Step 3 – Once your adhesive is cut weed your vinyl. For the small detailed items I found that reverse weeding working best. Put your transfer tape on the item and remove what you do not want from there. I have the noted in the video.
Step 4 – Once everything is weeded time to apply the vinyl to our projects. I have things organized and group for you so the America sign with the star the red is all together. So I put the transfer tape on the red portion. Used parchment paper to align everything up I placed it on the blue offset. Then I applied it to the sign. Then I put the white on top.
For Let Freedom Ring I put the transfer tape on the white portion, then used parchment paper to align it up on top of the red and placed. then repeated to put it on the blue. The applied it to the sign.
Continue placing the rest of t the vinyl on your pieced.
Step 5 – For the banner I did the print and cut and printed it on white cardstock and then cut that out on my cutting machine. So easy and a time saver!
Step 6 – Now add your decorative accents. For the rolling pin i tied a piece of star ribbon on the one end. For the books I used a wide burlap patriot ribbon to cover the slats of the crate. The made a messy bow and put that on top with white jute. Have fun and play with this step! Use what you have!!
To get your FREE file please go to my Freebie Library, sign in (don’t worry if you are not a member yet, sign up and the password will be emailed to you!!! Also, remember I include it in the bottom of the weekly email too! 😉 ) and download Number 32 – Patriotic Tray Bundle. The downloaded file will have multiple file options SVG, PNG, DXF (If you have the free version of Silhouette Studio you will need this file) and EPS.
I hope you enjoy the FREE tiered tray file. Thank you again for stopping by and being part of my dream and 12 Paw Designs! Have an absolutely amazing day!!! Remember a ? Pintrest pin would be so appreciated!
Also, please check out my shop. I am always adding new designs. You might also find ready made tumblers in there in the future!!! https://12pawdesigns.com/shop/
As a special thank you use code BDAY20 to take 20% off anything in the shop right now! It is my birthday month and I want to share it with you!!!
If you have any questions or run into an issue please let me know!!!
DO NOT resell any of the files as digital download or any other form. DO NOT claim the files as your own. DO NOT modify and resell the files in any form.